As a Service Provider or a School Admin, you can Add and Edit your connected Students’ Services.
*Of note, it is mandatory to add a Service before a Service Provider can schedule a corresponding Event. If an active Service isn't in the Treatment Plan then the Service Provider will not be able to schedule the Event.
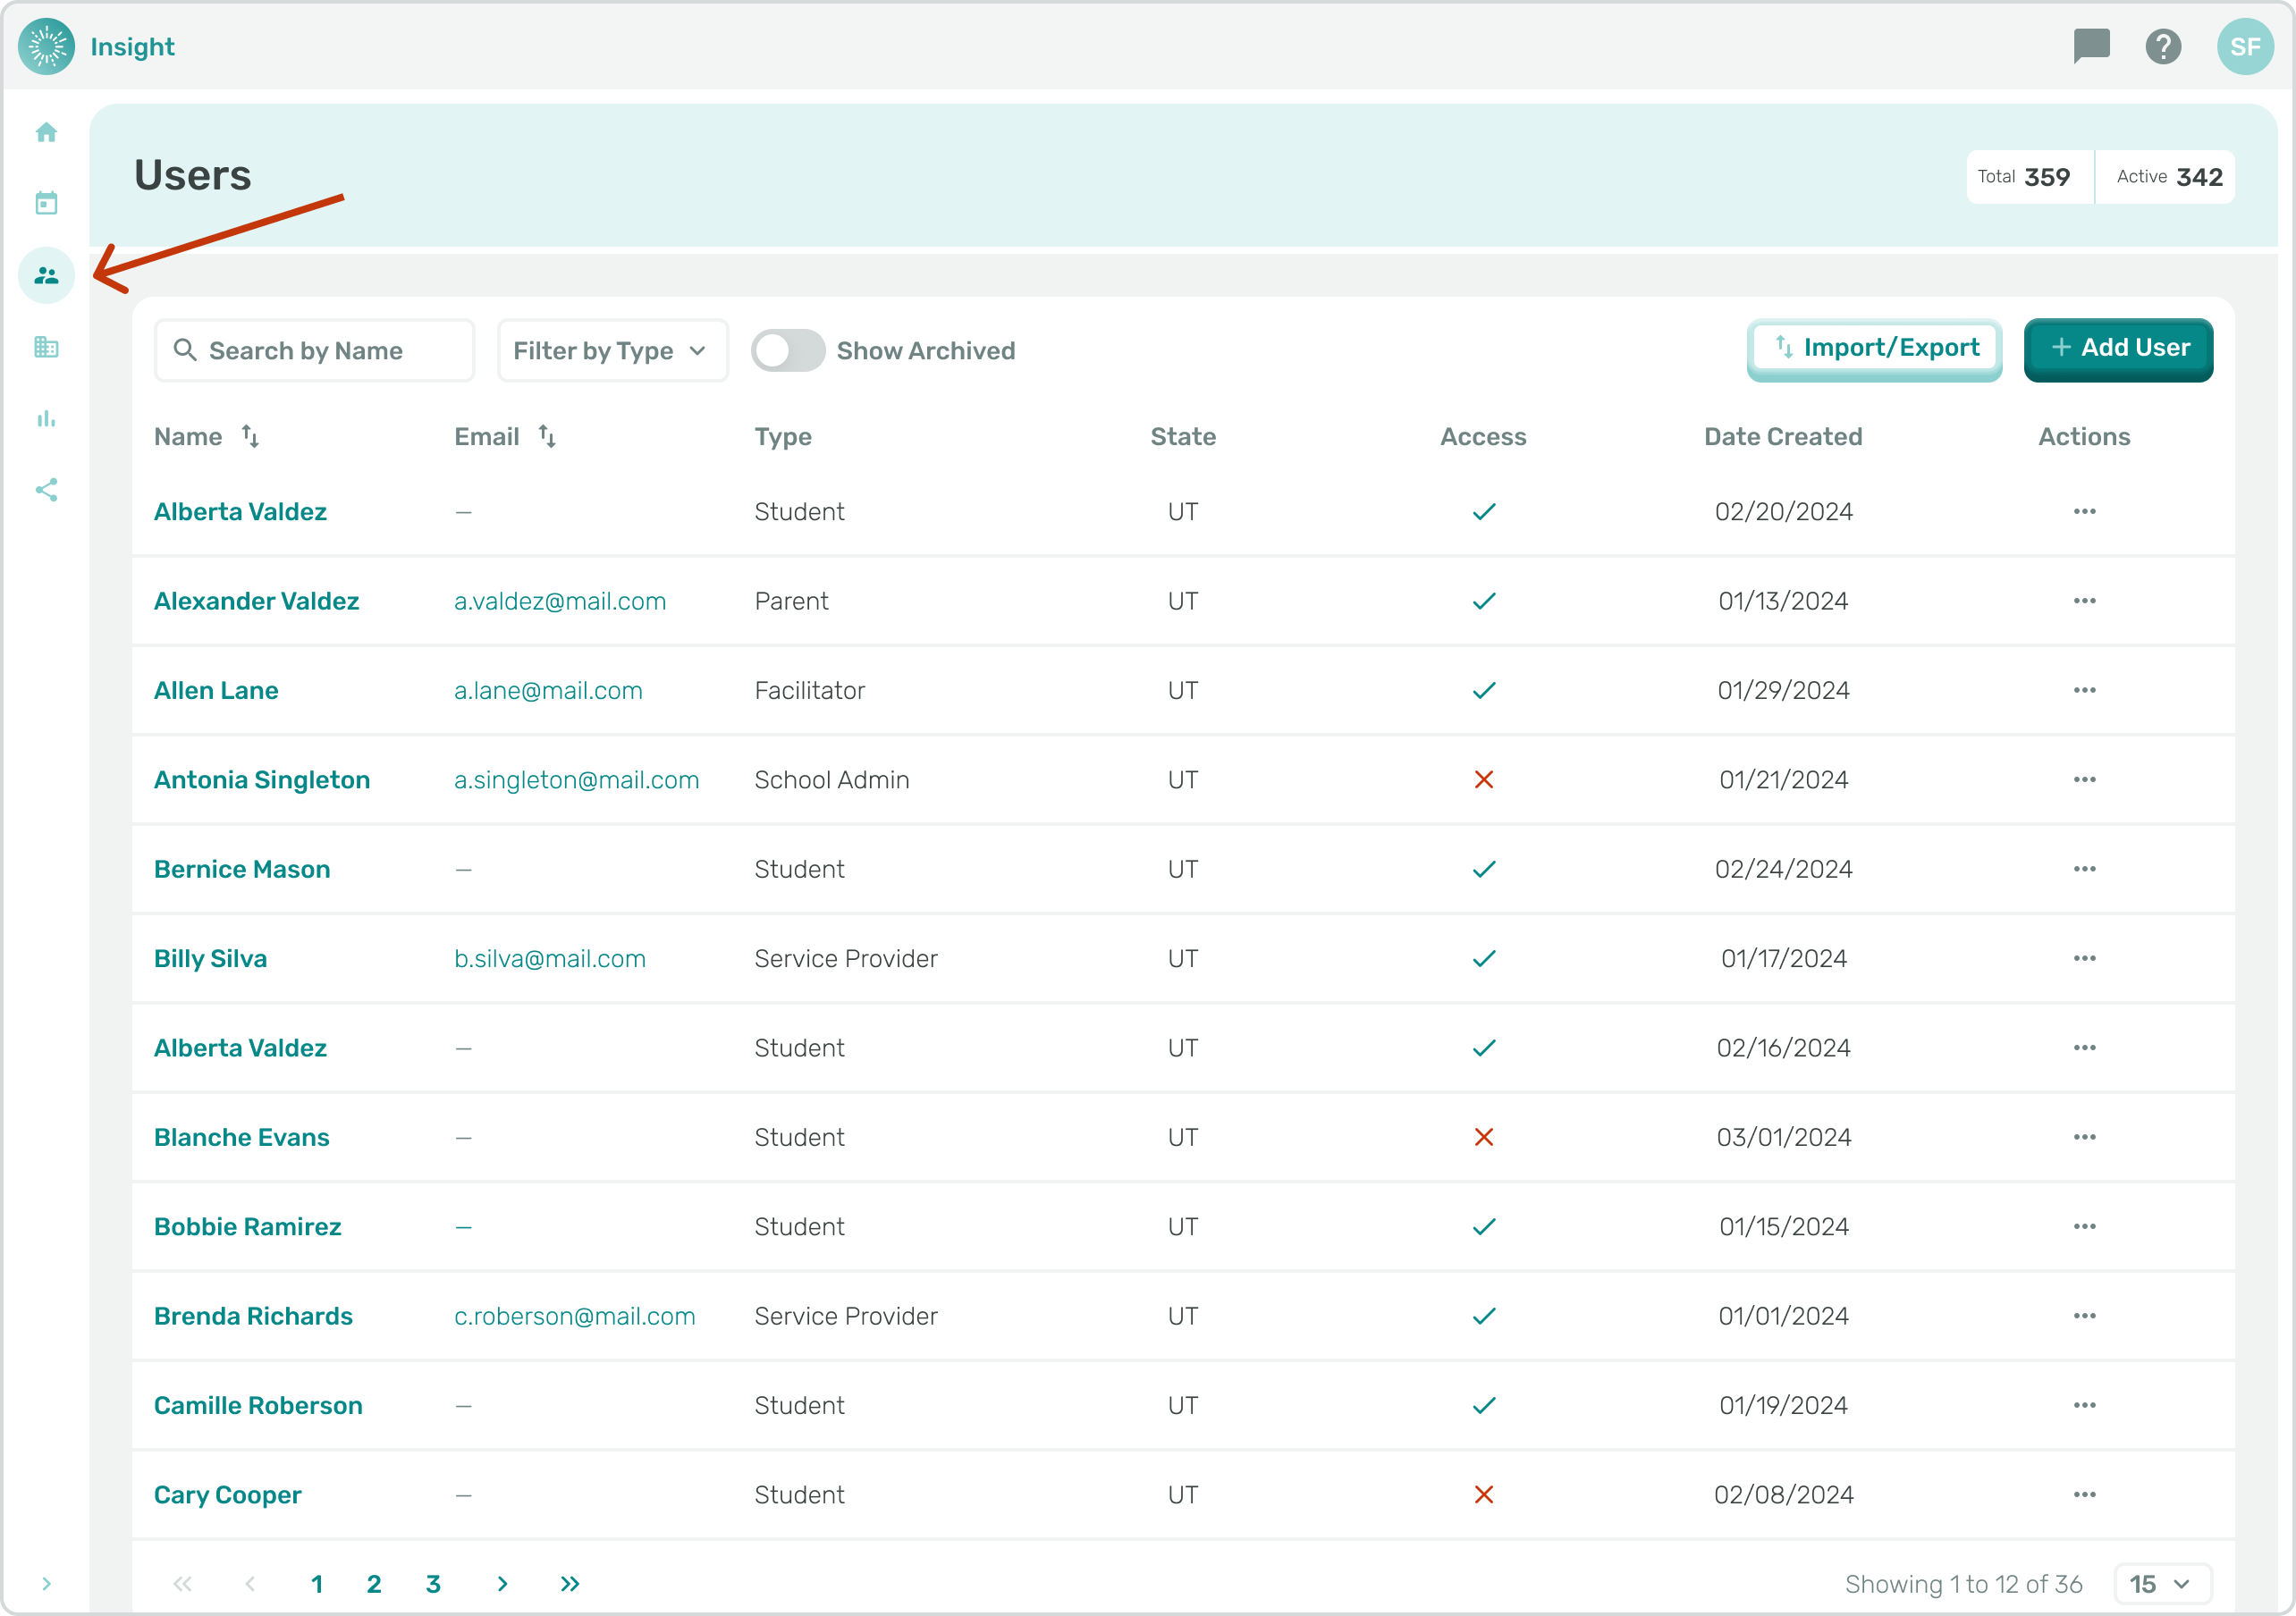
- Navigate to the User Page from the side menu.
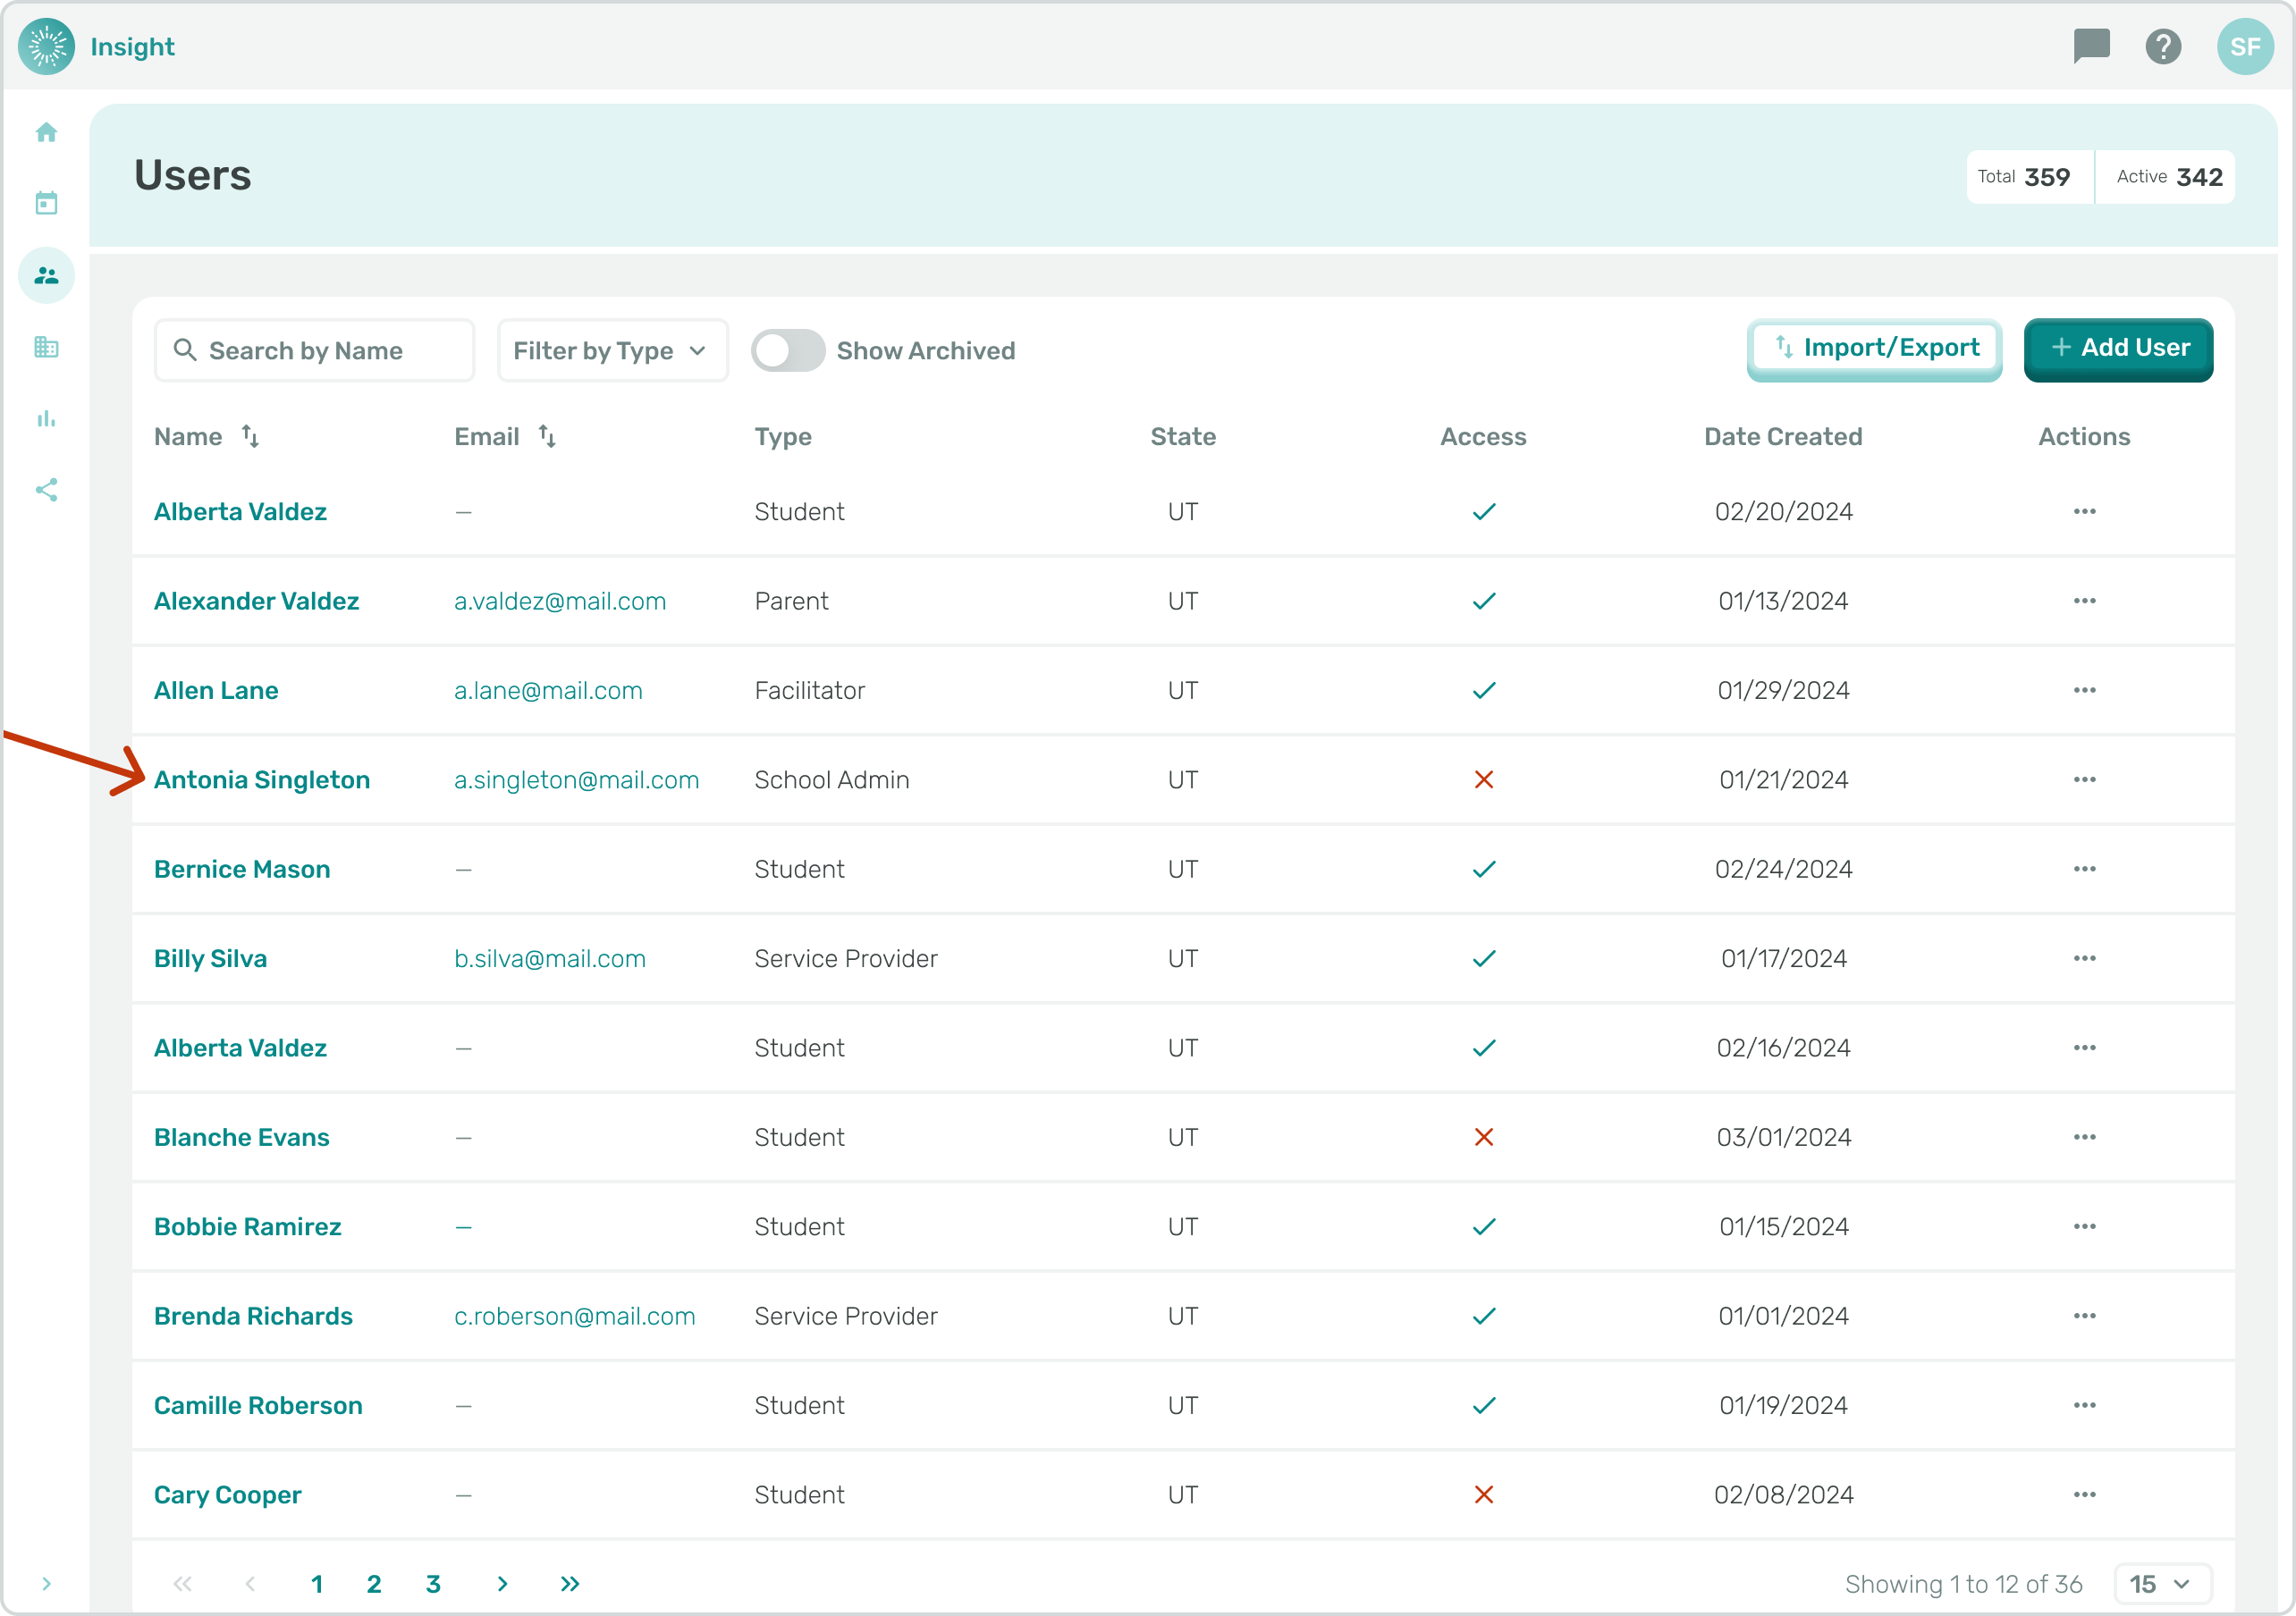
- Click on the Students name to view their:
- Profile
- Activity
- Connections
- Documents
- Progress Report
- Treatment Plans
- Click on the ‘Treatment Plans’ tab.
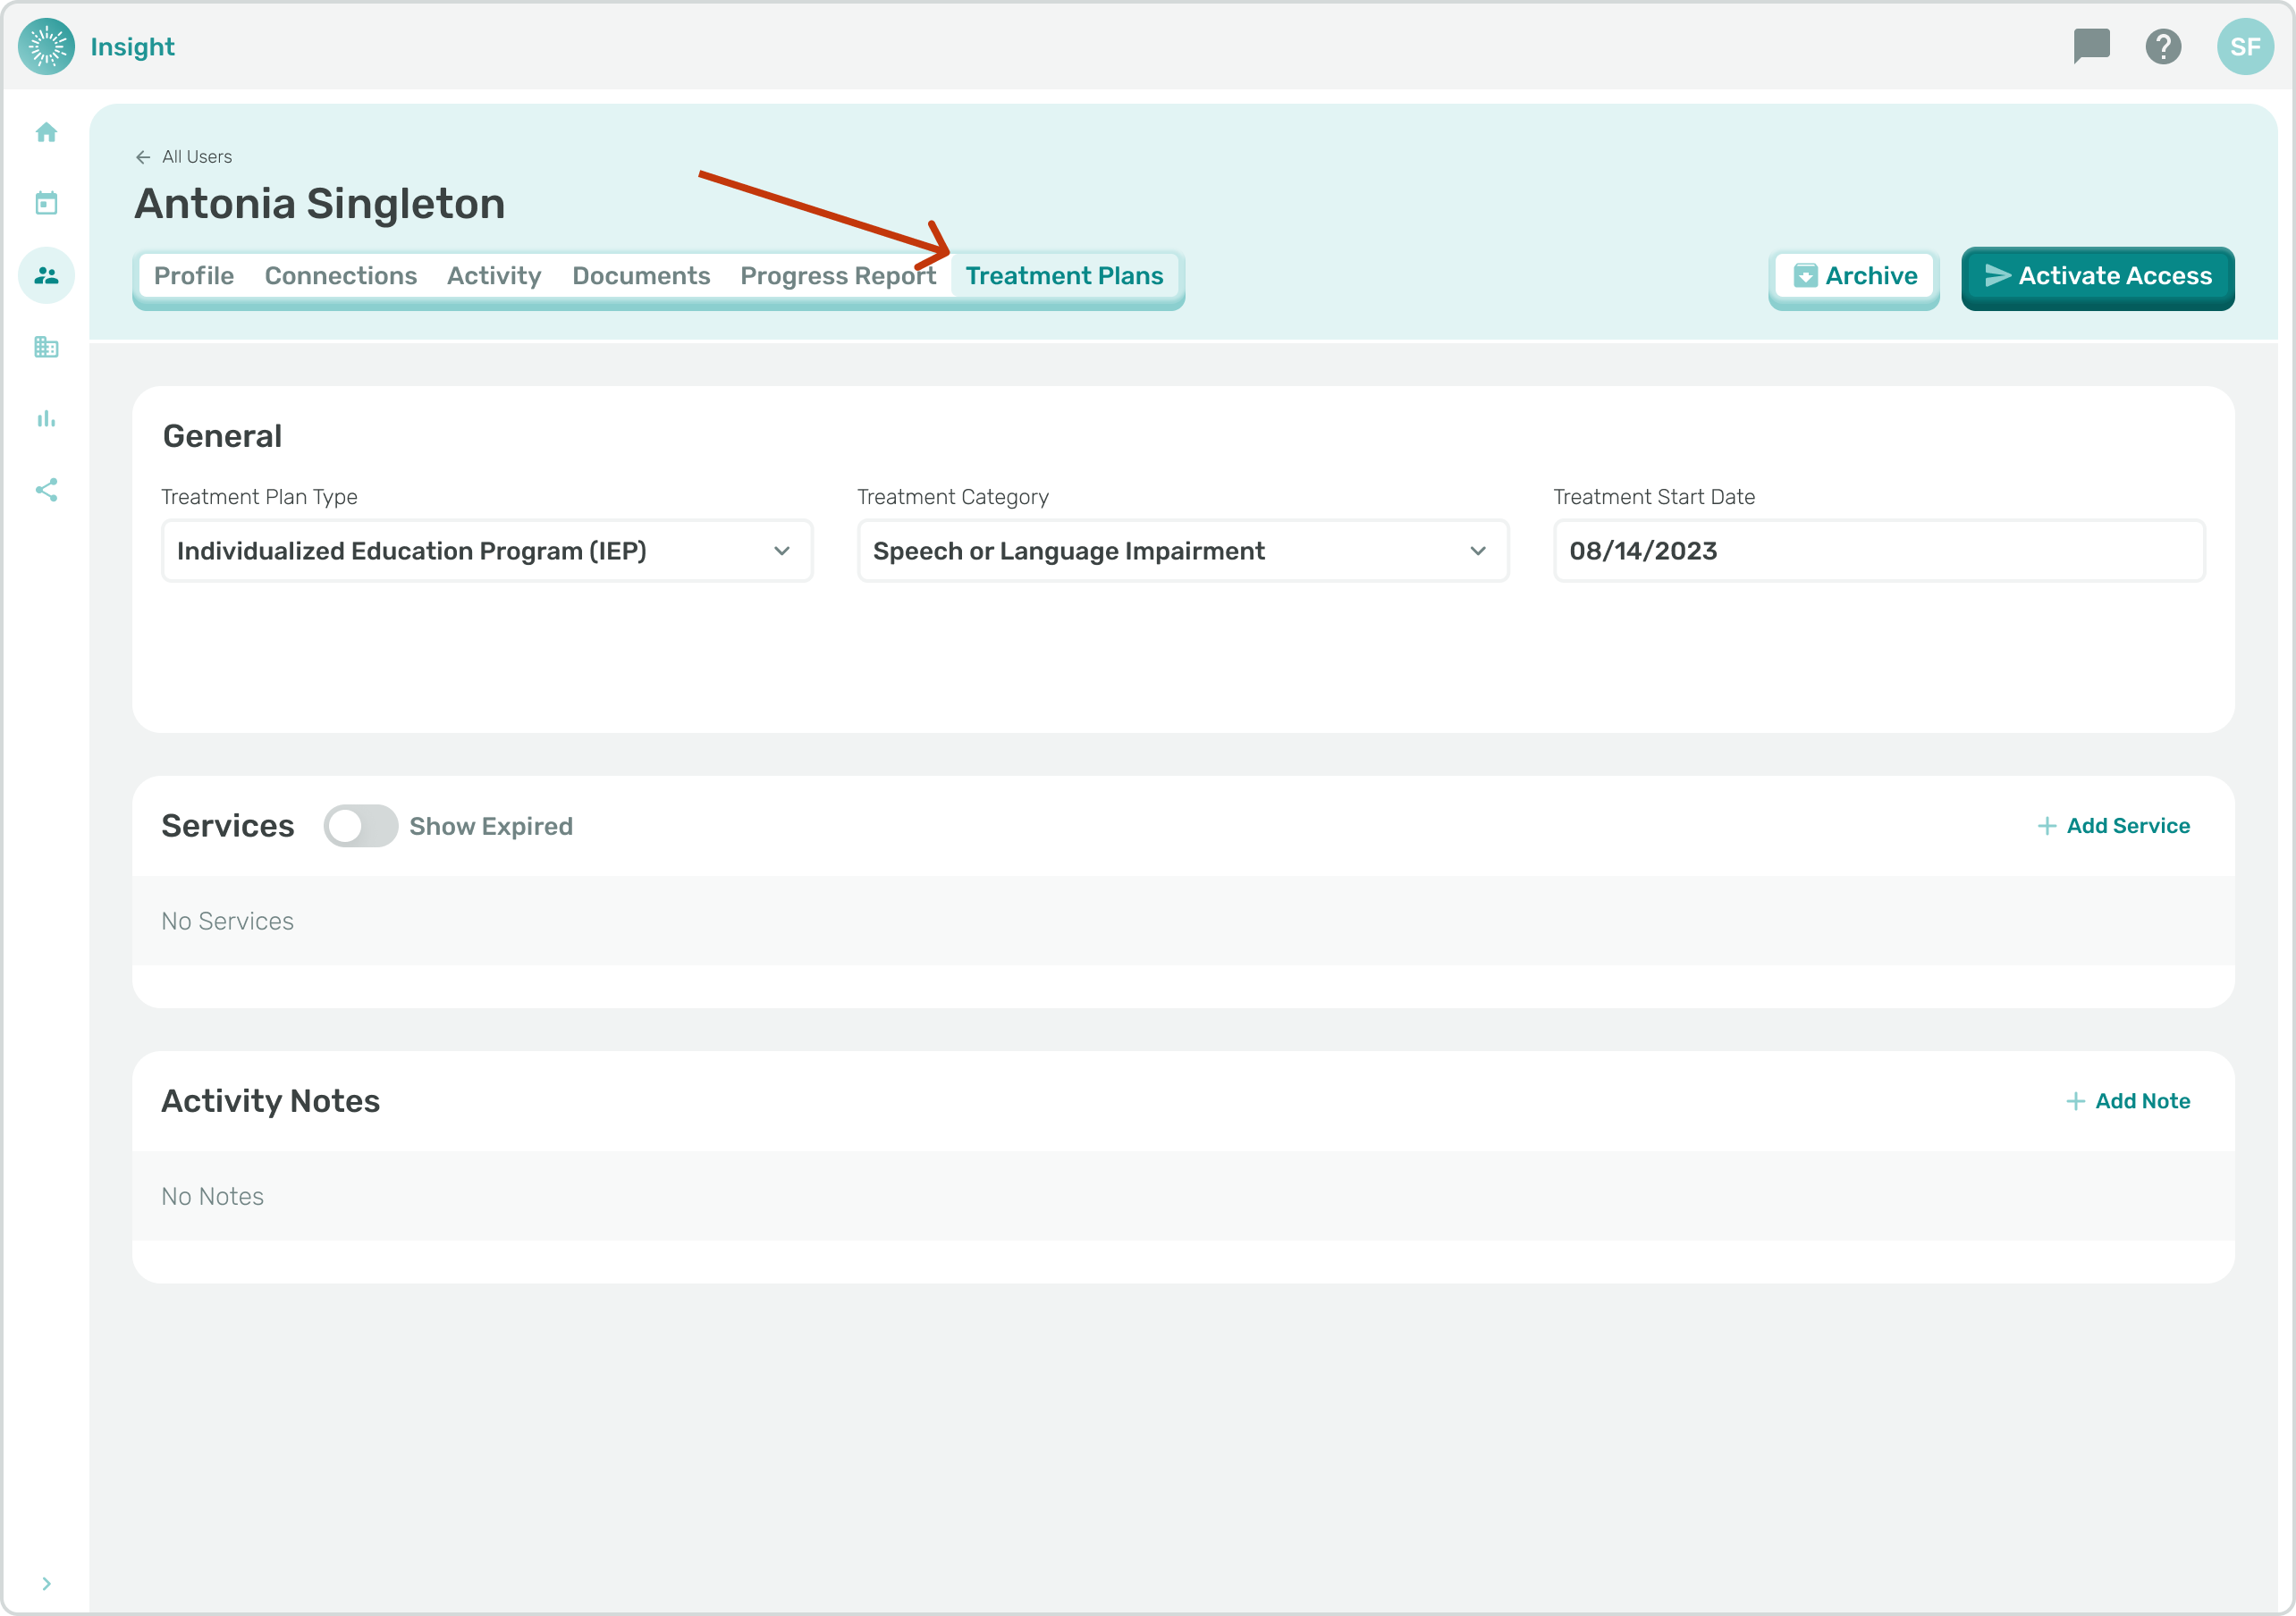
- There are 3 sections listed under ‘Treatment Plans’ that you can Edit:
- General
- Services
- Notes.
- For this article we are focusing on the Services section for Adding and Editing Services.
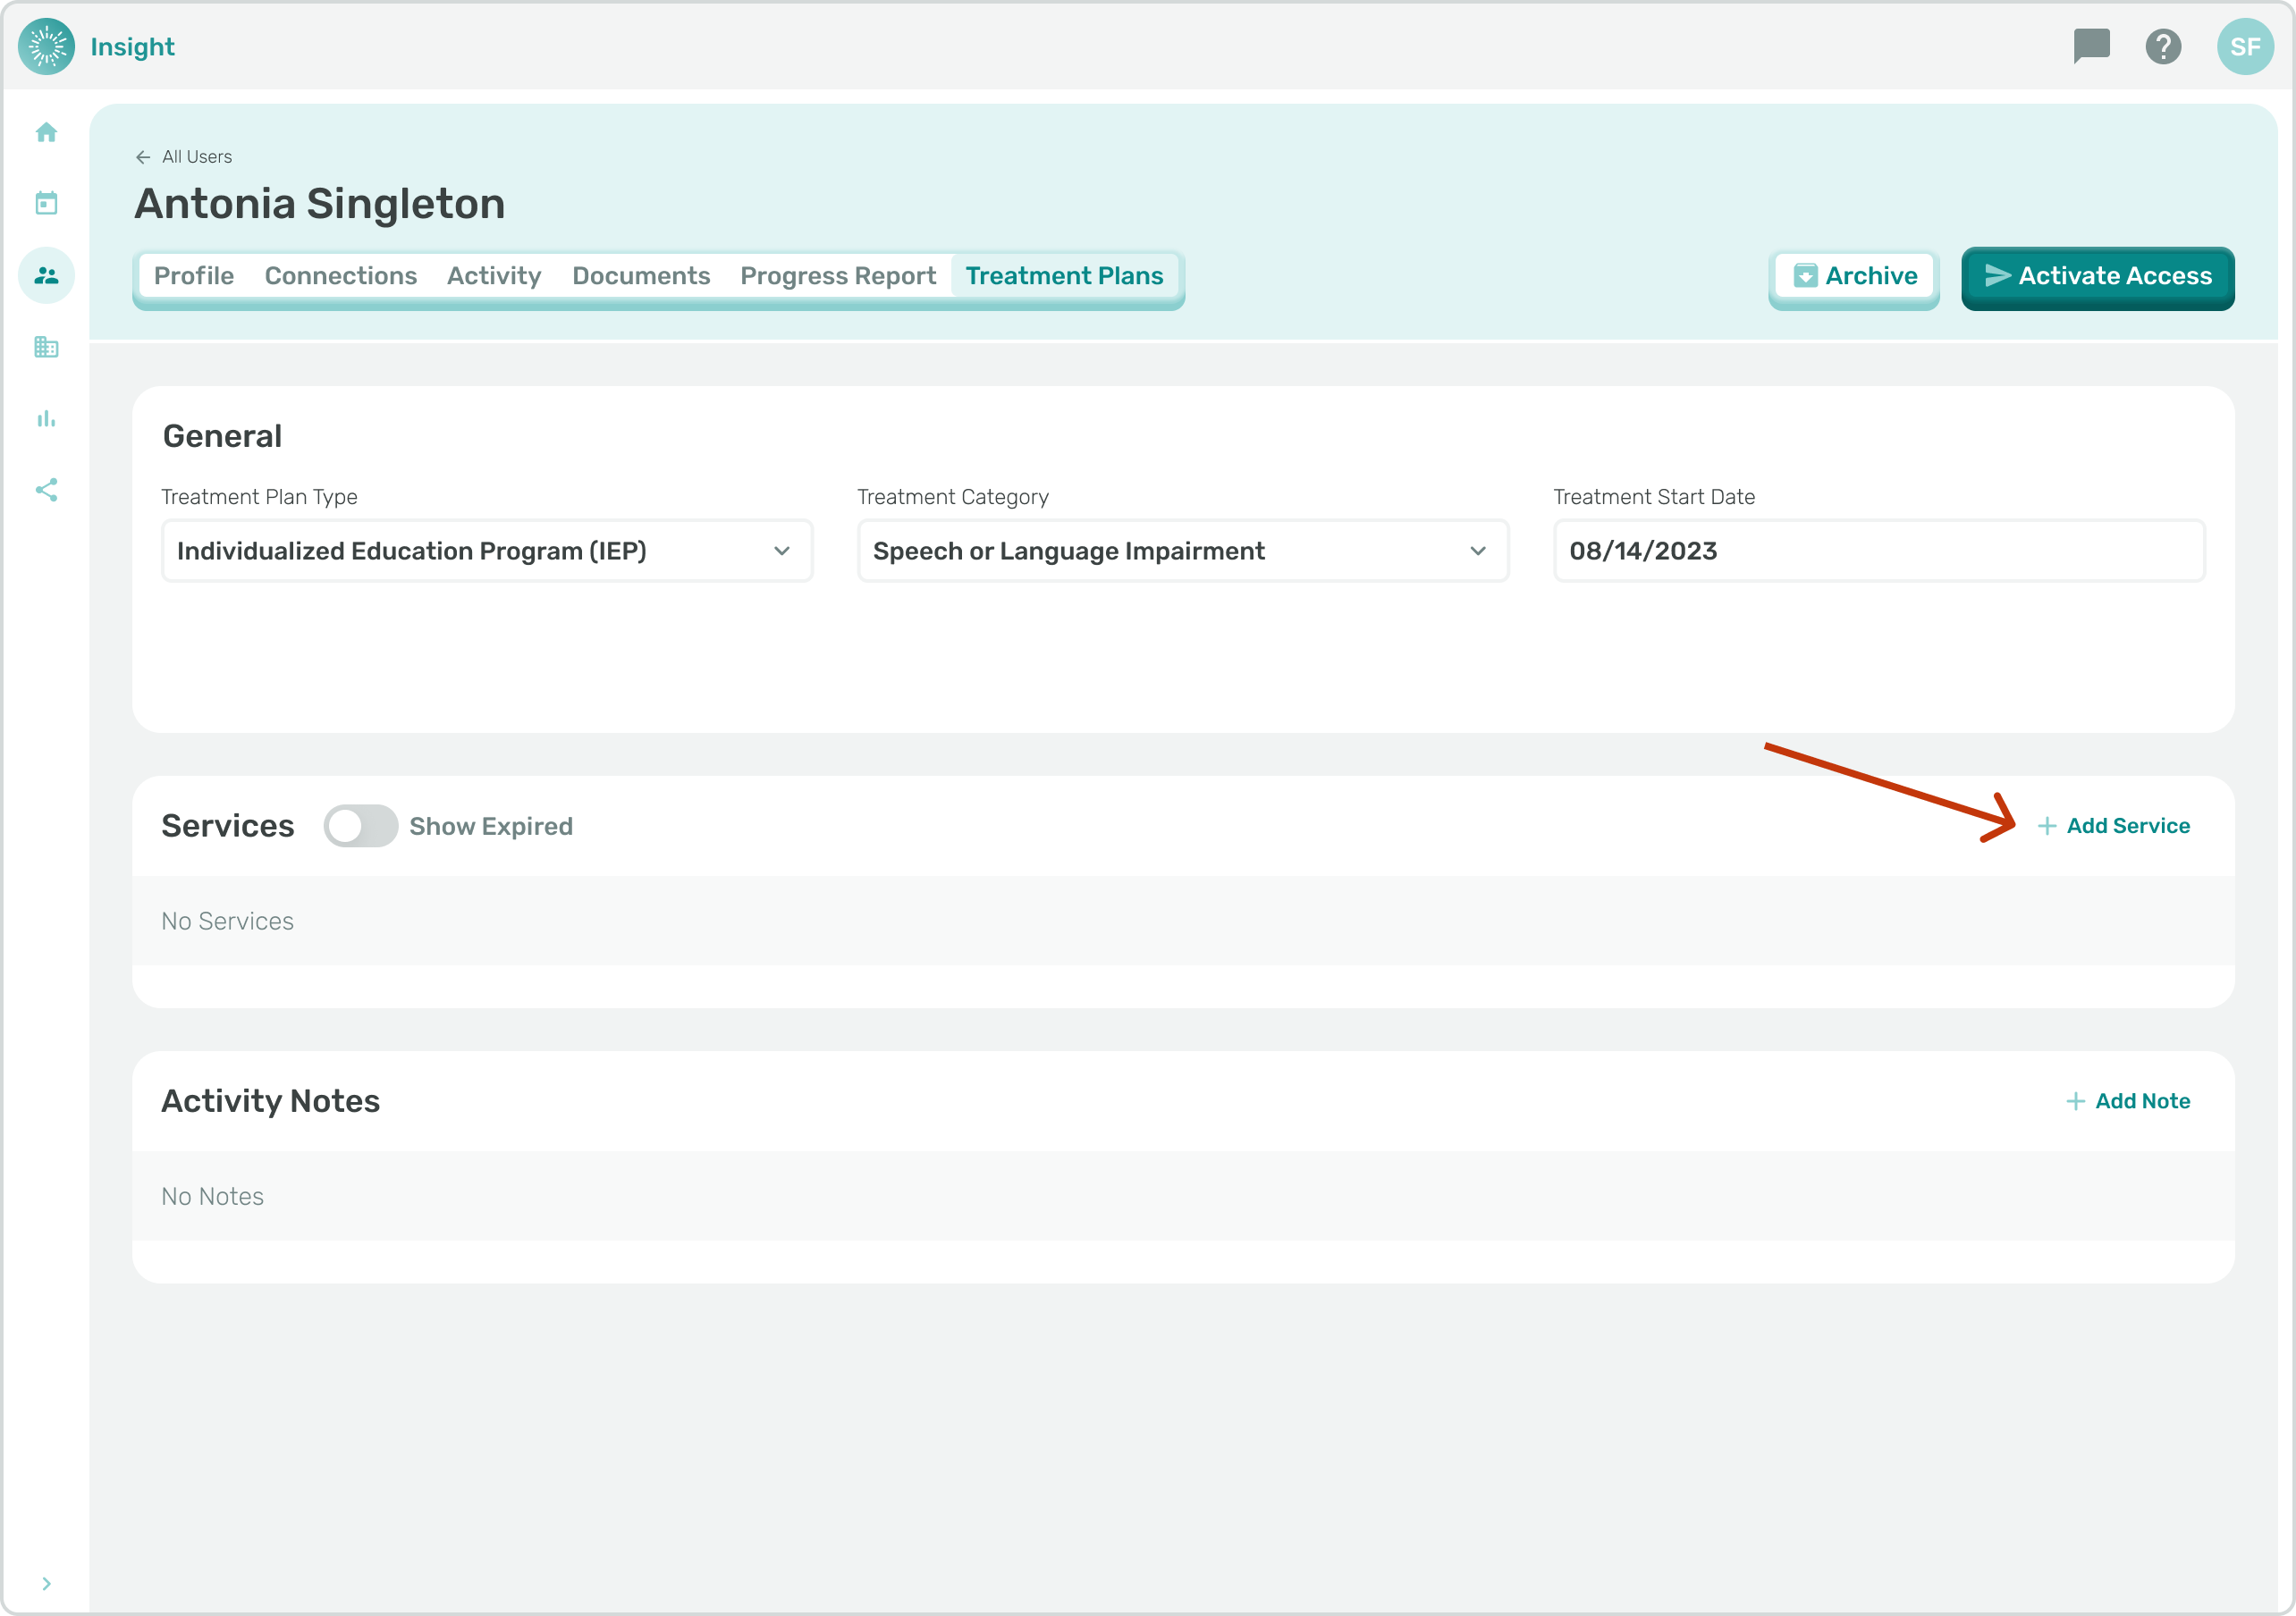
- In the Services section you can view, edit, or create Services and Goals for Students with whom you are connected. You can preview the details of the active Service(s) including:
- Event Type
- Discipline
- Frequency
- Duration
- Service Start and End Dates
- Number of Goals
- and if the Service is Expiring soon.
- You can click on the ‘Show Expired’ toggle button to see any past Services that have expired.
*Expired Services can either be expired because the End Date is in the past or if the Service has been manually updated as expired and has an End Date in the future. Services cannot be deleted but they can be updated to an expired status to indicate they are not an active Service.
- To add a New Service click on the ‘+Add Service’ button to the right above the ‘Actions’ column.
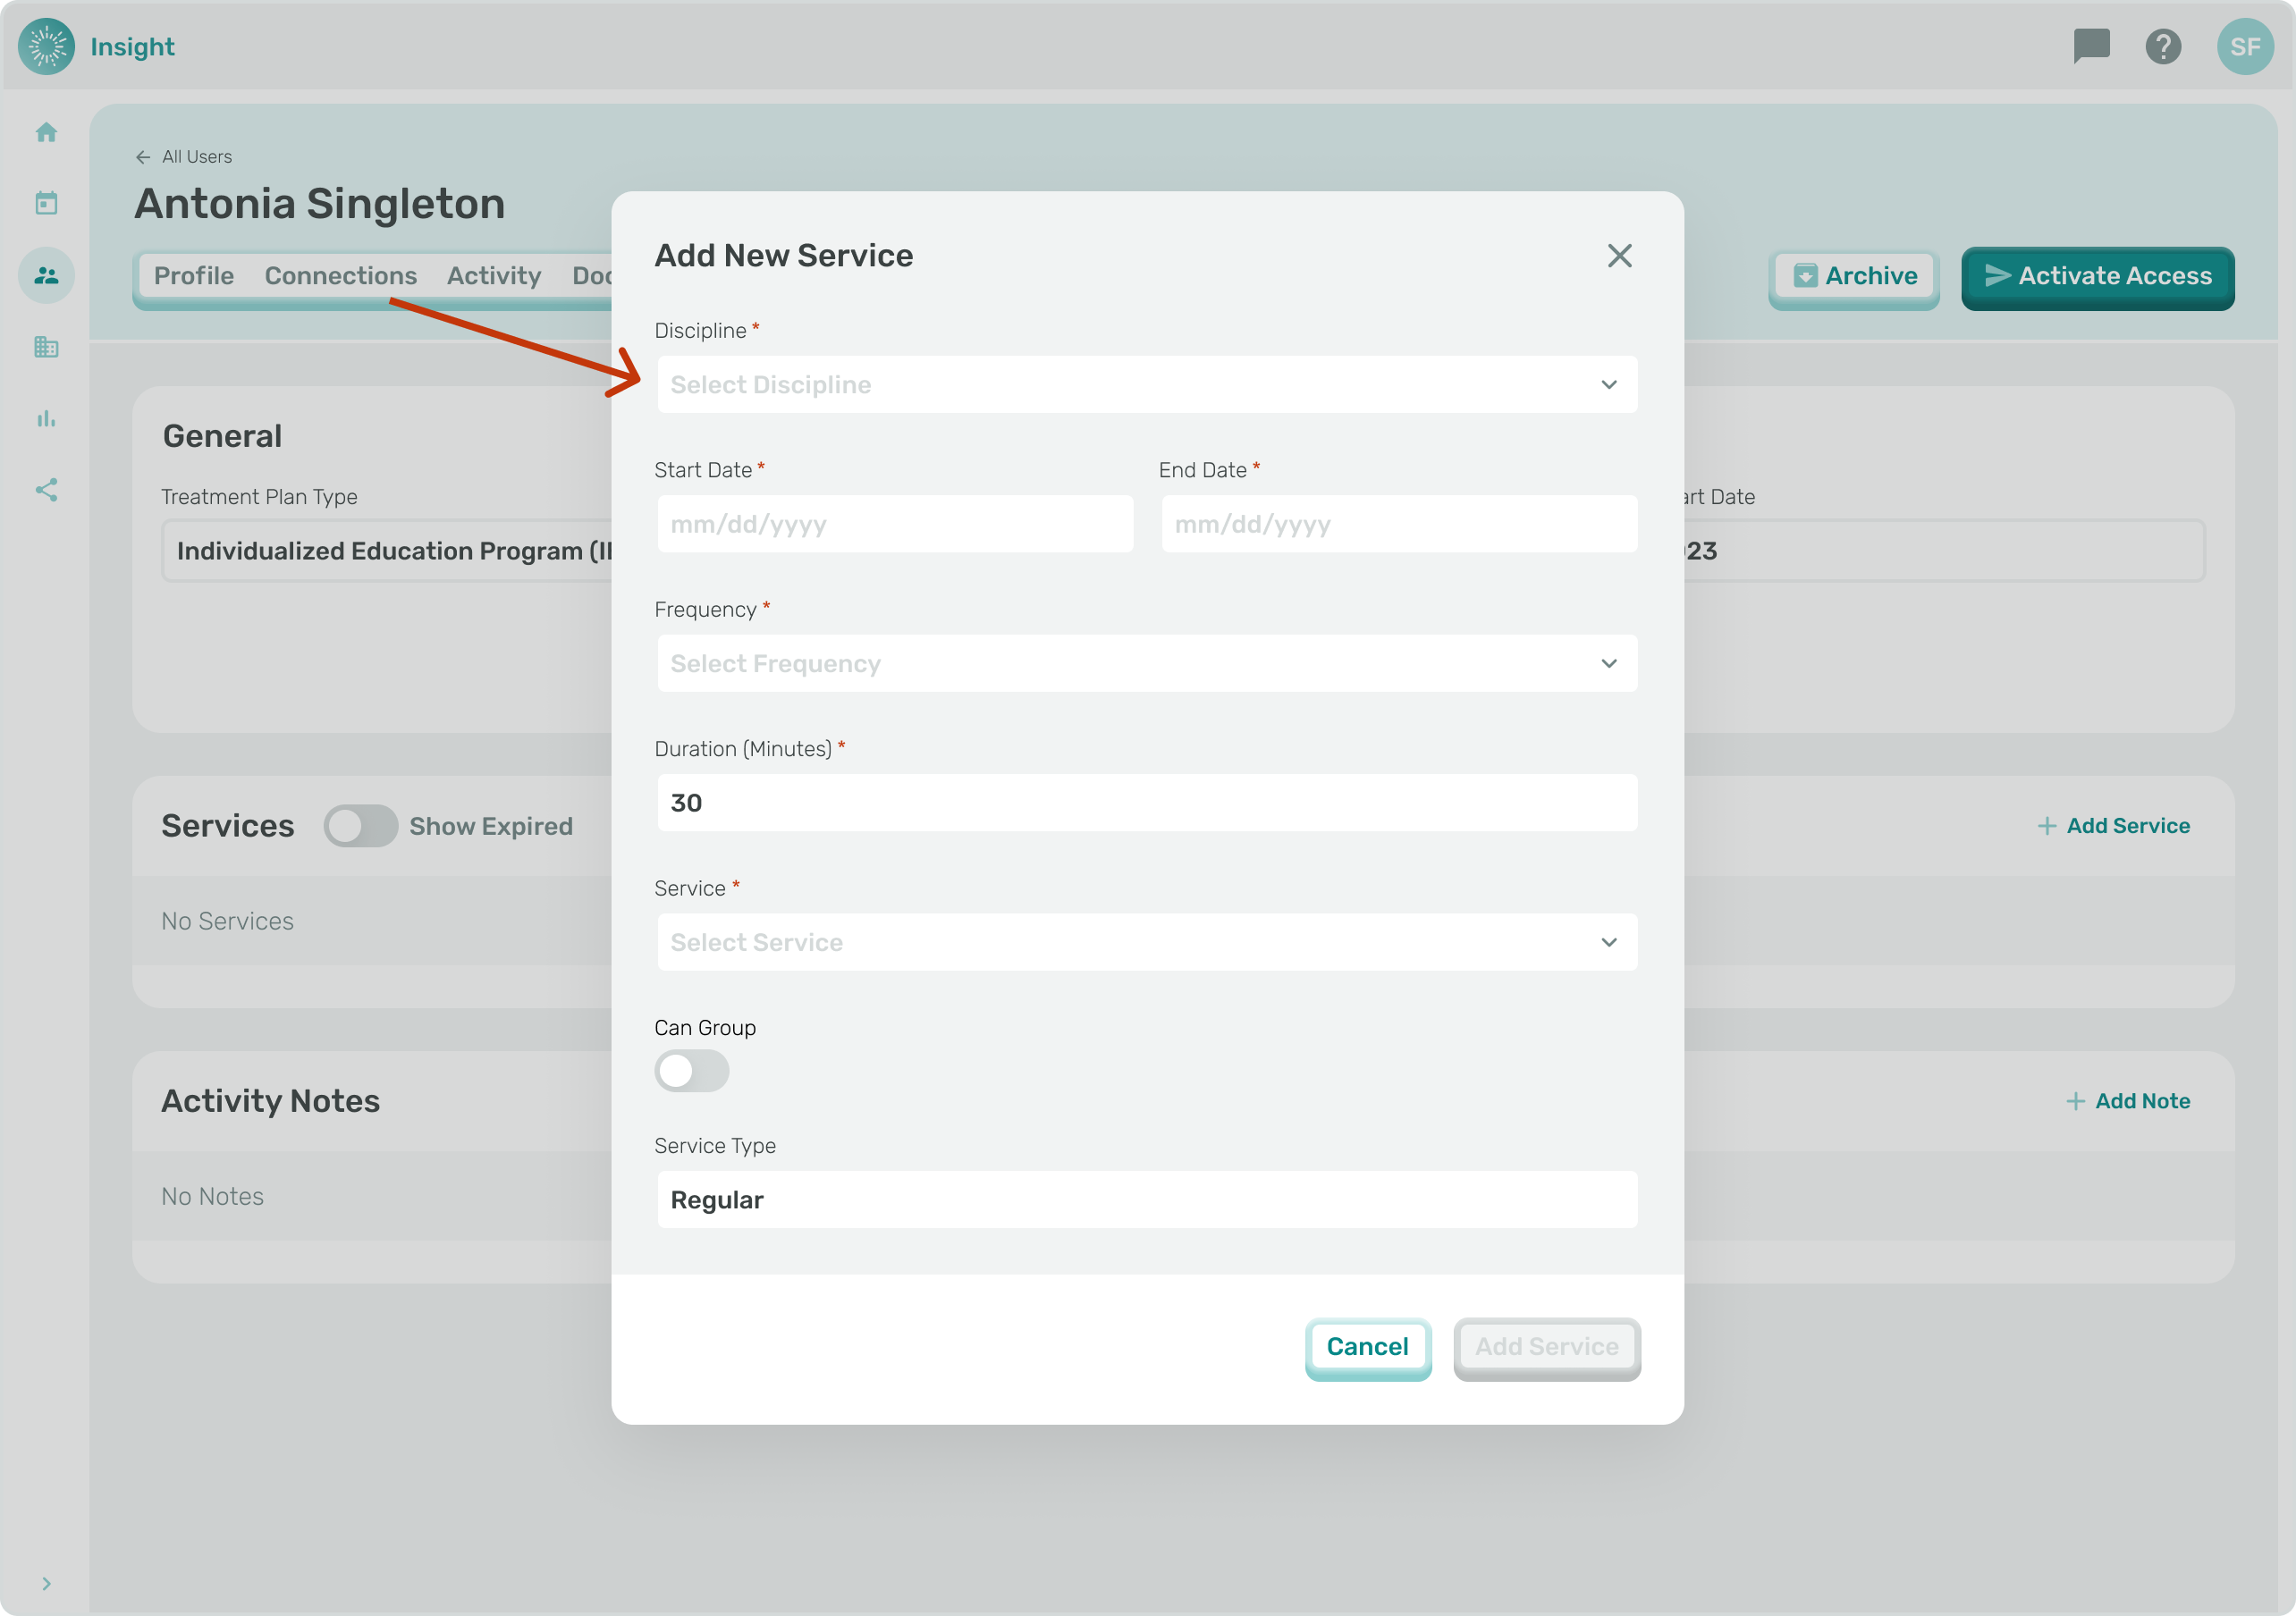
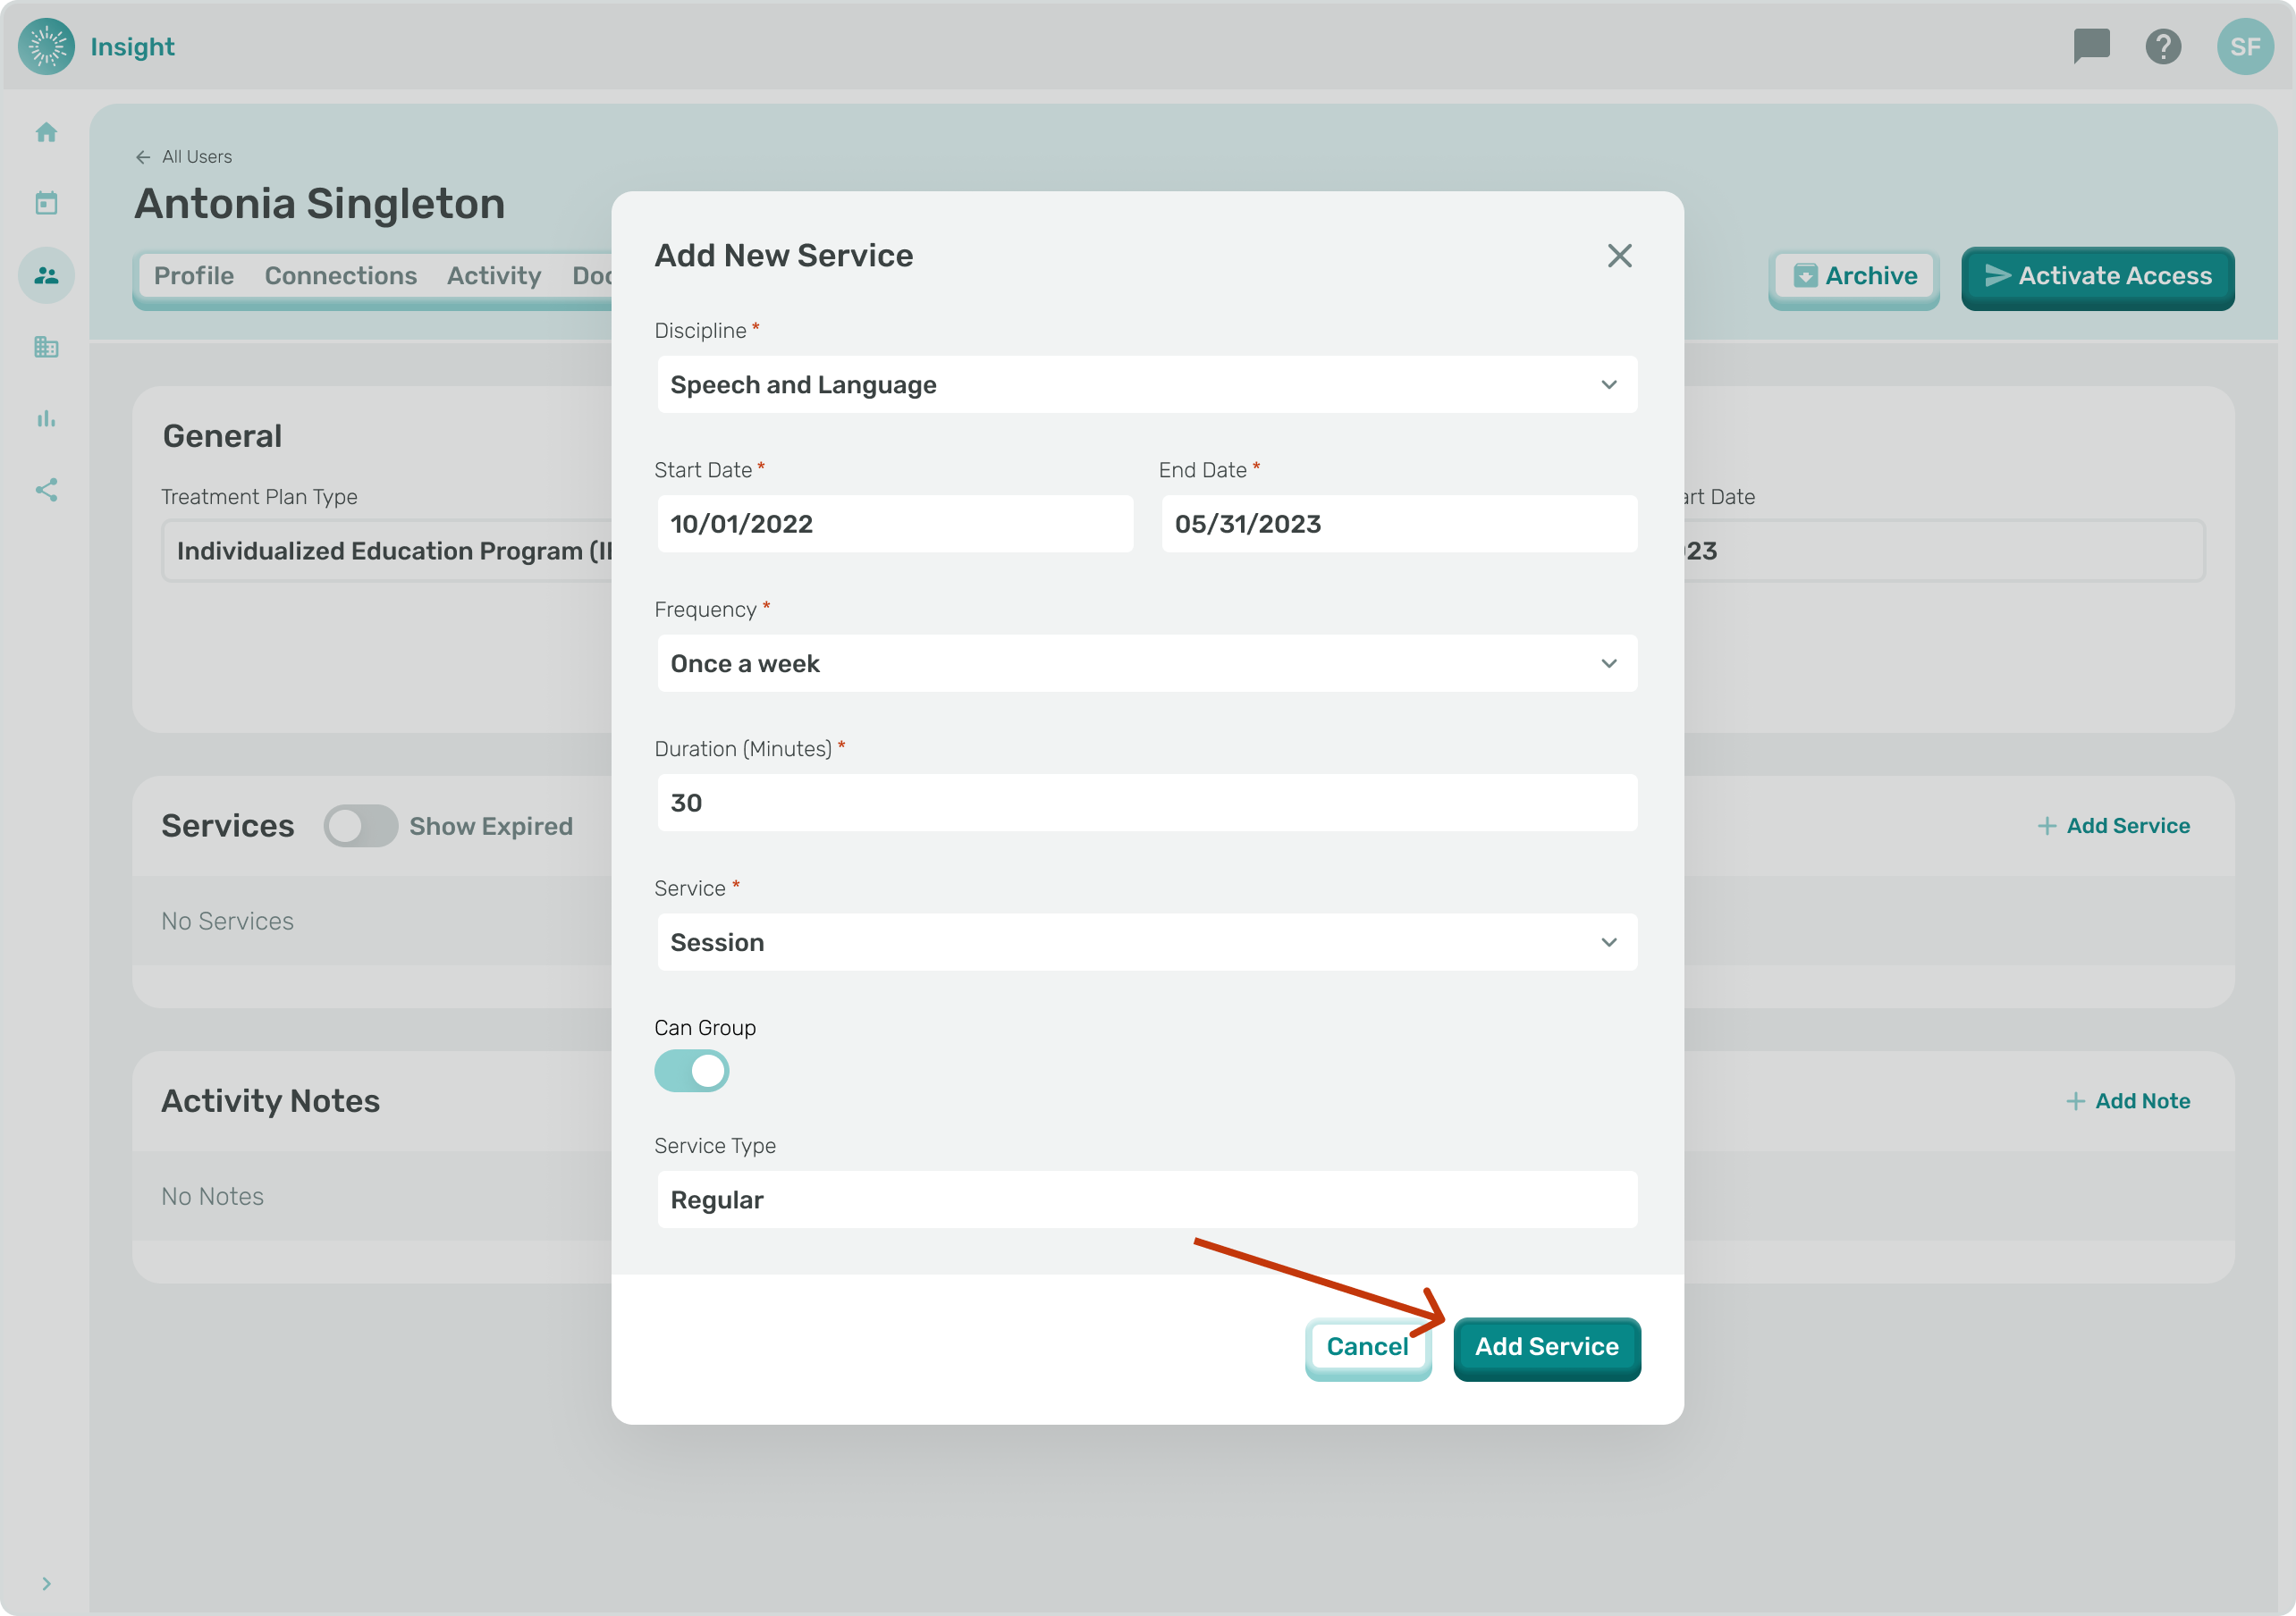
- The ‘Add New Service’ modal opens and you can enter the required information:
- Discipline: select one
- Speech or Language
- Social Work/Counseling
- Behavior Intervention
- Psychology
- Start Date: Select the date on the Calendar or type the date when the Service starts.
- End Date: Select the date on the Calendar or type the date when the Service ends.
- Frequency:
- Weekly
- 2x a Week
- 3x a Week
- Monthly
- 2x a Month
- Annually
- Custom Frequency: if selected a required Interval field and a second Frequency field will populate.
- Interval (required field): click on the inside of the Interval drop down box to select one option
- Daily
- Weekly
- Monthly
- Annually
- Frequency (required field): click on the inside of the second Frequency drop down box to select one option
- 3X (times)
- 4X (times)
- 5X (times)
- Interval (required field): click on the inside of the Interval drop down box to select one option
- Duration: (minutes)
- Can Group: (not required information - an indicator of whether a Student can be in Group Session with other Students; toggle button on means “yes” and off means “no”.
- Grouping only pertains to Service for a ‘Session’ and ‘Response to Intervention’.
- Service: See Event Types
- Caseload Management
- Consultation
- Evaluation
- School psychologists will complete this step to set initial services for their caseloads with partial, full, or bilingual psycho-educational assessments.
- Speech pathologists will complete this step in addition to their session services only if they need to complete a standard or bilingual assessment or a screener.
- Occupational therapists will complete this step in addition to their session services only if they need to complete a standard or bilingual assessment.
- IEP Meeting
- Record Review
- Response to Intervention
- Session
- Service Type:
- Regular
- Approved Compensation
- Extended School Year
- To Exit the ‘Add New Service’ modal at any time, and not save your updates, you can either click the “X” in the upper right corner or click the Cancel button at the bottom right corner of the modal.
- Once clicked you will close the modal and go back to the User ‘Treatment Plans’ tab without making any updates to your Sessions.

- Once you have entered the required information click the ‘Add Service’’ button in the bottom right corner.
- To Edit a Service that is already listed, click on the pencil icon under the ‘Actions’ column.

- To edit an existing service, click the "pencil" icon. A modal will appear with all the fields that can be edited for an existing service.
- To Exit the Update Service modal at any time and not save your updates, you can either click the “X” in the top right corner or click the Cancel button at the bottom right corner of the modal. Once clicked you will close the modal and go back to the User ‘Treatment Plans’ tab without updating your Sessions.

- Once you have completed editing the service, click the "Update" button in the bottom right corner.
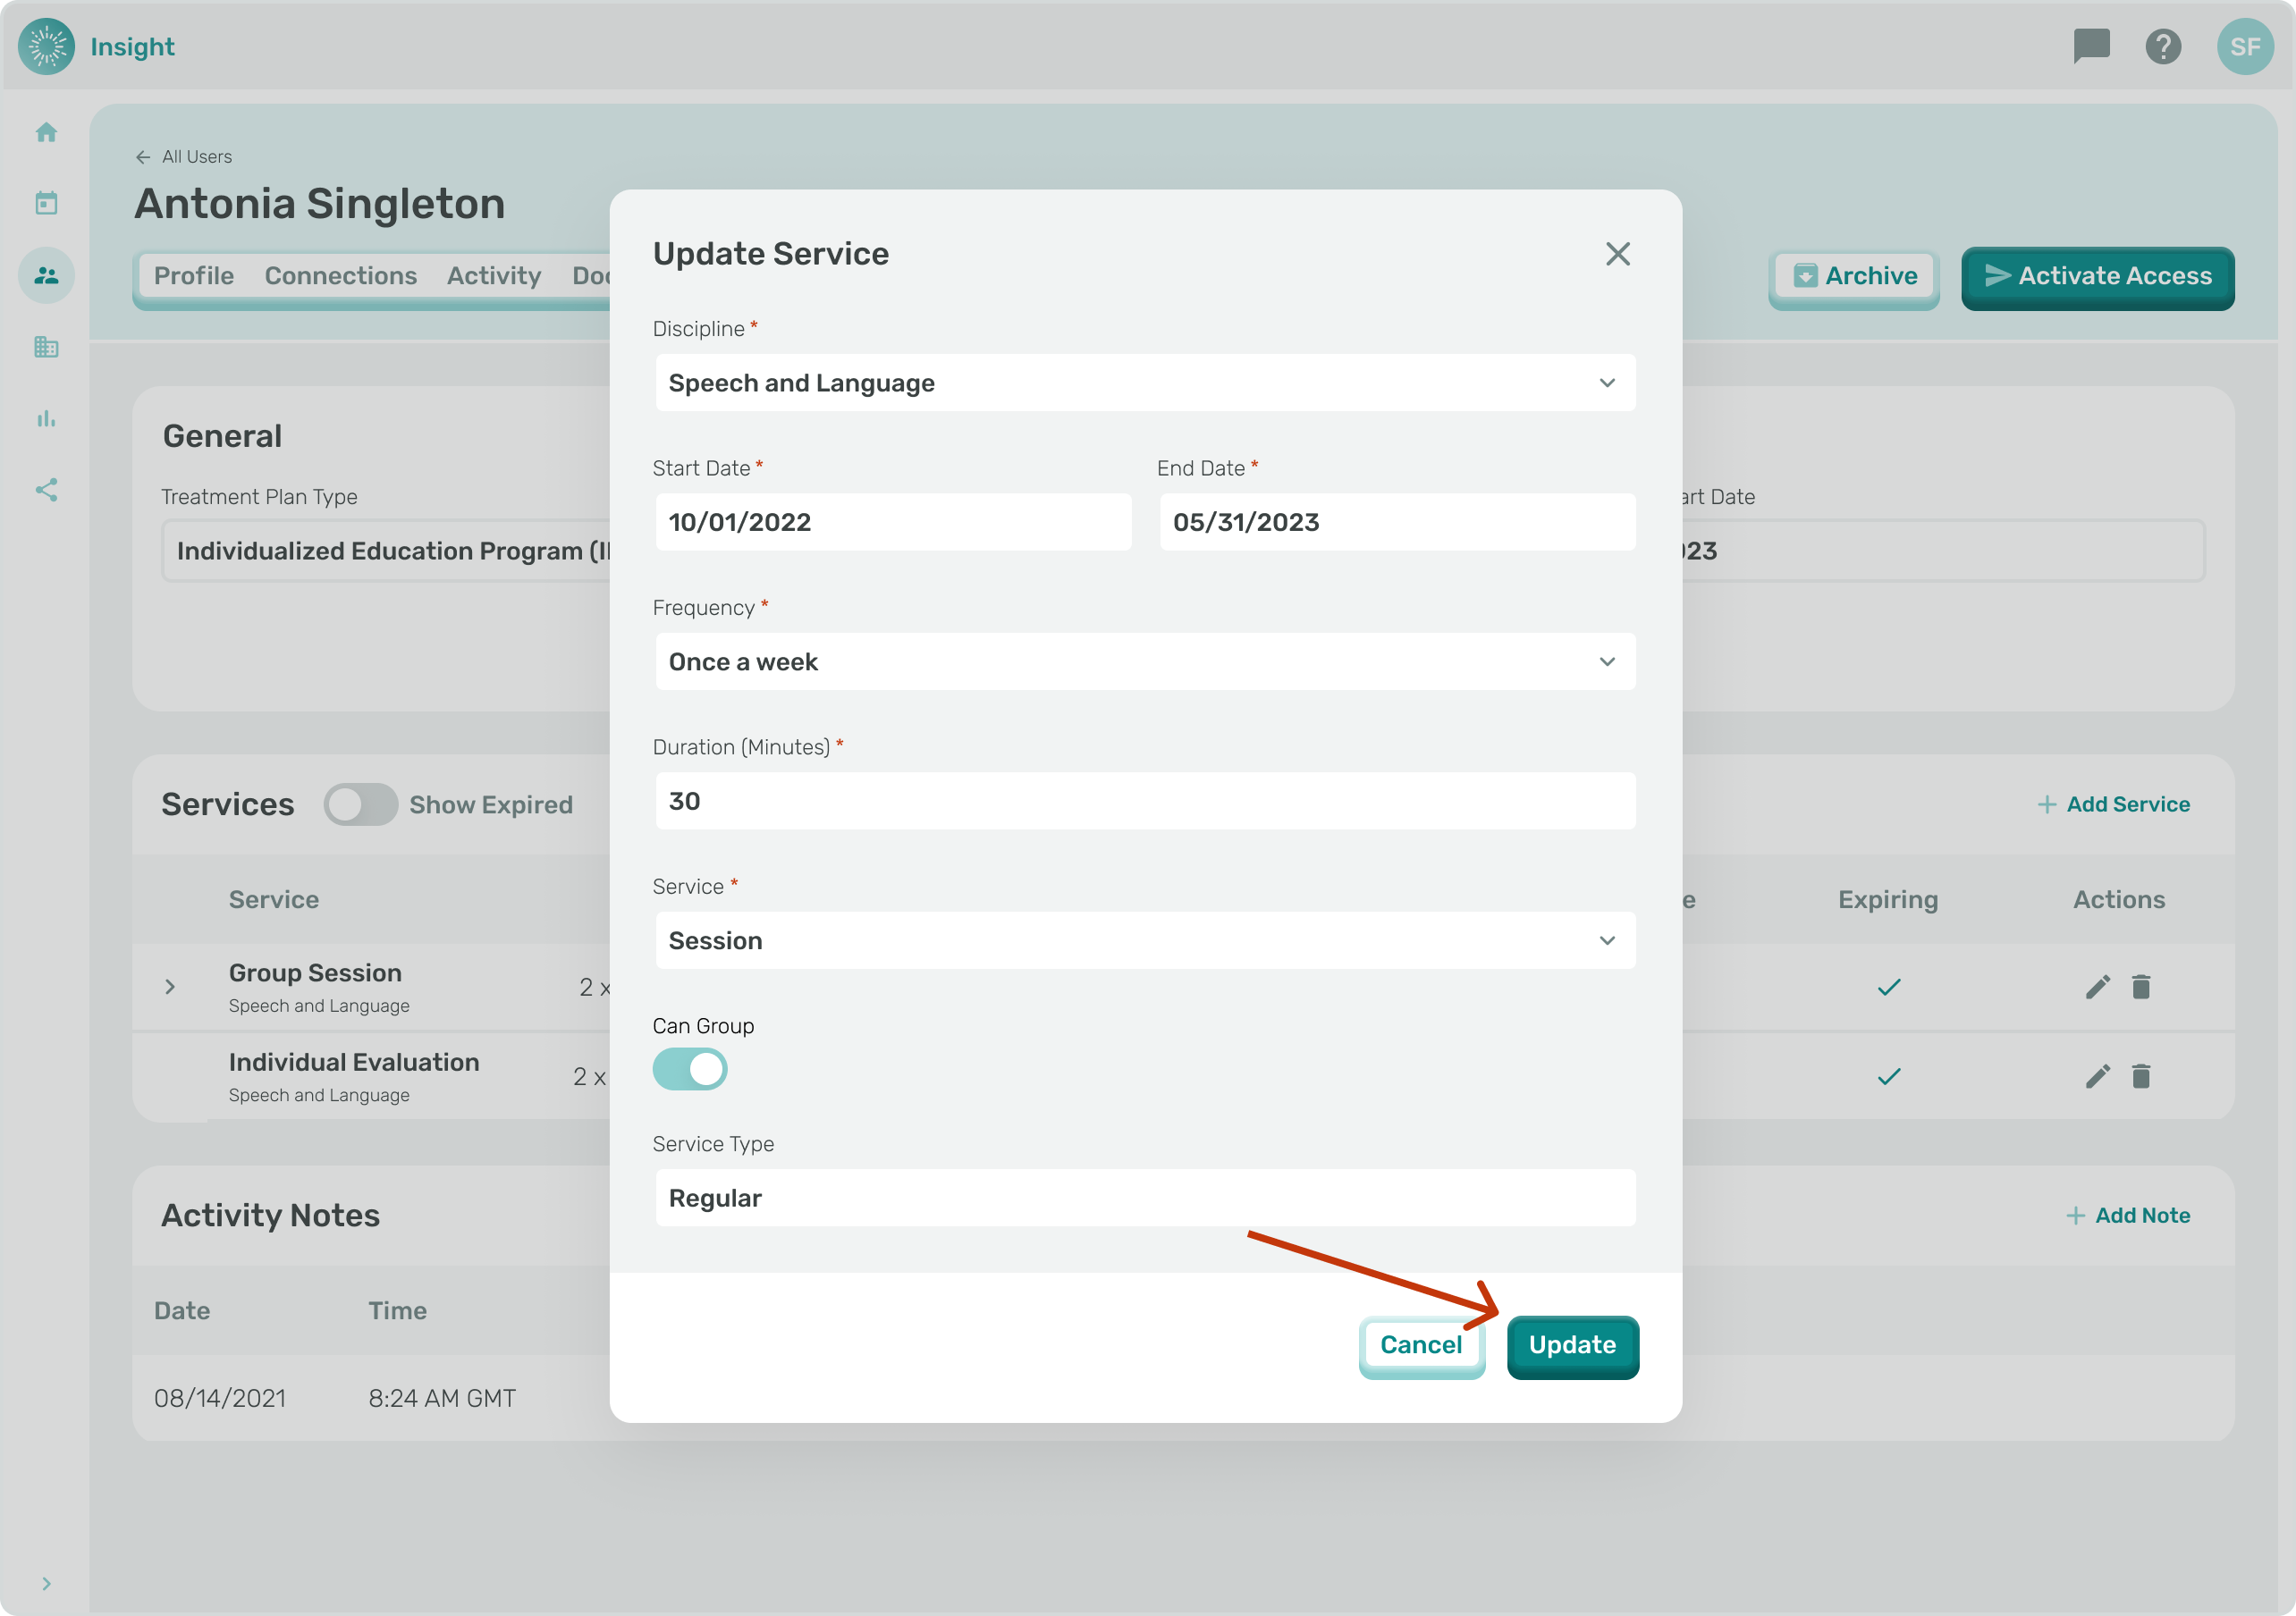
- Once you have entered your Edits click the ‘Update’’ button in the bottom right corner.
- A confirmation will pop up at the top of the screen stating “Saved Service has been added.”
- To Expire an active Service click on the garbage can icon next to the pencil.
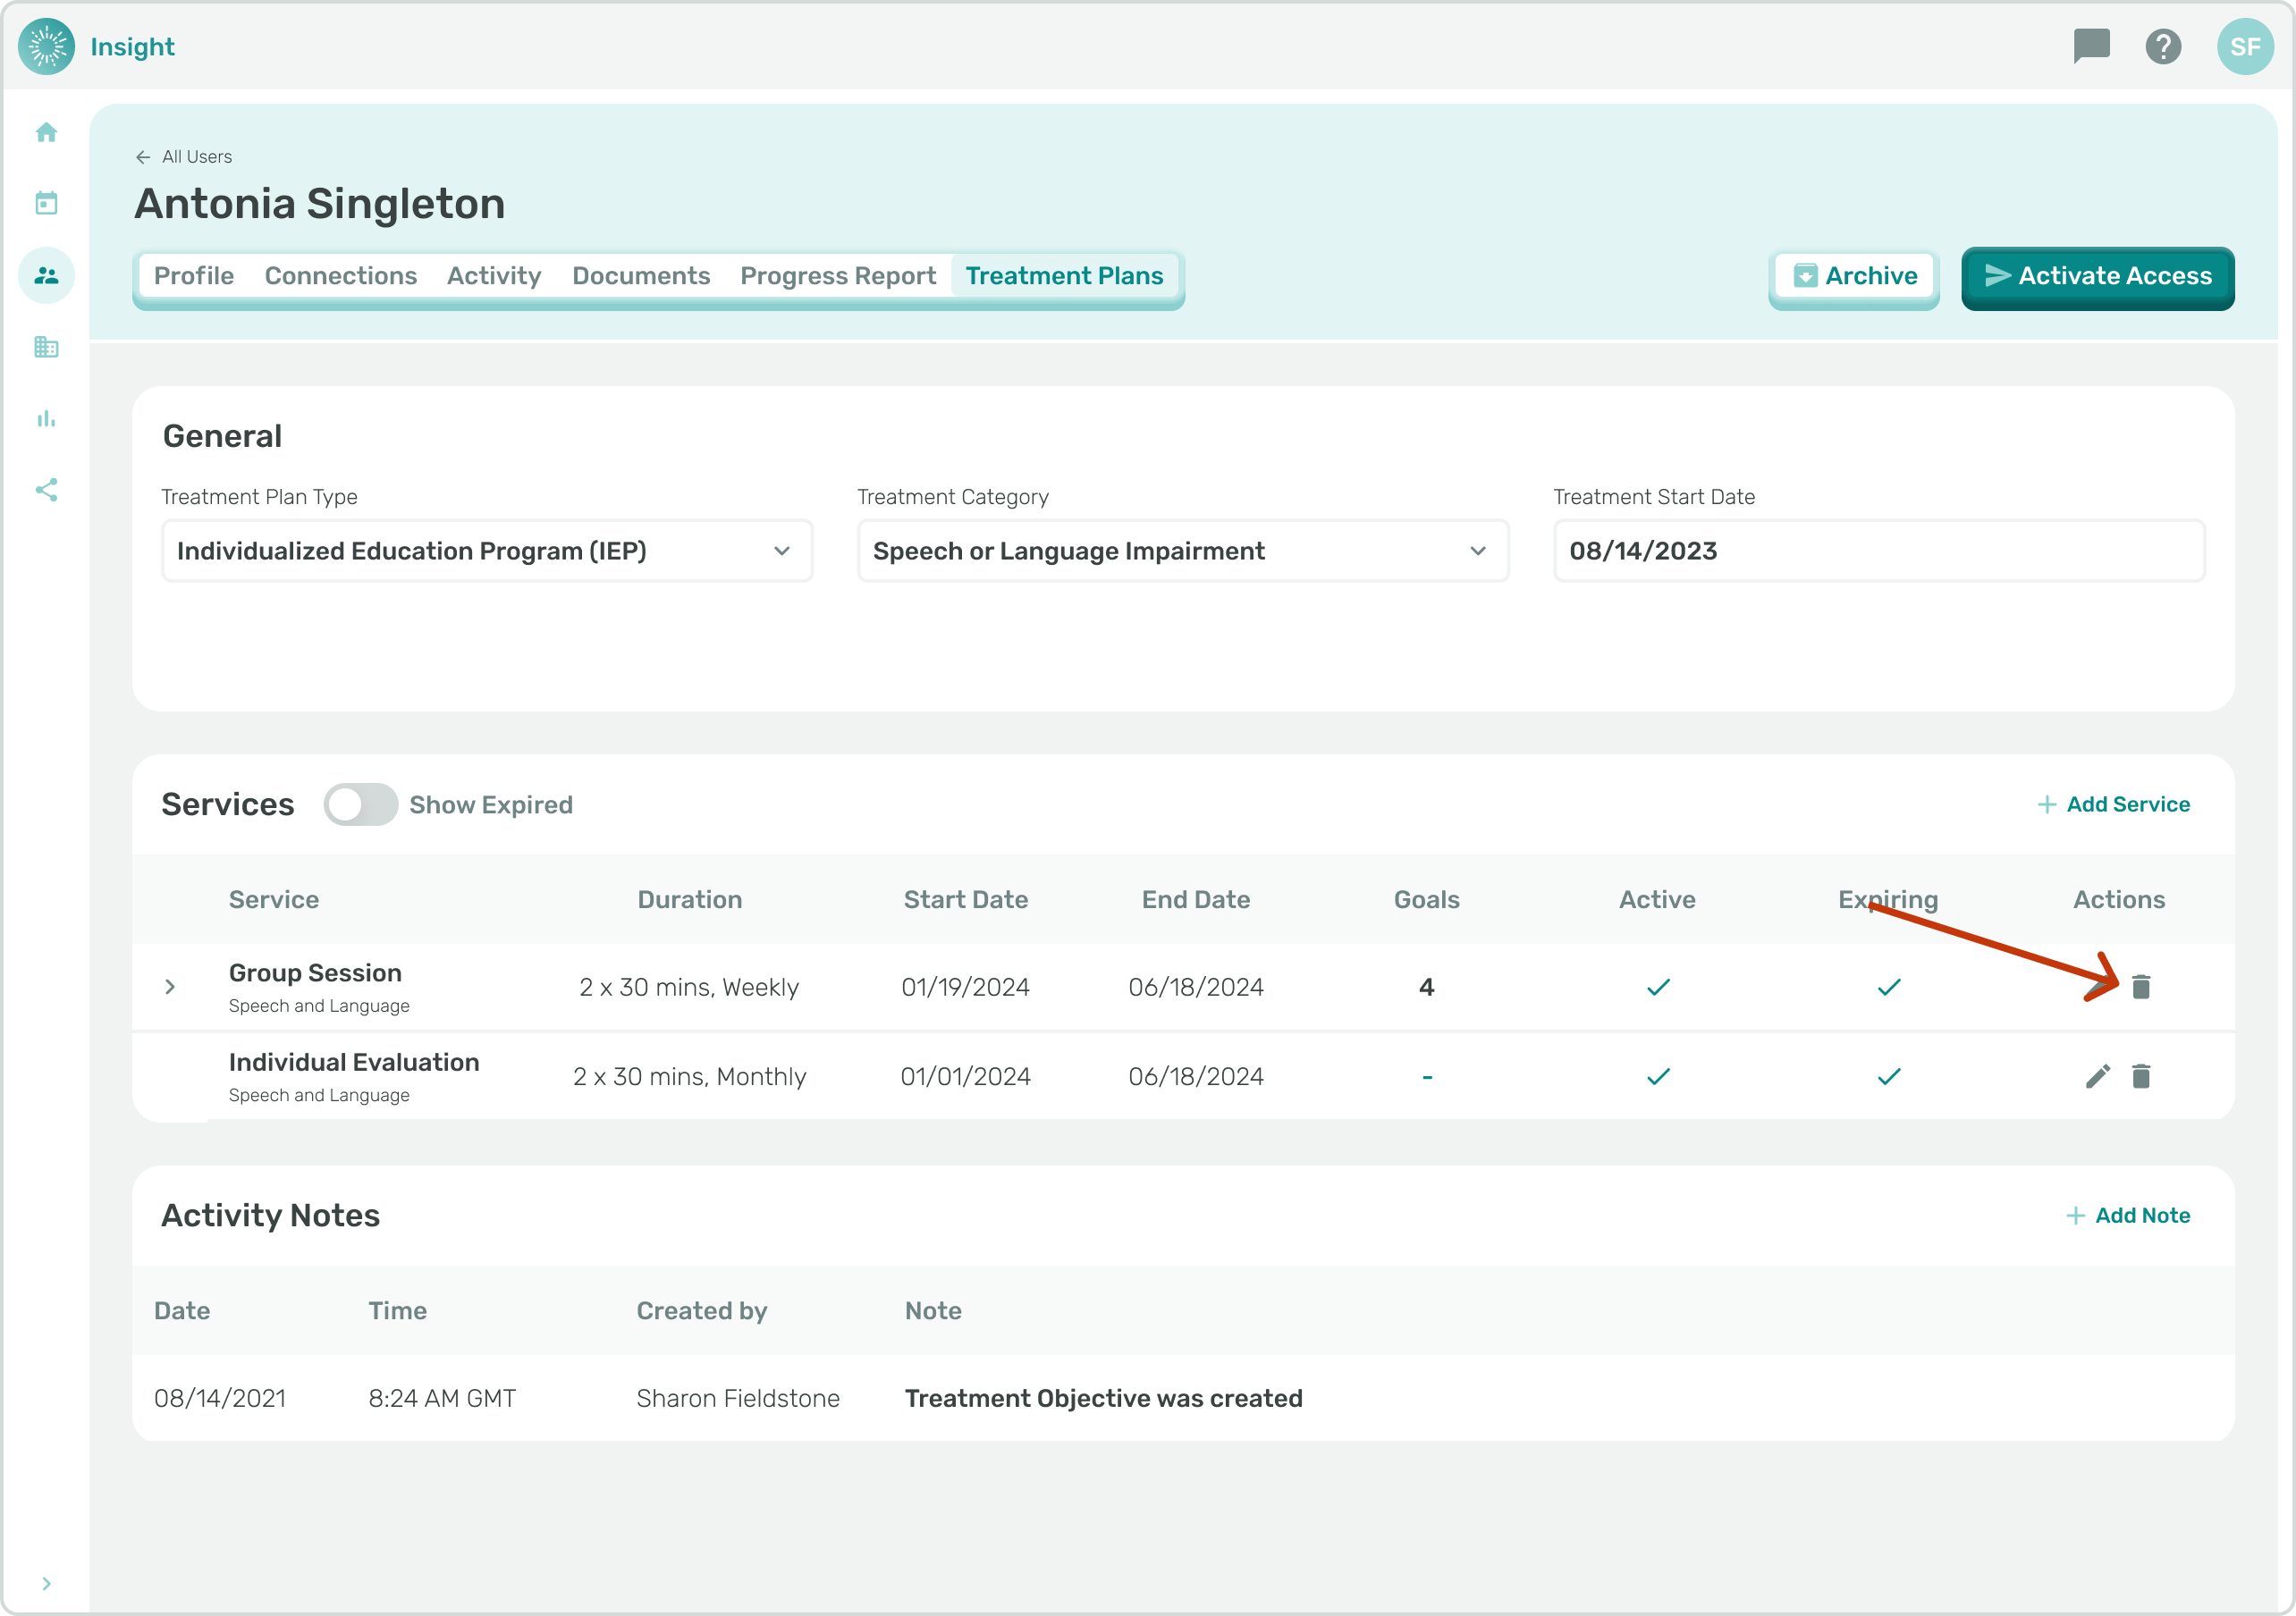
- A confirmation window will open asking if you "Are you sure you want to expire this service?"
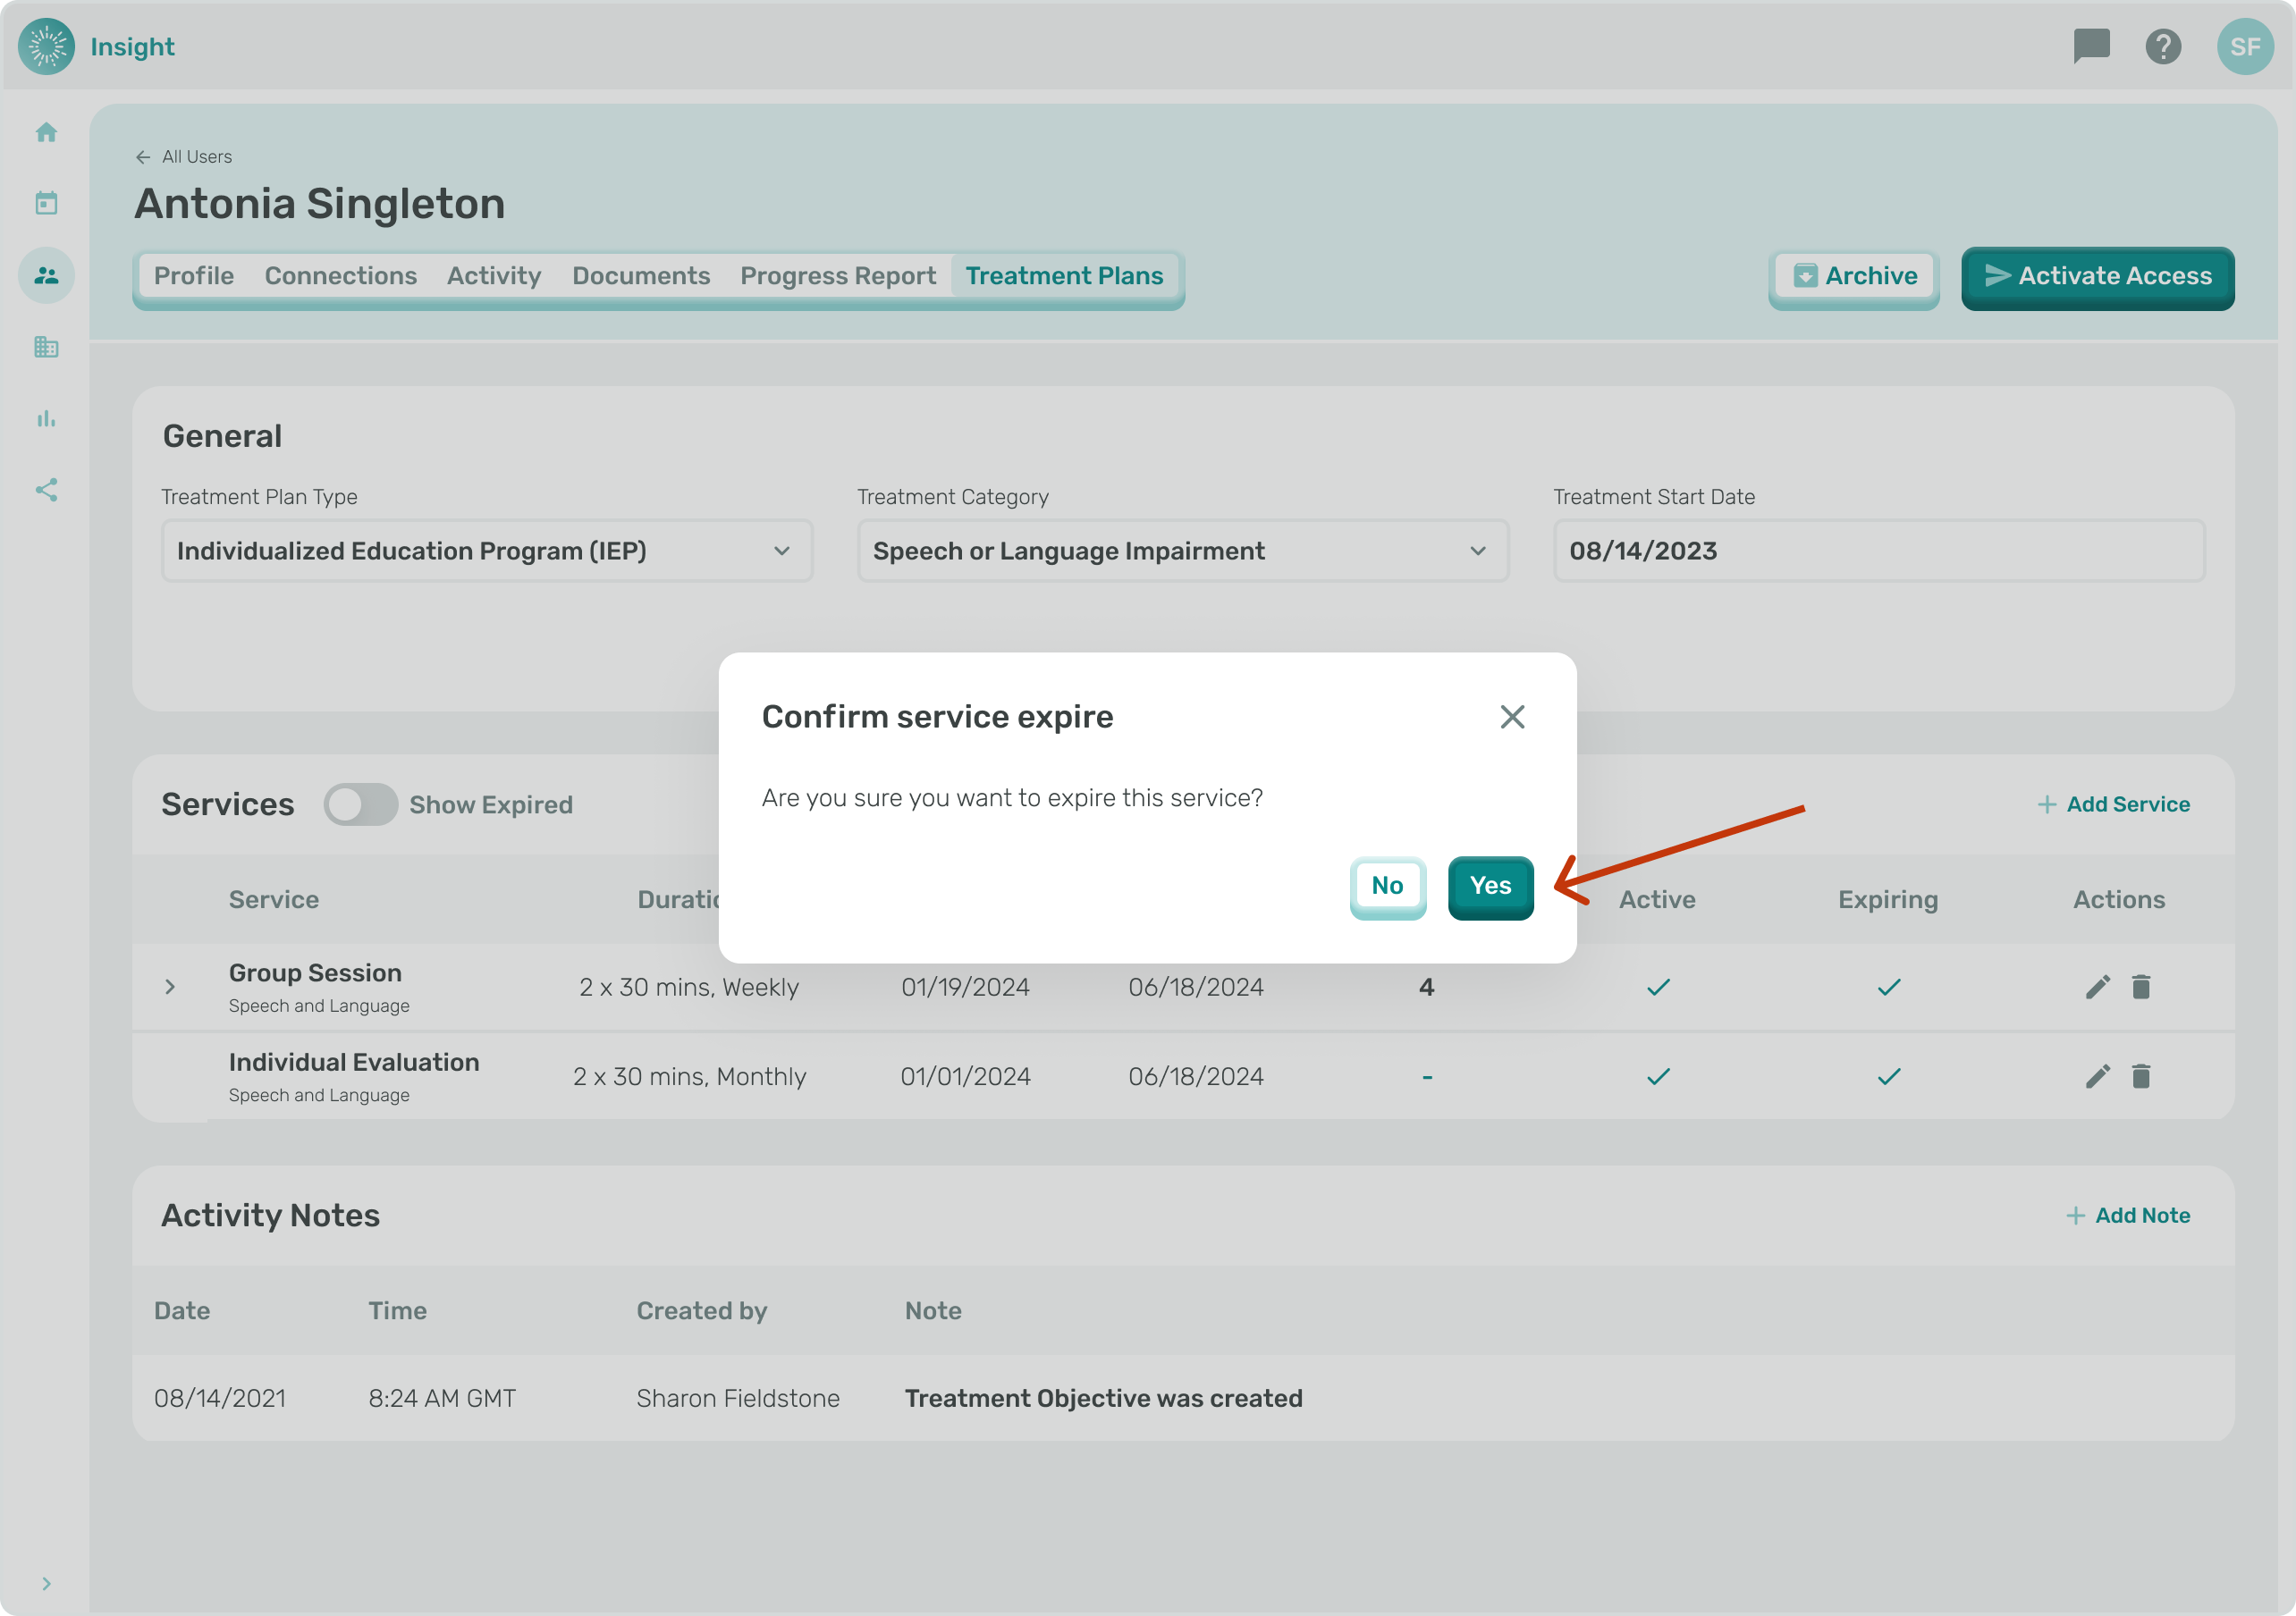
- Click the "Yes" button to confirm you want the Service expired. To close the window and not save you can either click the “X” in the top right corner or click the "No" button at the bottom right corner of the modal.