As a Service Provider or School Admin, you can Select and Edit your connected Students’ Treatment Plans.
- Navigate to the Student Page from the side menu.
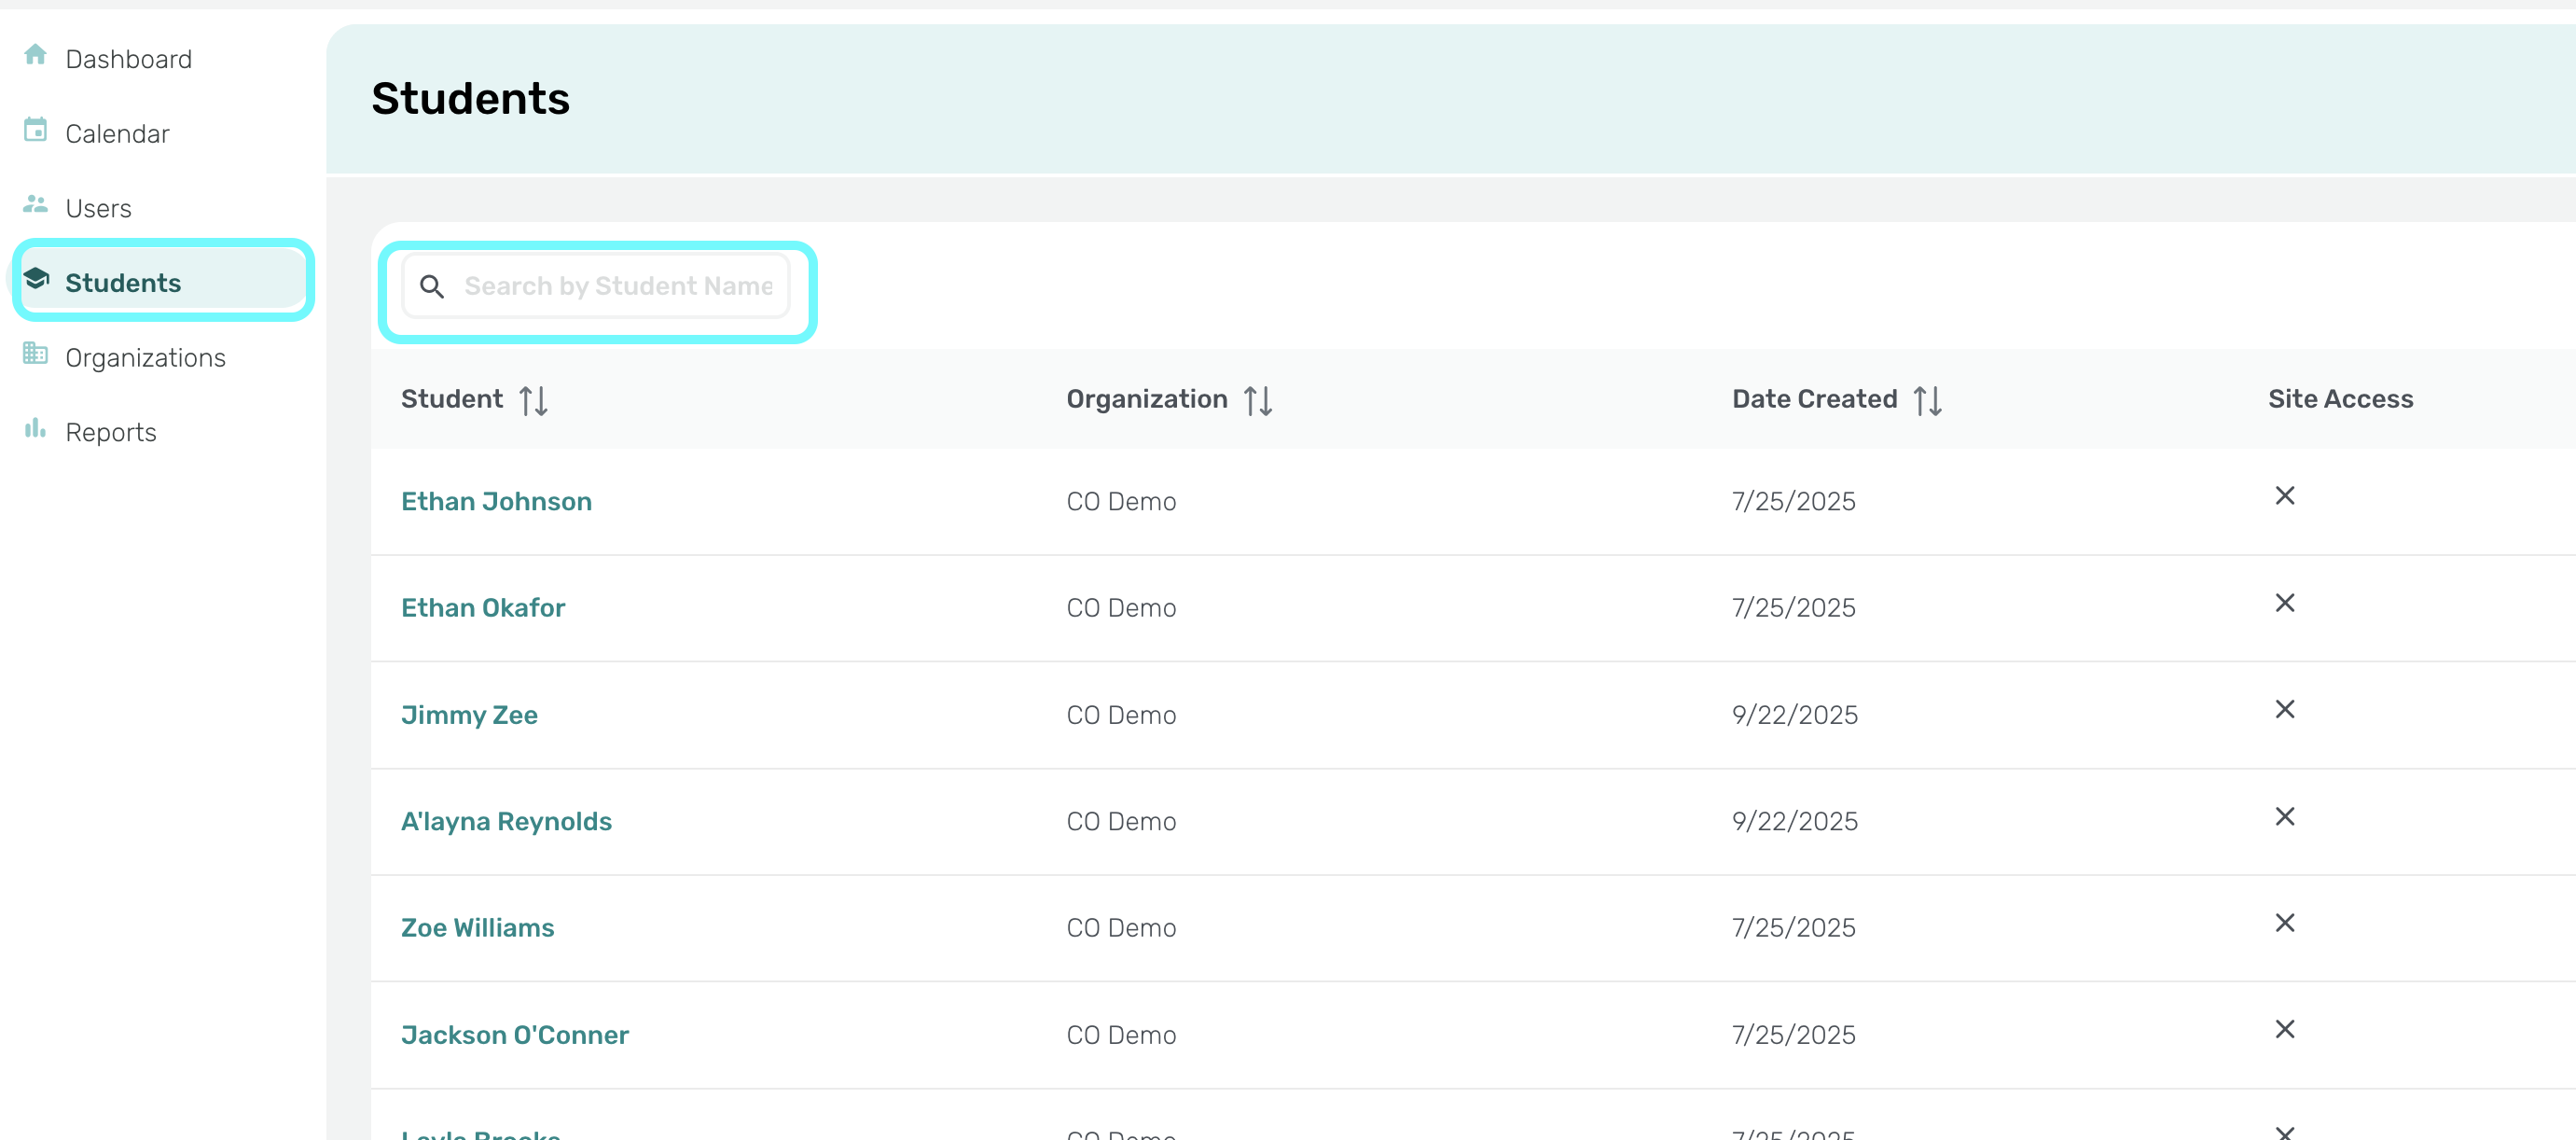
- Profile
- Activity
- Connections
- Documents
- Progress Report
- Treatment Plans
- Click on the ‘Treatment Plans’ tab.
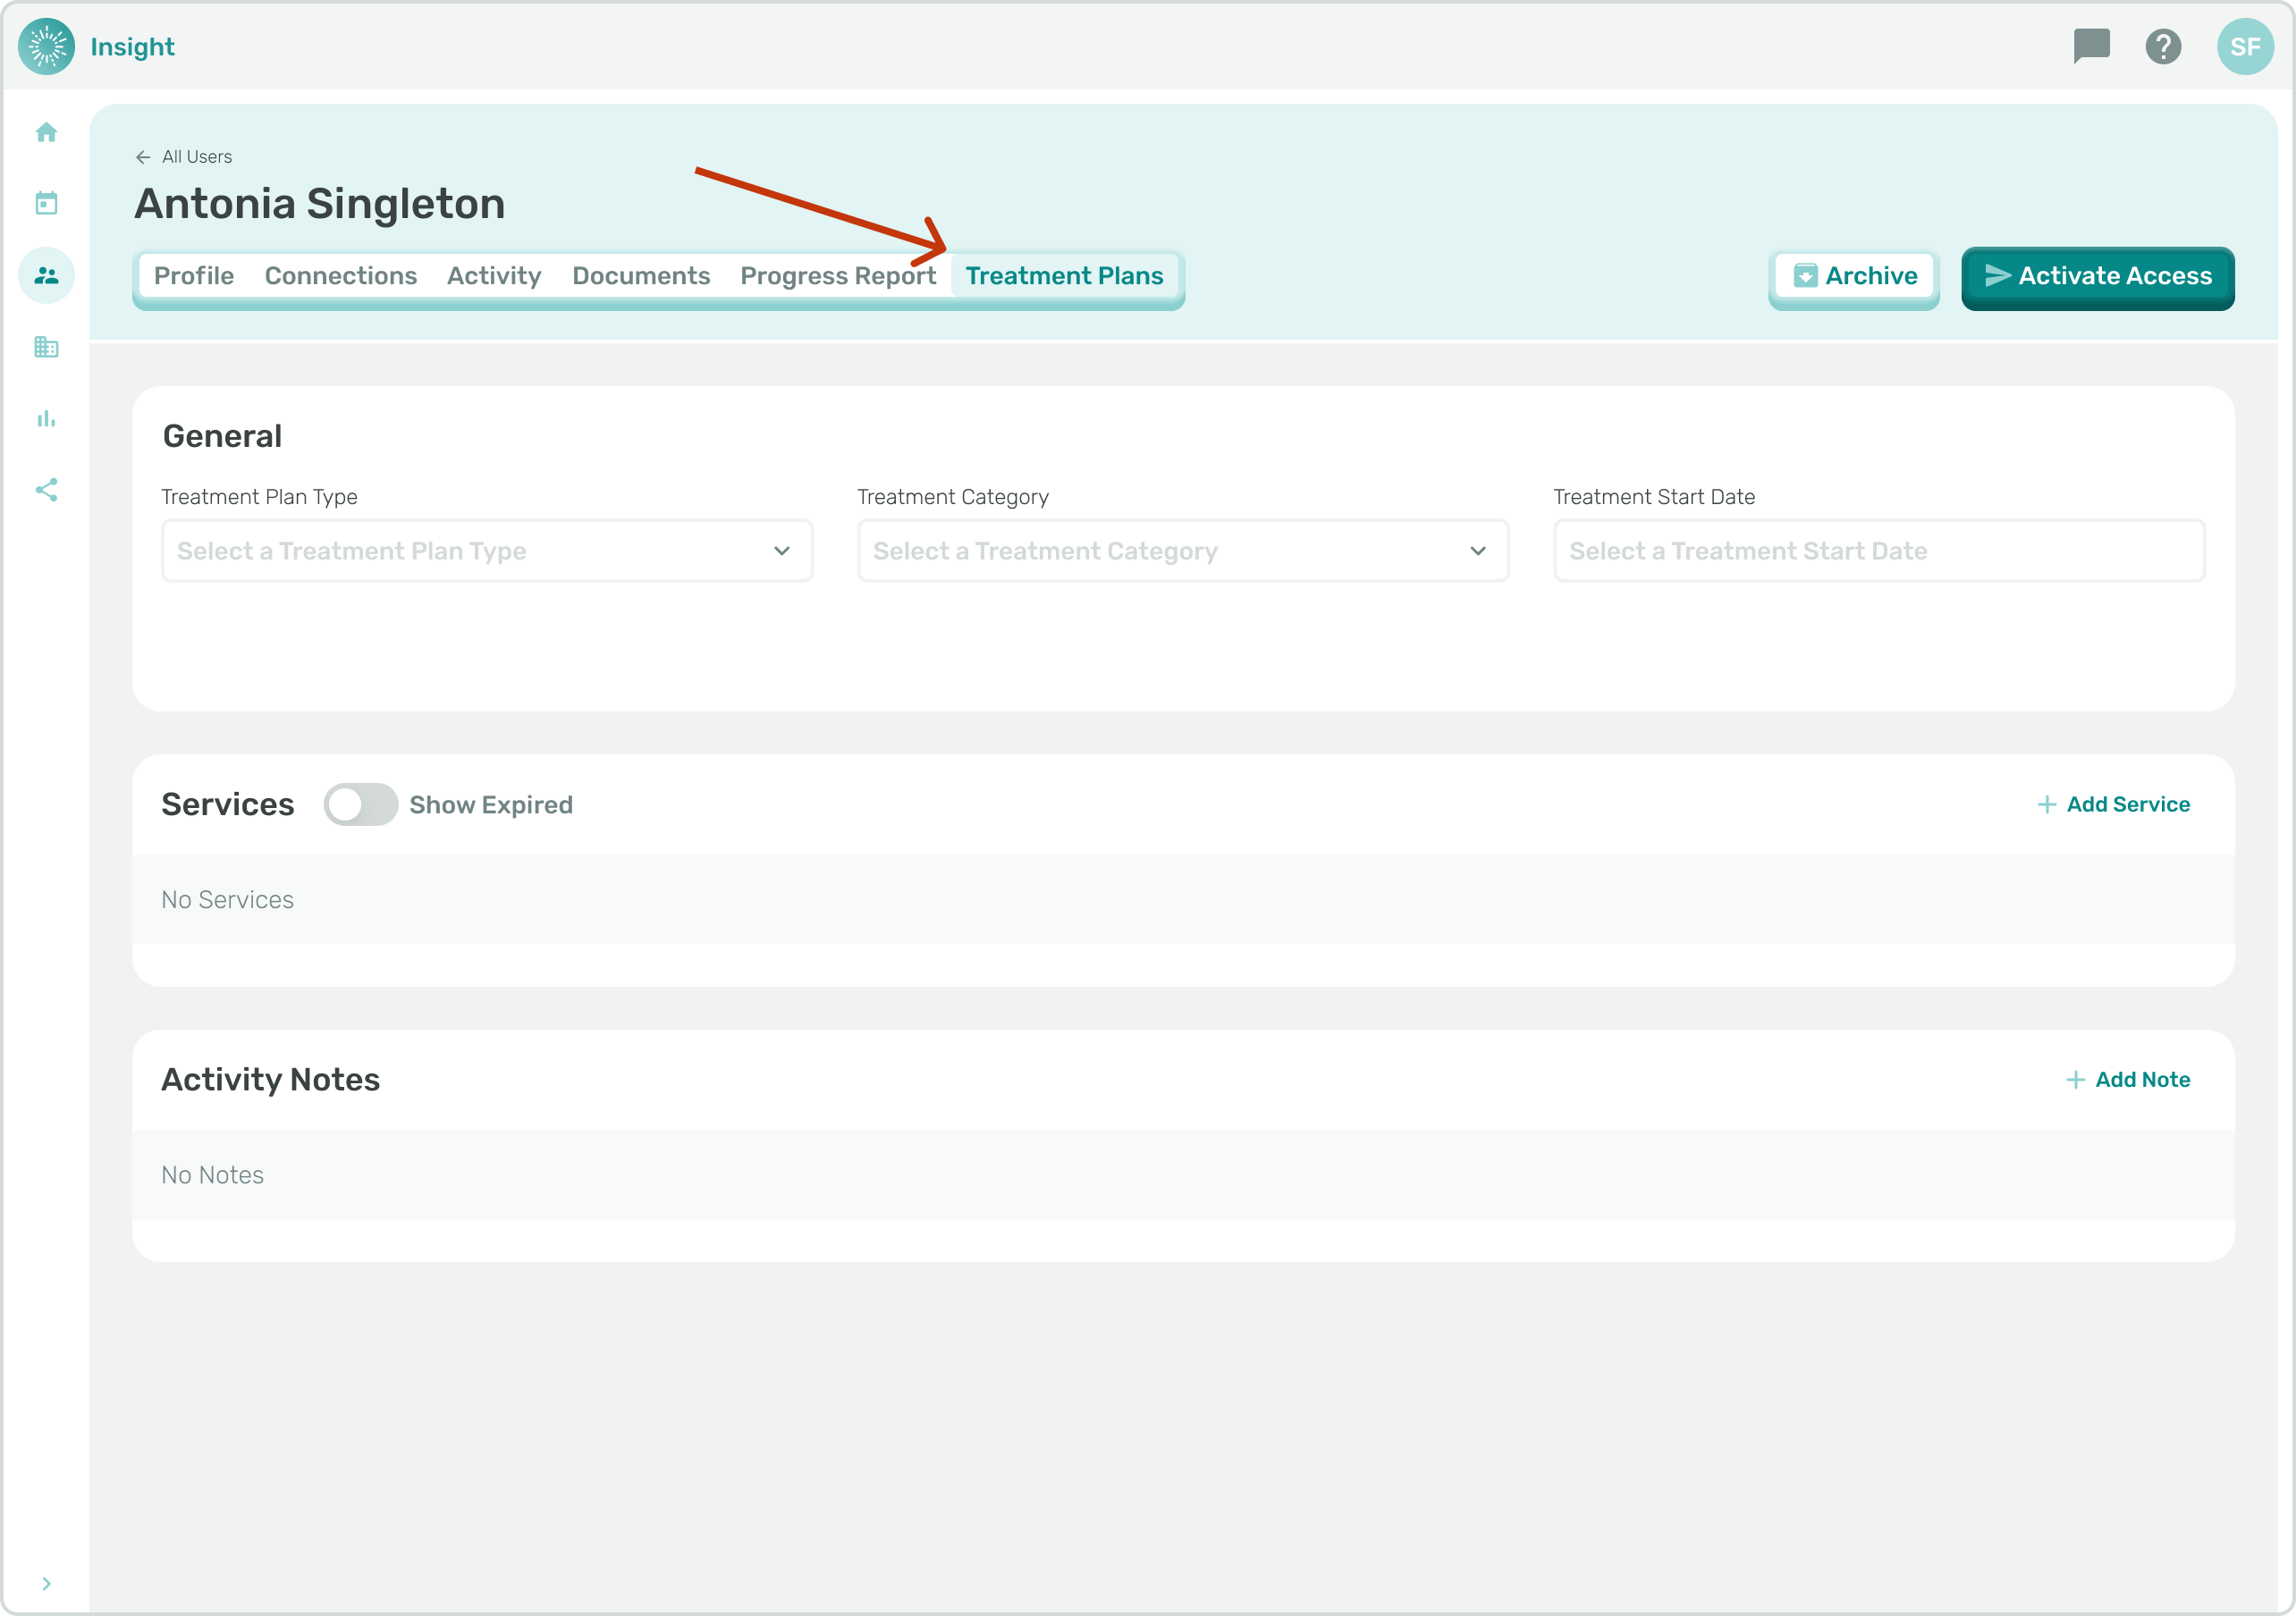
- There are 3 sections listed under ‘Treatment Plans’ that you can Edit:
- General
- Services
- Notes
For this article we are focusing on the General section for Selecting and Editing a Treatment Plan.
- In the General section, to Select or Edit a Treatment Plan, there are 3 mandatory categories to complete:
- Treatment Plan Types
- General Education
- Individualized Education Program (IEP)
- Treatment Plan Types
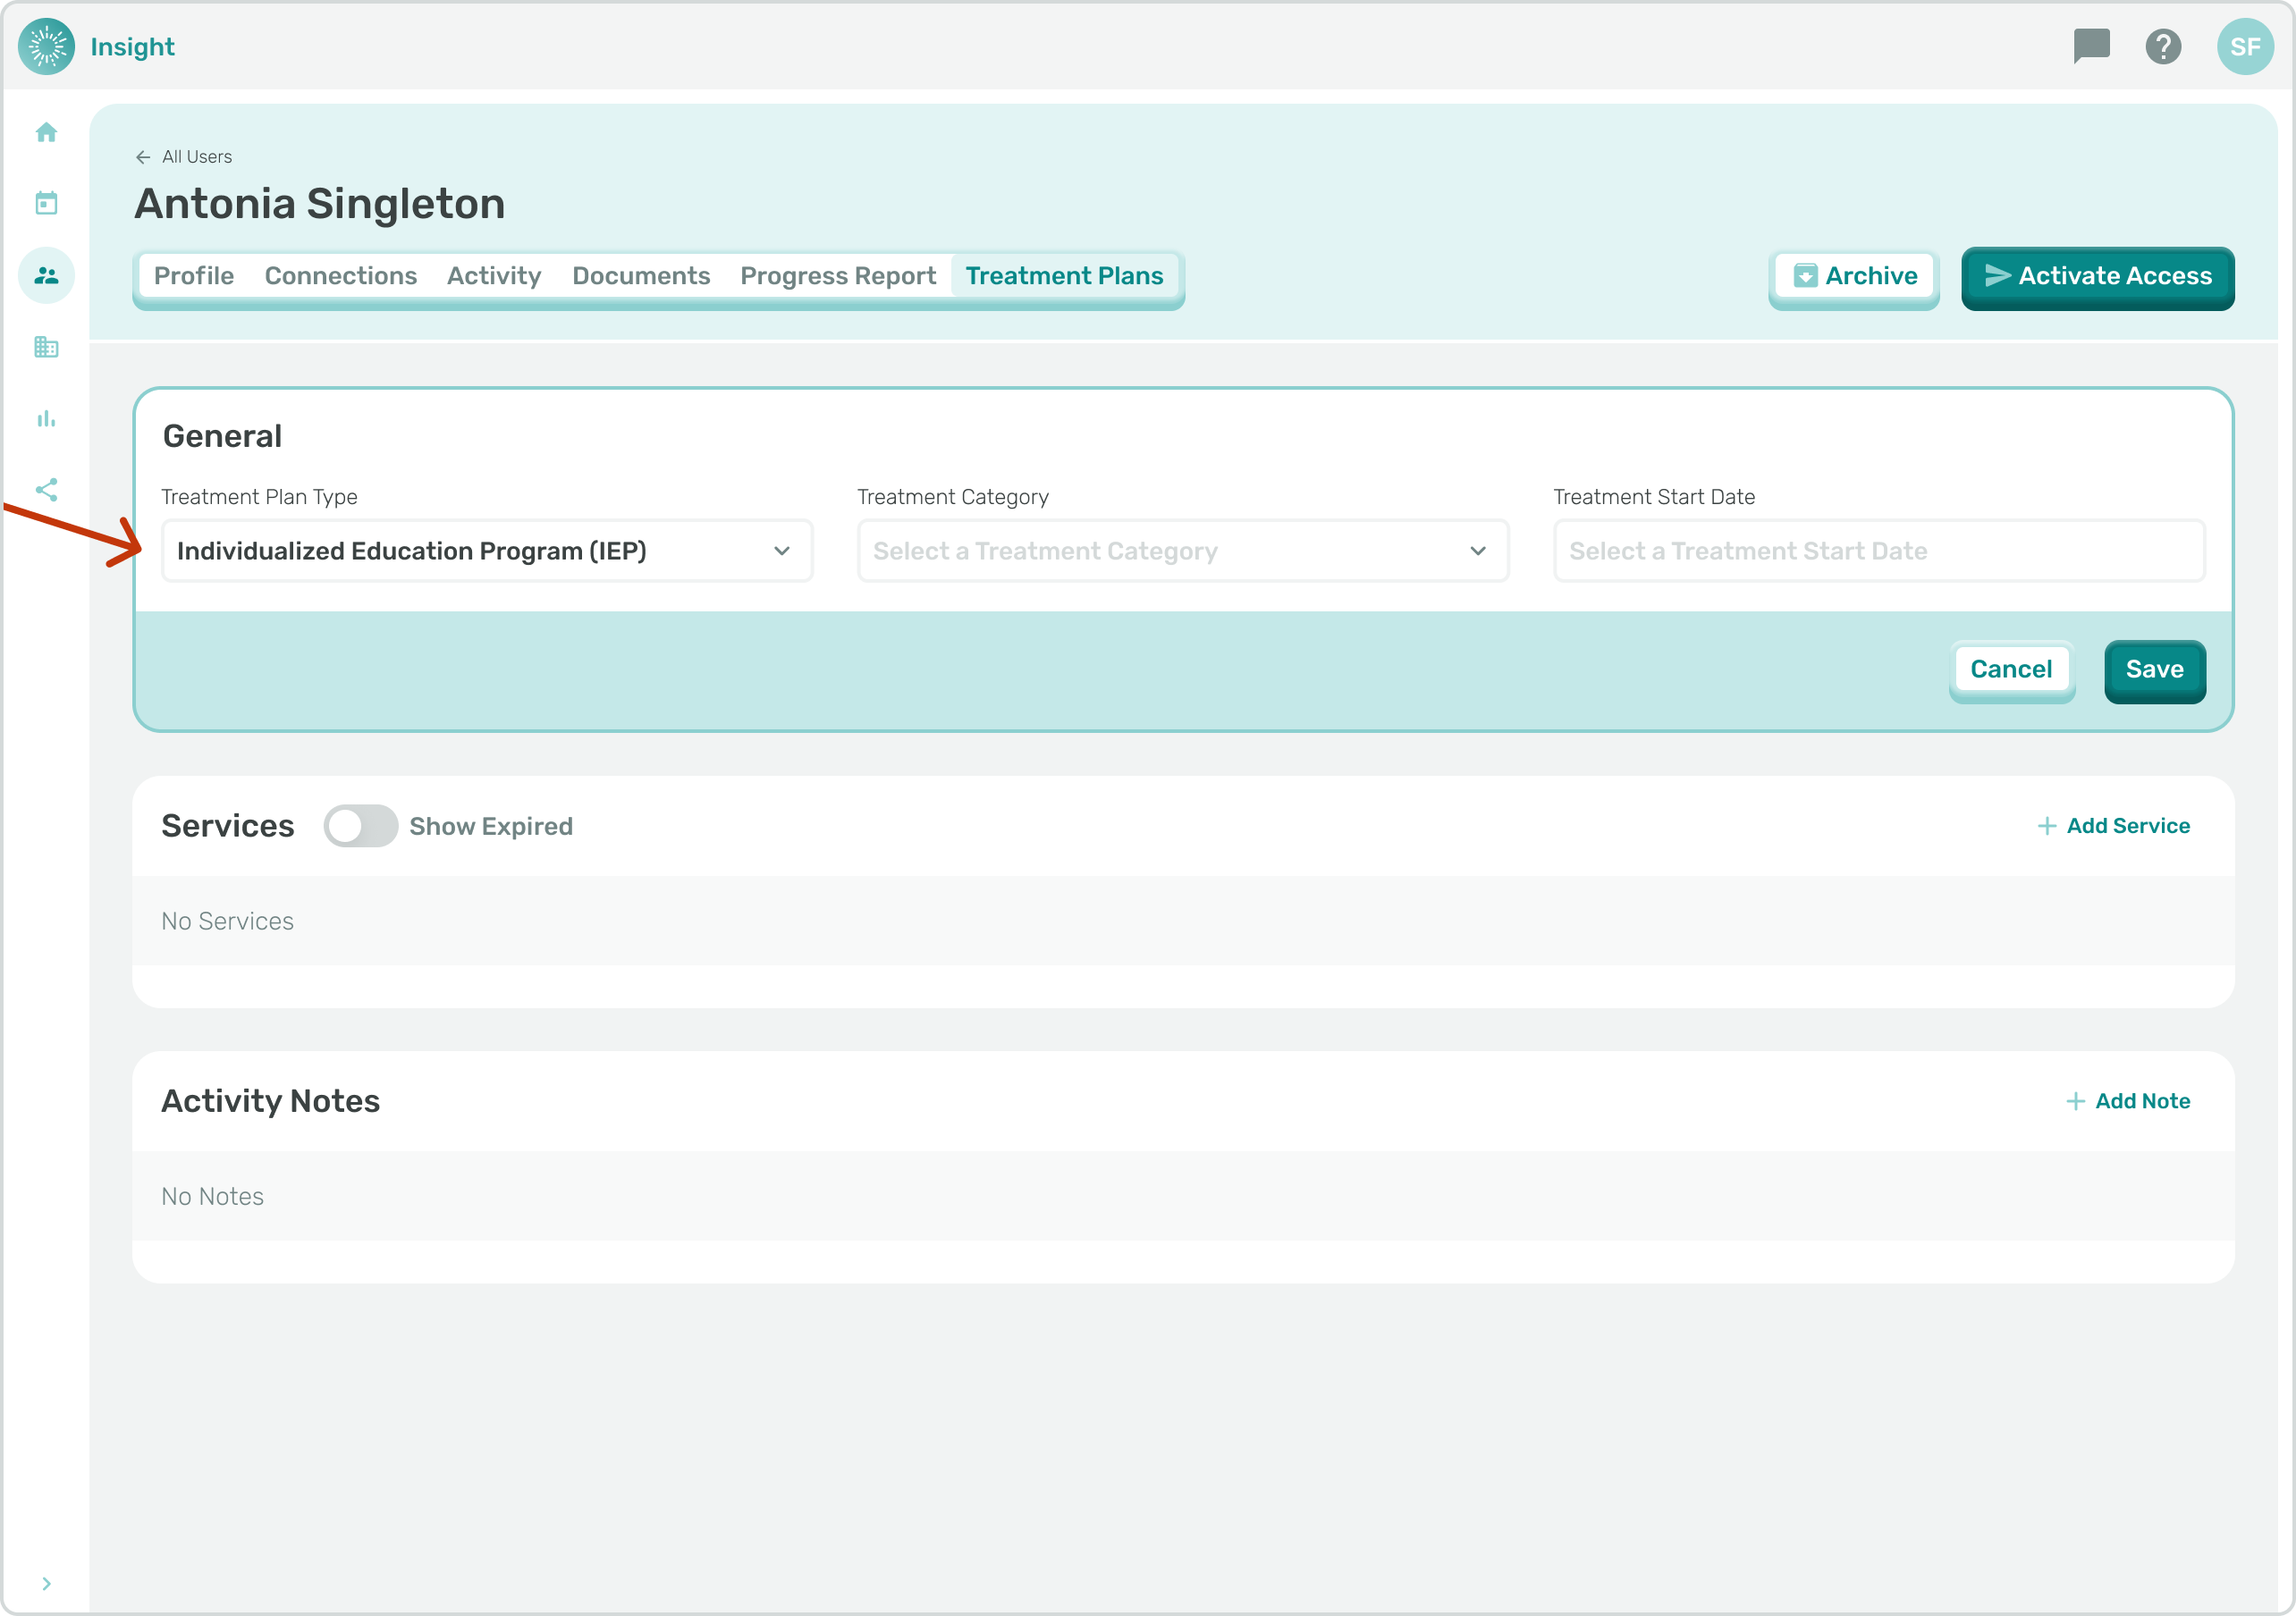
- Treatment Category
- When General Education is selected for Treatment Plan Type the only Treatment Category is Mental Health Therapy.
- When Individualized Education Program is selected for Treatment Plan Type there are multiple Treatment Categories (select one from the dropdown menu):
- Autism
- Blindness
- Communication Disorder
- Deafness
- Developmental Delay
- Emotional Disturbance
- Hearing Impairment
- Intellectual Disability
- Multiple Disabilities
- Orthopedic Impairment
- Other Health Impaired
- Specific Learning Disability
- Speech or Language Impairment
- Traumatic Brain Injury
- Visual Impairment

- Treatment Start Date: Click on the date box and a calendar will open.
- To select the Start Date click on the actual date on the calendar.
- To change months click on the left arrow to go back to previous months and click on the right arrow to go forward in the months.
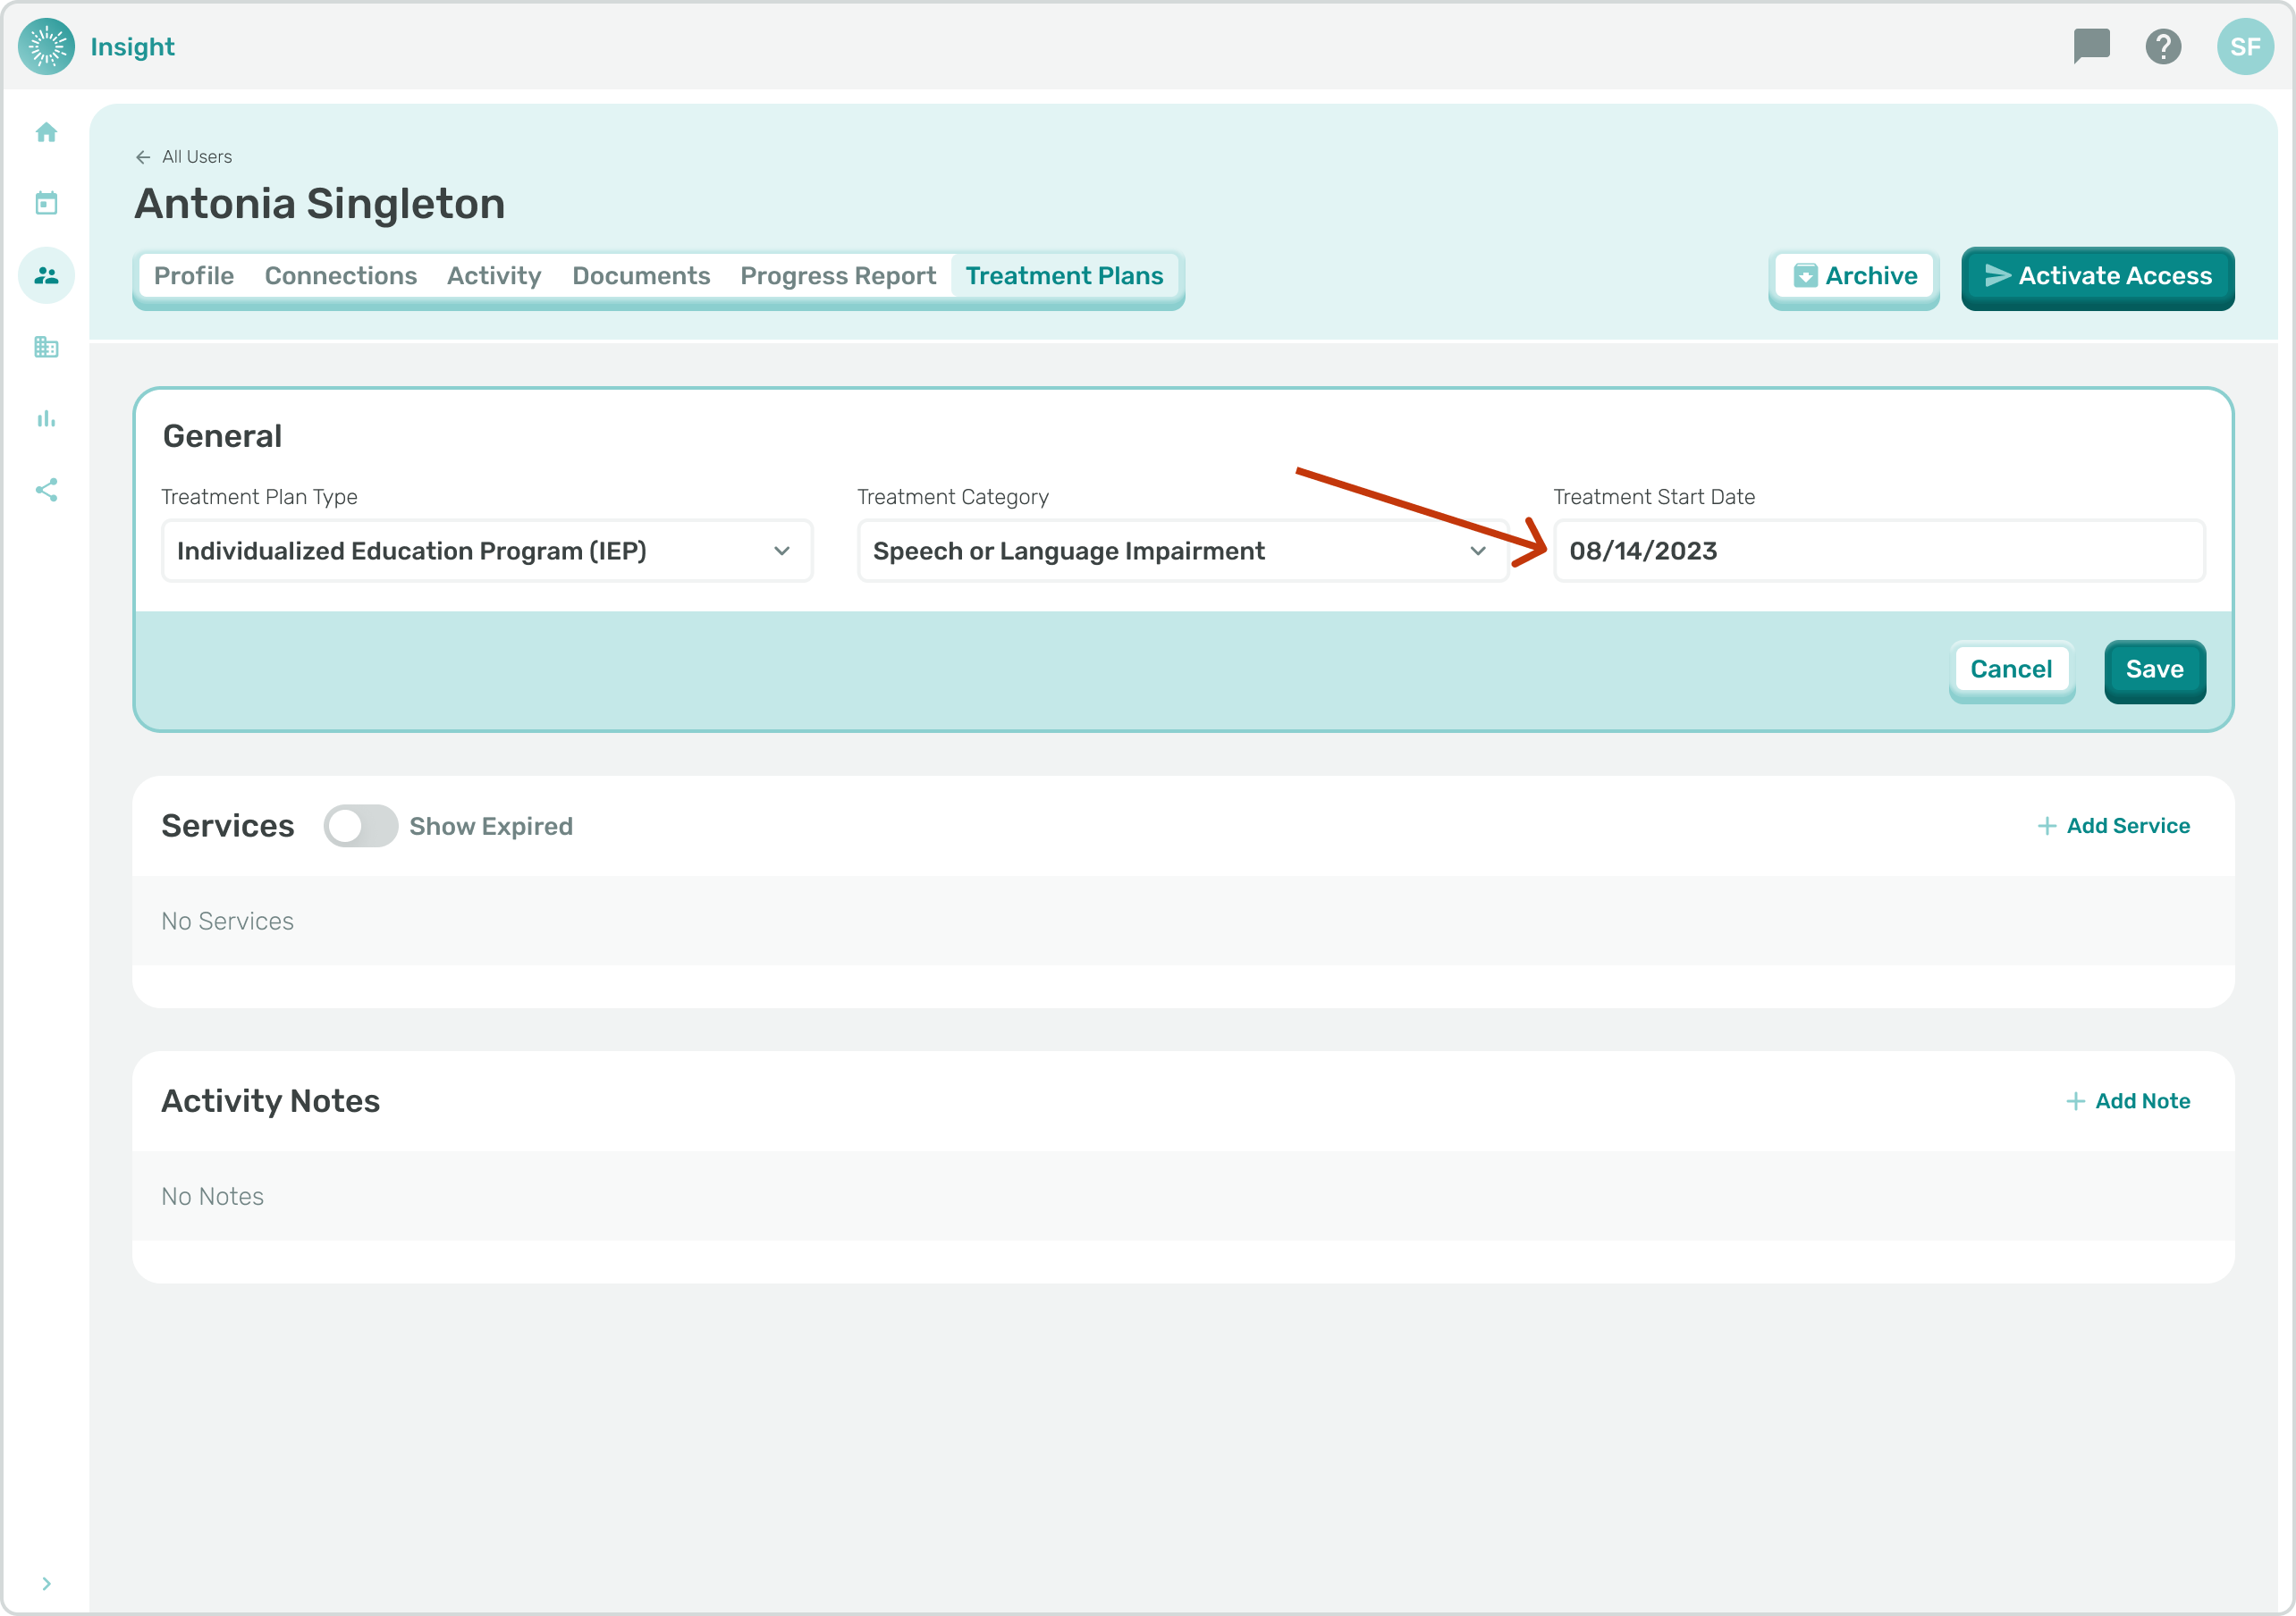
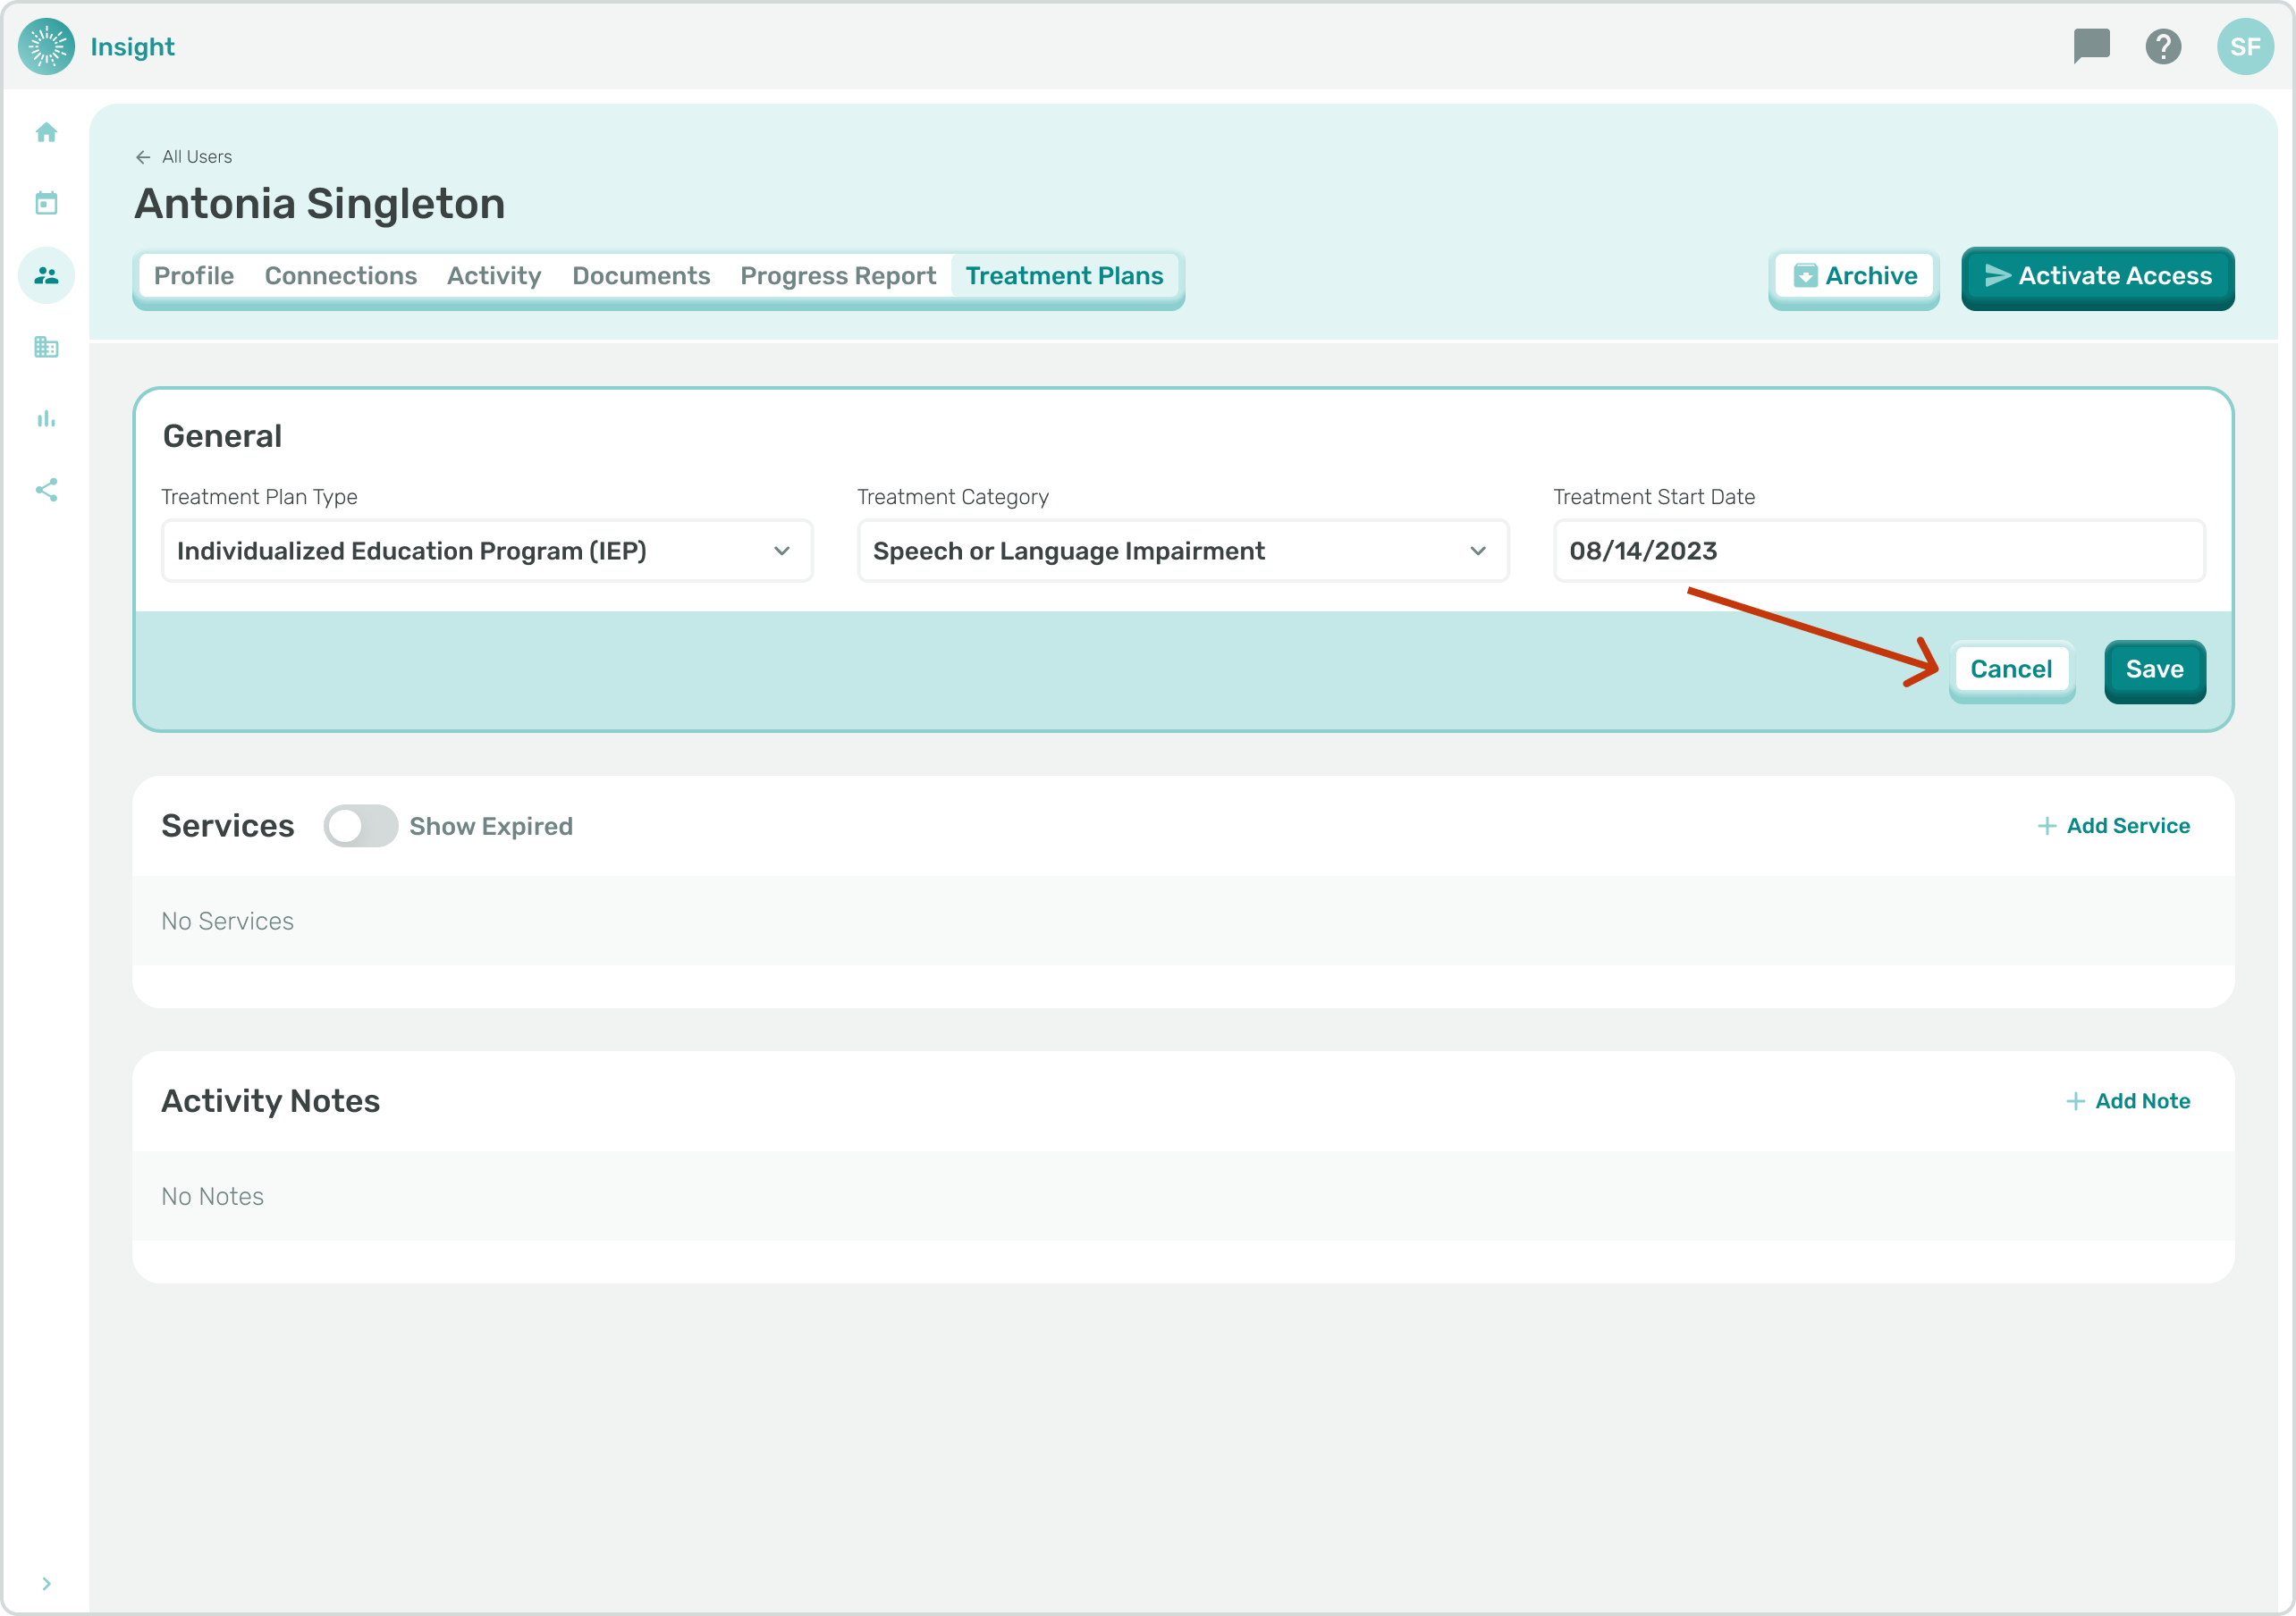
- To Cancel the Treatment Plan creation at any time, and not save your added information, click the Cancel button at the bottom right corner of the General section. Once clicked the added information will clear and go back to the default settings.
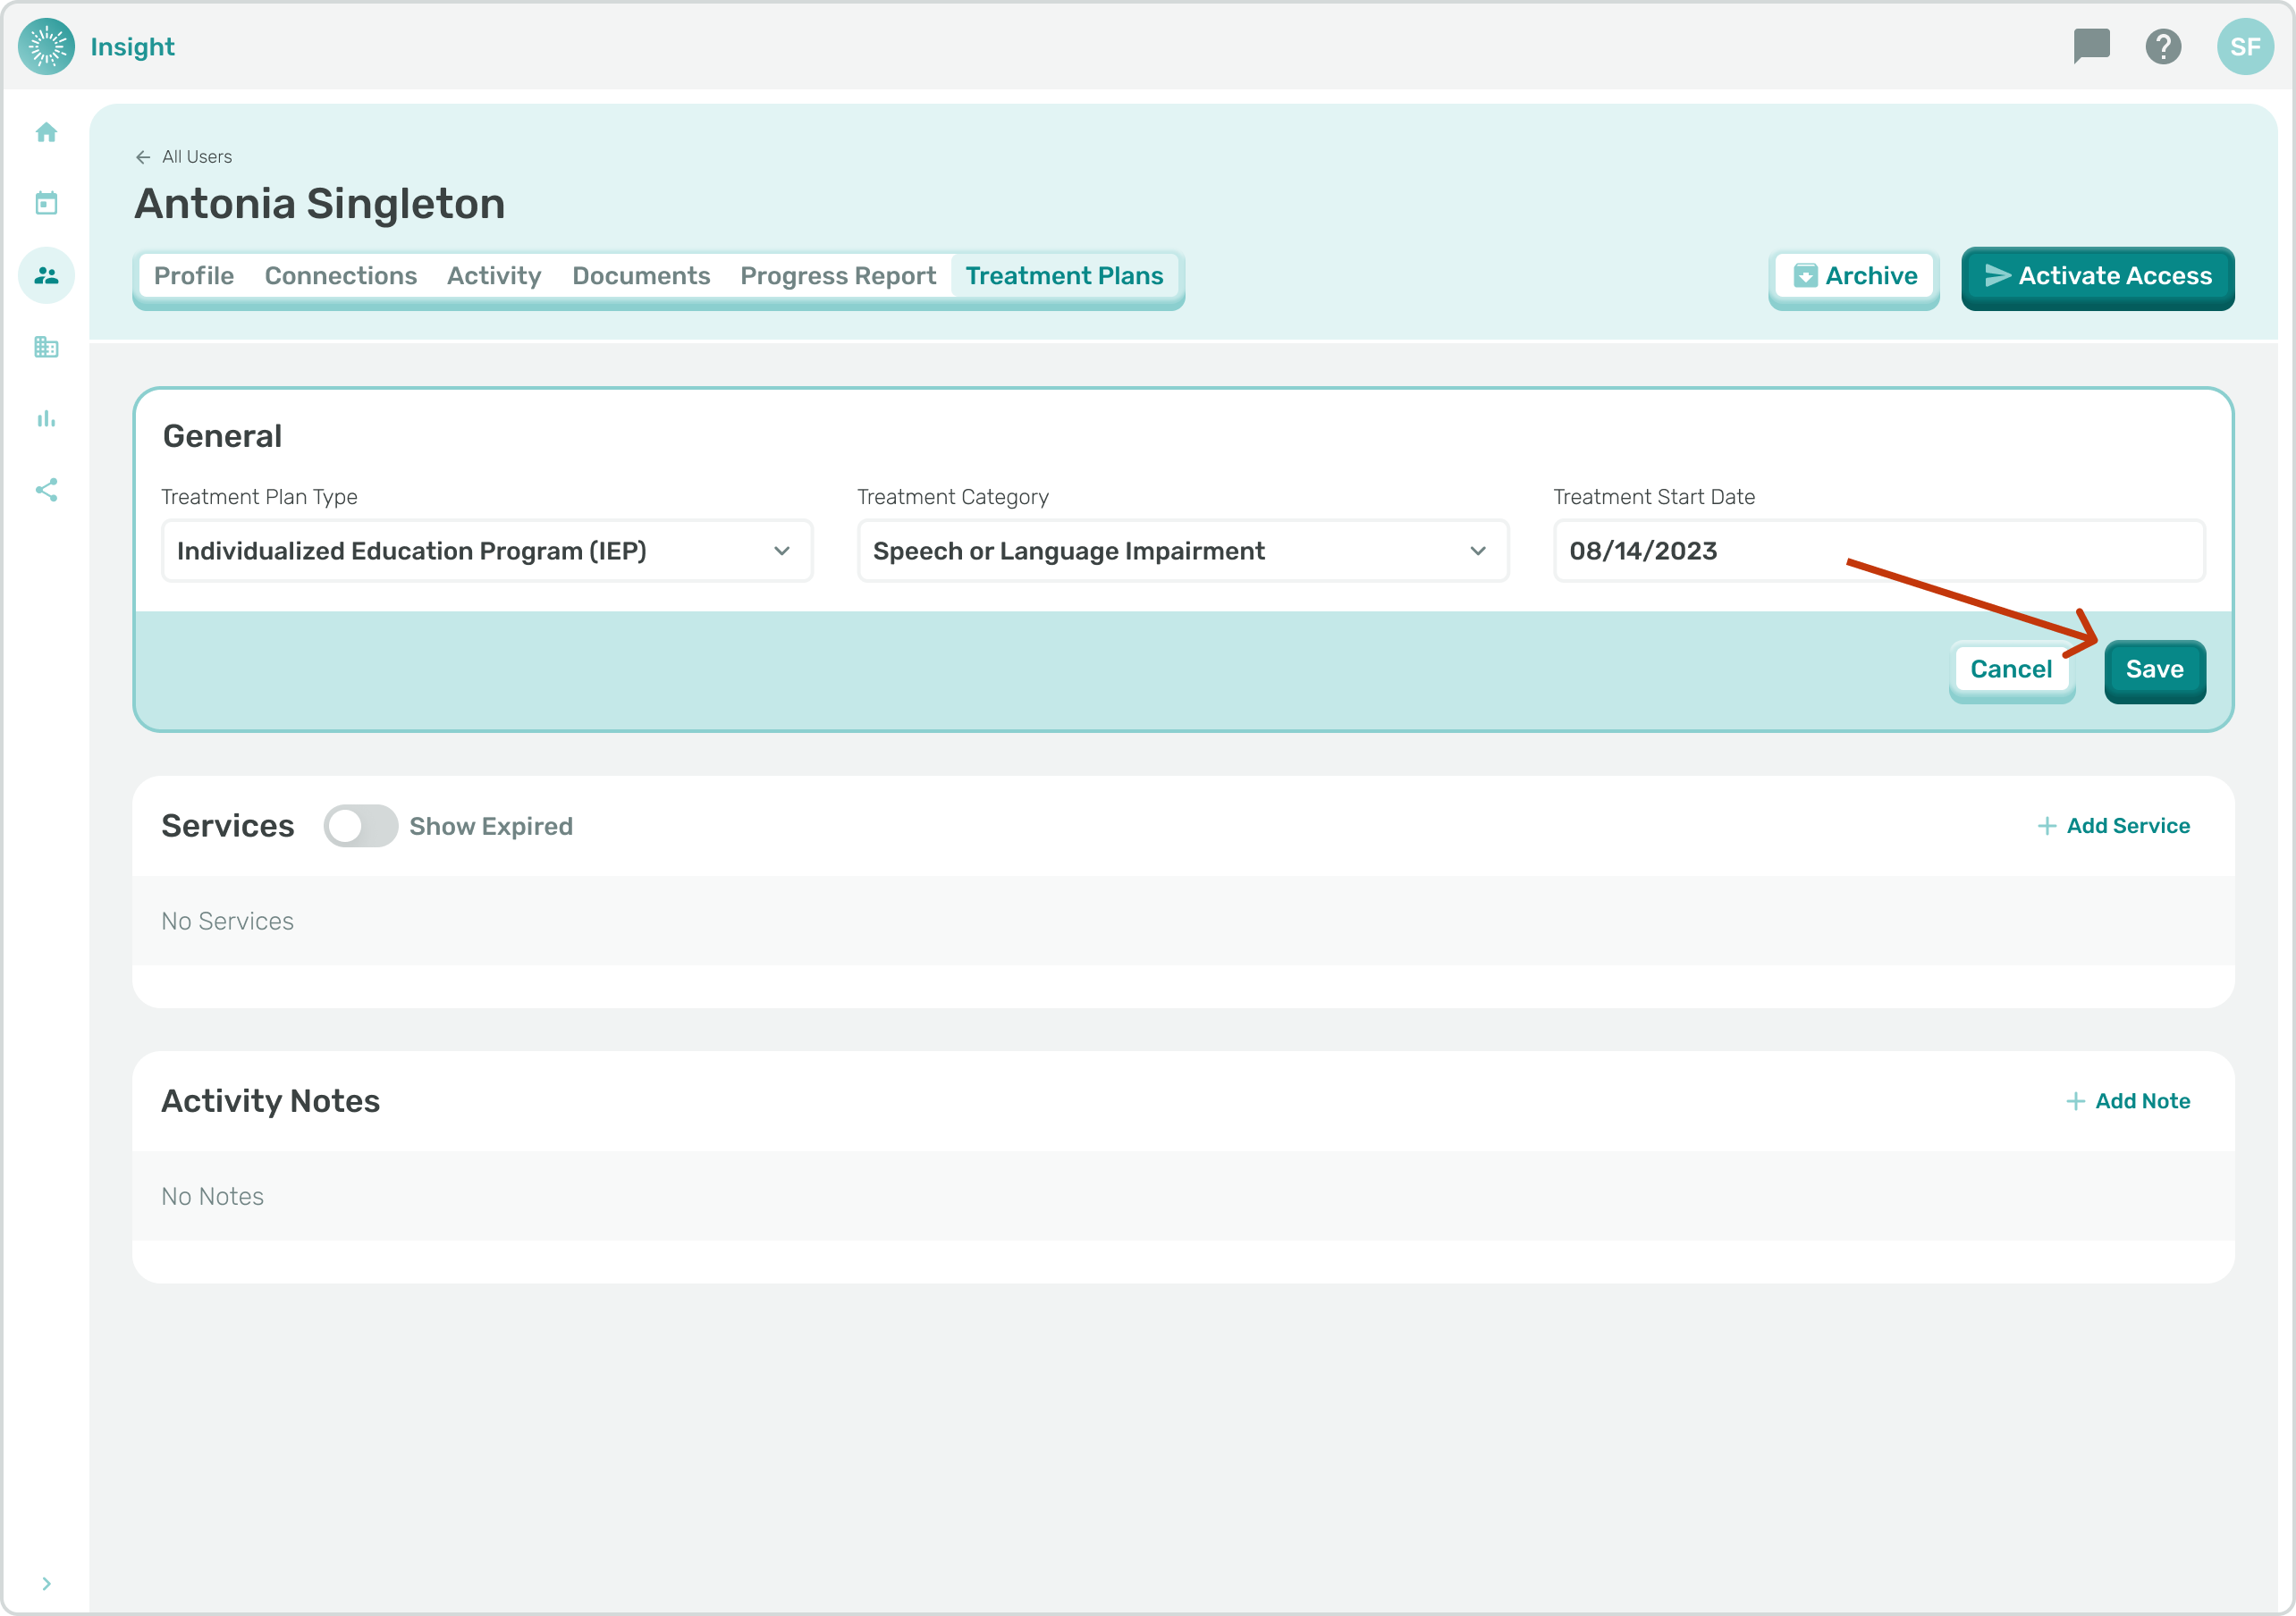
- When you have completed all the fields click on the ‘Save’ button on the bottom right corner. A confirmation message will appear at the top of your screen that says “Saved Treatment Plan has been saved.”
- In the Services’ section you can view, edit, or create new Services and Goals for Students with whom you are connected .
- Go to the related articles on Adding and Editing Services and Adding and Editing Service Goals for additional instructions.
- The Notes section is for additional comments pertaining to the Student’s Treatment Plan. You can add Notes and view historical Notes that have been added automatically or in the past.
*Of note, when changes are made to the Treatment Plans there are automatically generated Notes added.