As a Service Provider, there are two locations where you can Edit an Event: the Dashboard Page and the Calendar Page. Both locations require the same steps to Edit an Event.
- Navigate to the Dashboard by clicking on Dashboard in the side menu.
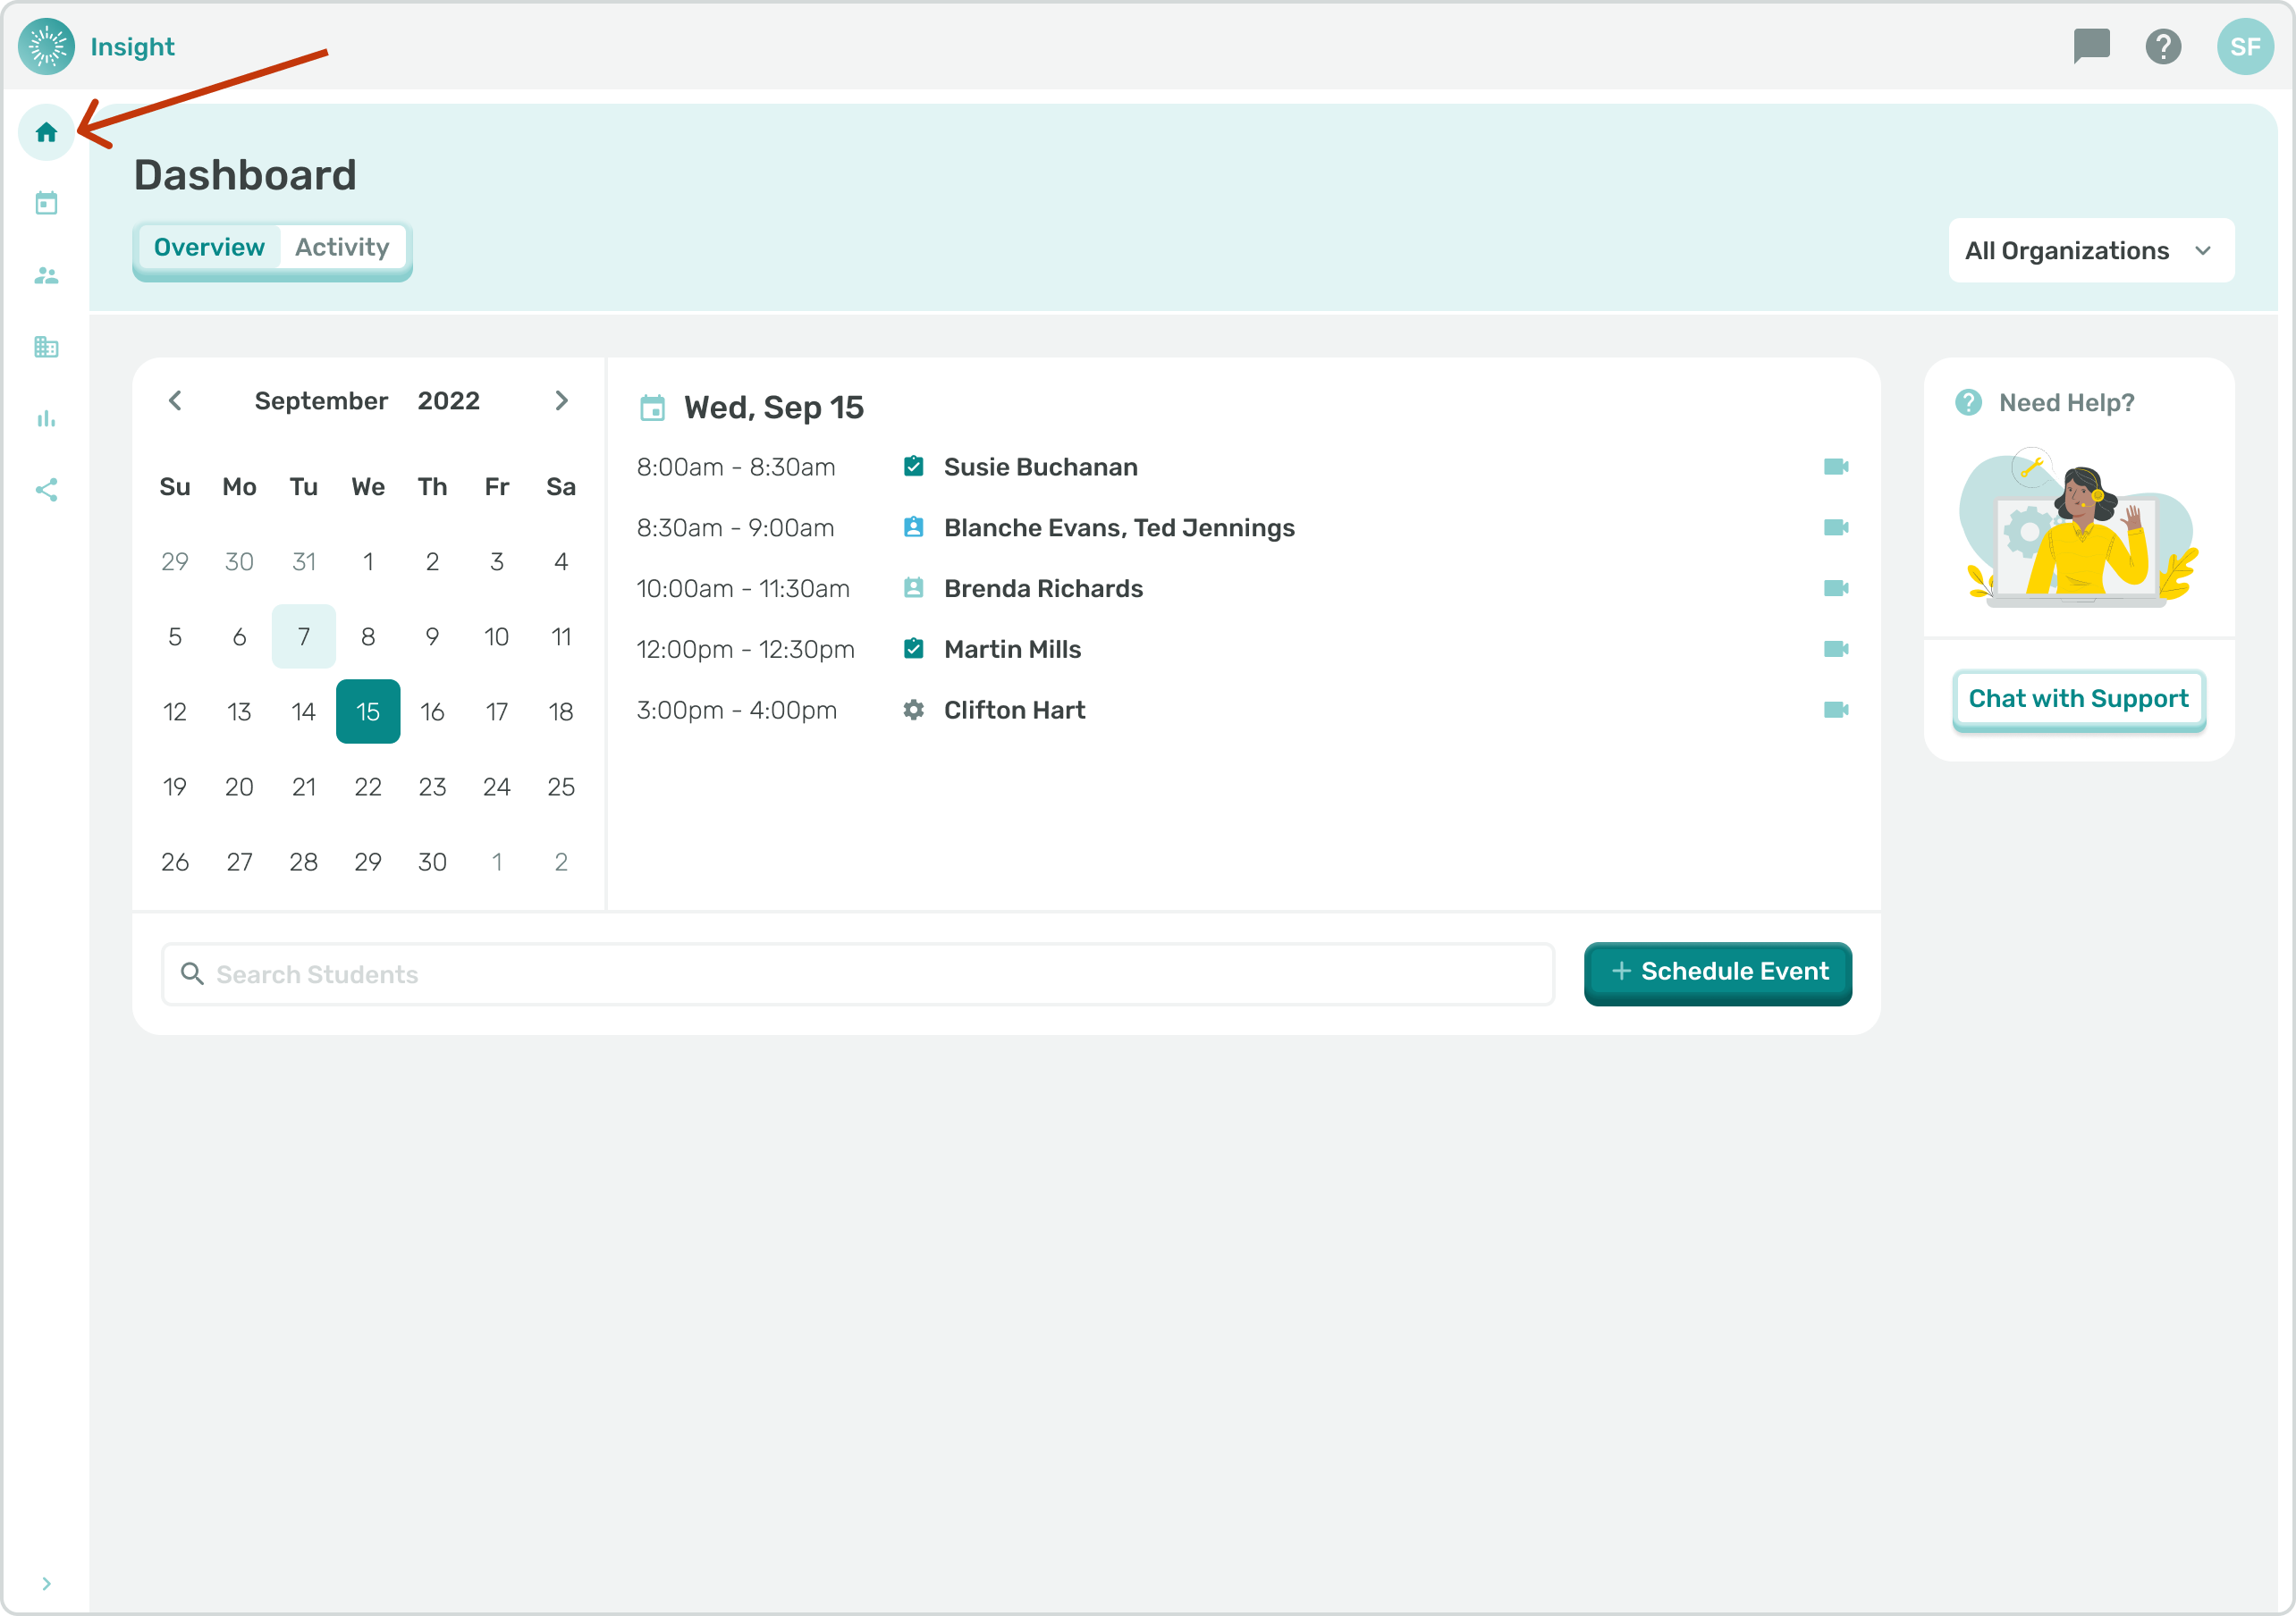
- For the Calendar, the current month will be the default.
- The Day, Date you are logging in is the default Day/Date and will be highlighted with a colored circle.
- If there are any Events scheduled for this today they will be listed in the space to the right of the Calendar.
- To view a different month click on the arrows at the top of the Calendar: to look back in time, a month at a time, click on the left arrow and to look forward in time, a month at a time, click on the right arrow.
- When you change the month, in order to see the daily Events again, you need to click on one of the dates on the Calendar.

- Go to the related article 'All Organizations' Dashboard Calendar filter for additional instructions.
- The space directly to the right of the Calendar will populate Events that are scheduled for that Day, Date and will include one of the following icons:
- Either an outlined in 'Red Circle' indicating the Event has passed and is ready for Documentation,
- An outlined in 'Green Circle' with a green check mark indicating this Event has been Documented, and
- When 'No Circle is present this indicates that the Event is in the future.
- Also visible in the Preview of the Event is the starting and ending time of the Event and the Student name(s) that are scheduled for the Event.

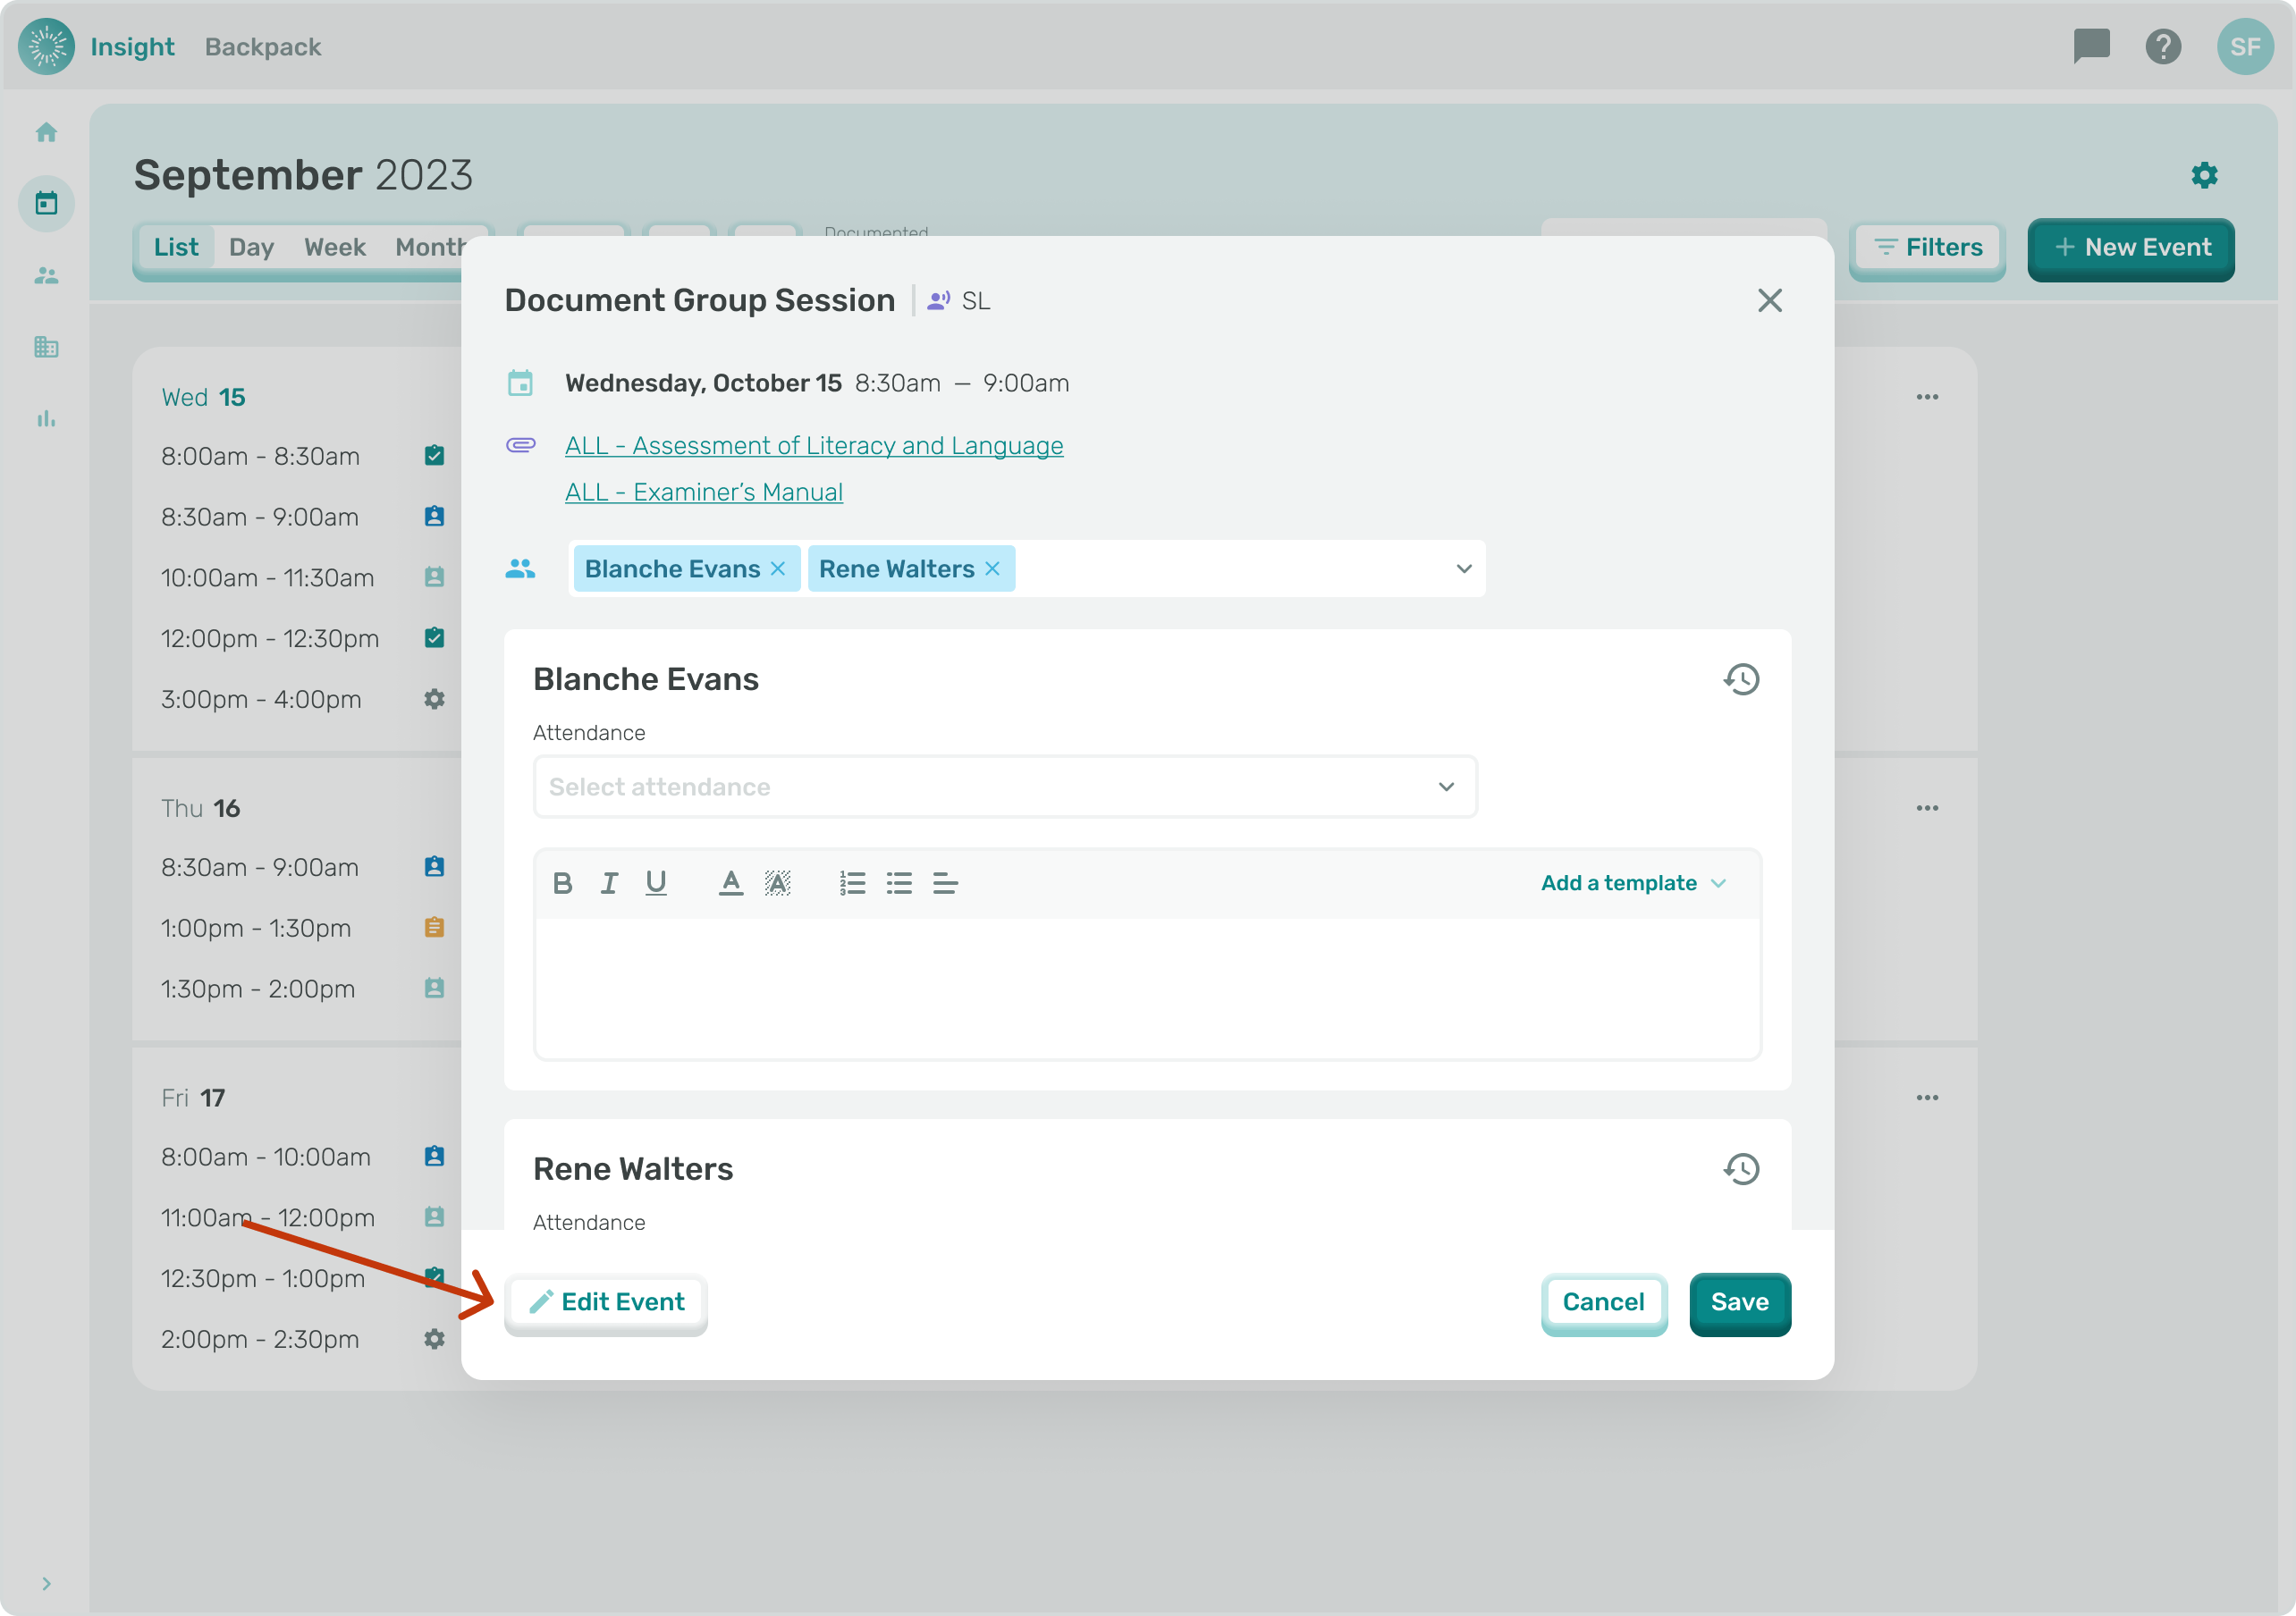
- When clicking on an Event with a red circle, which means it is ready for Documentation, you will see the Document Event modal.
- Next click the ‘Edit Event’ button on the bottom left corner. This will trigger the Edit Event modal screen and allow an Event in the past to be Edited.
- When clicking on an Event with a green circle, indicating this Event has been Documented, it will automatically enable the ‘Document Event’ modal to appear. You can click on the bottom left ‘Edit Event’ button to make any changes in the Event information.
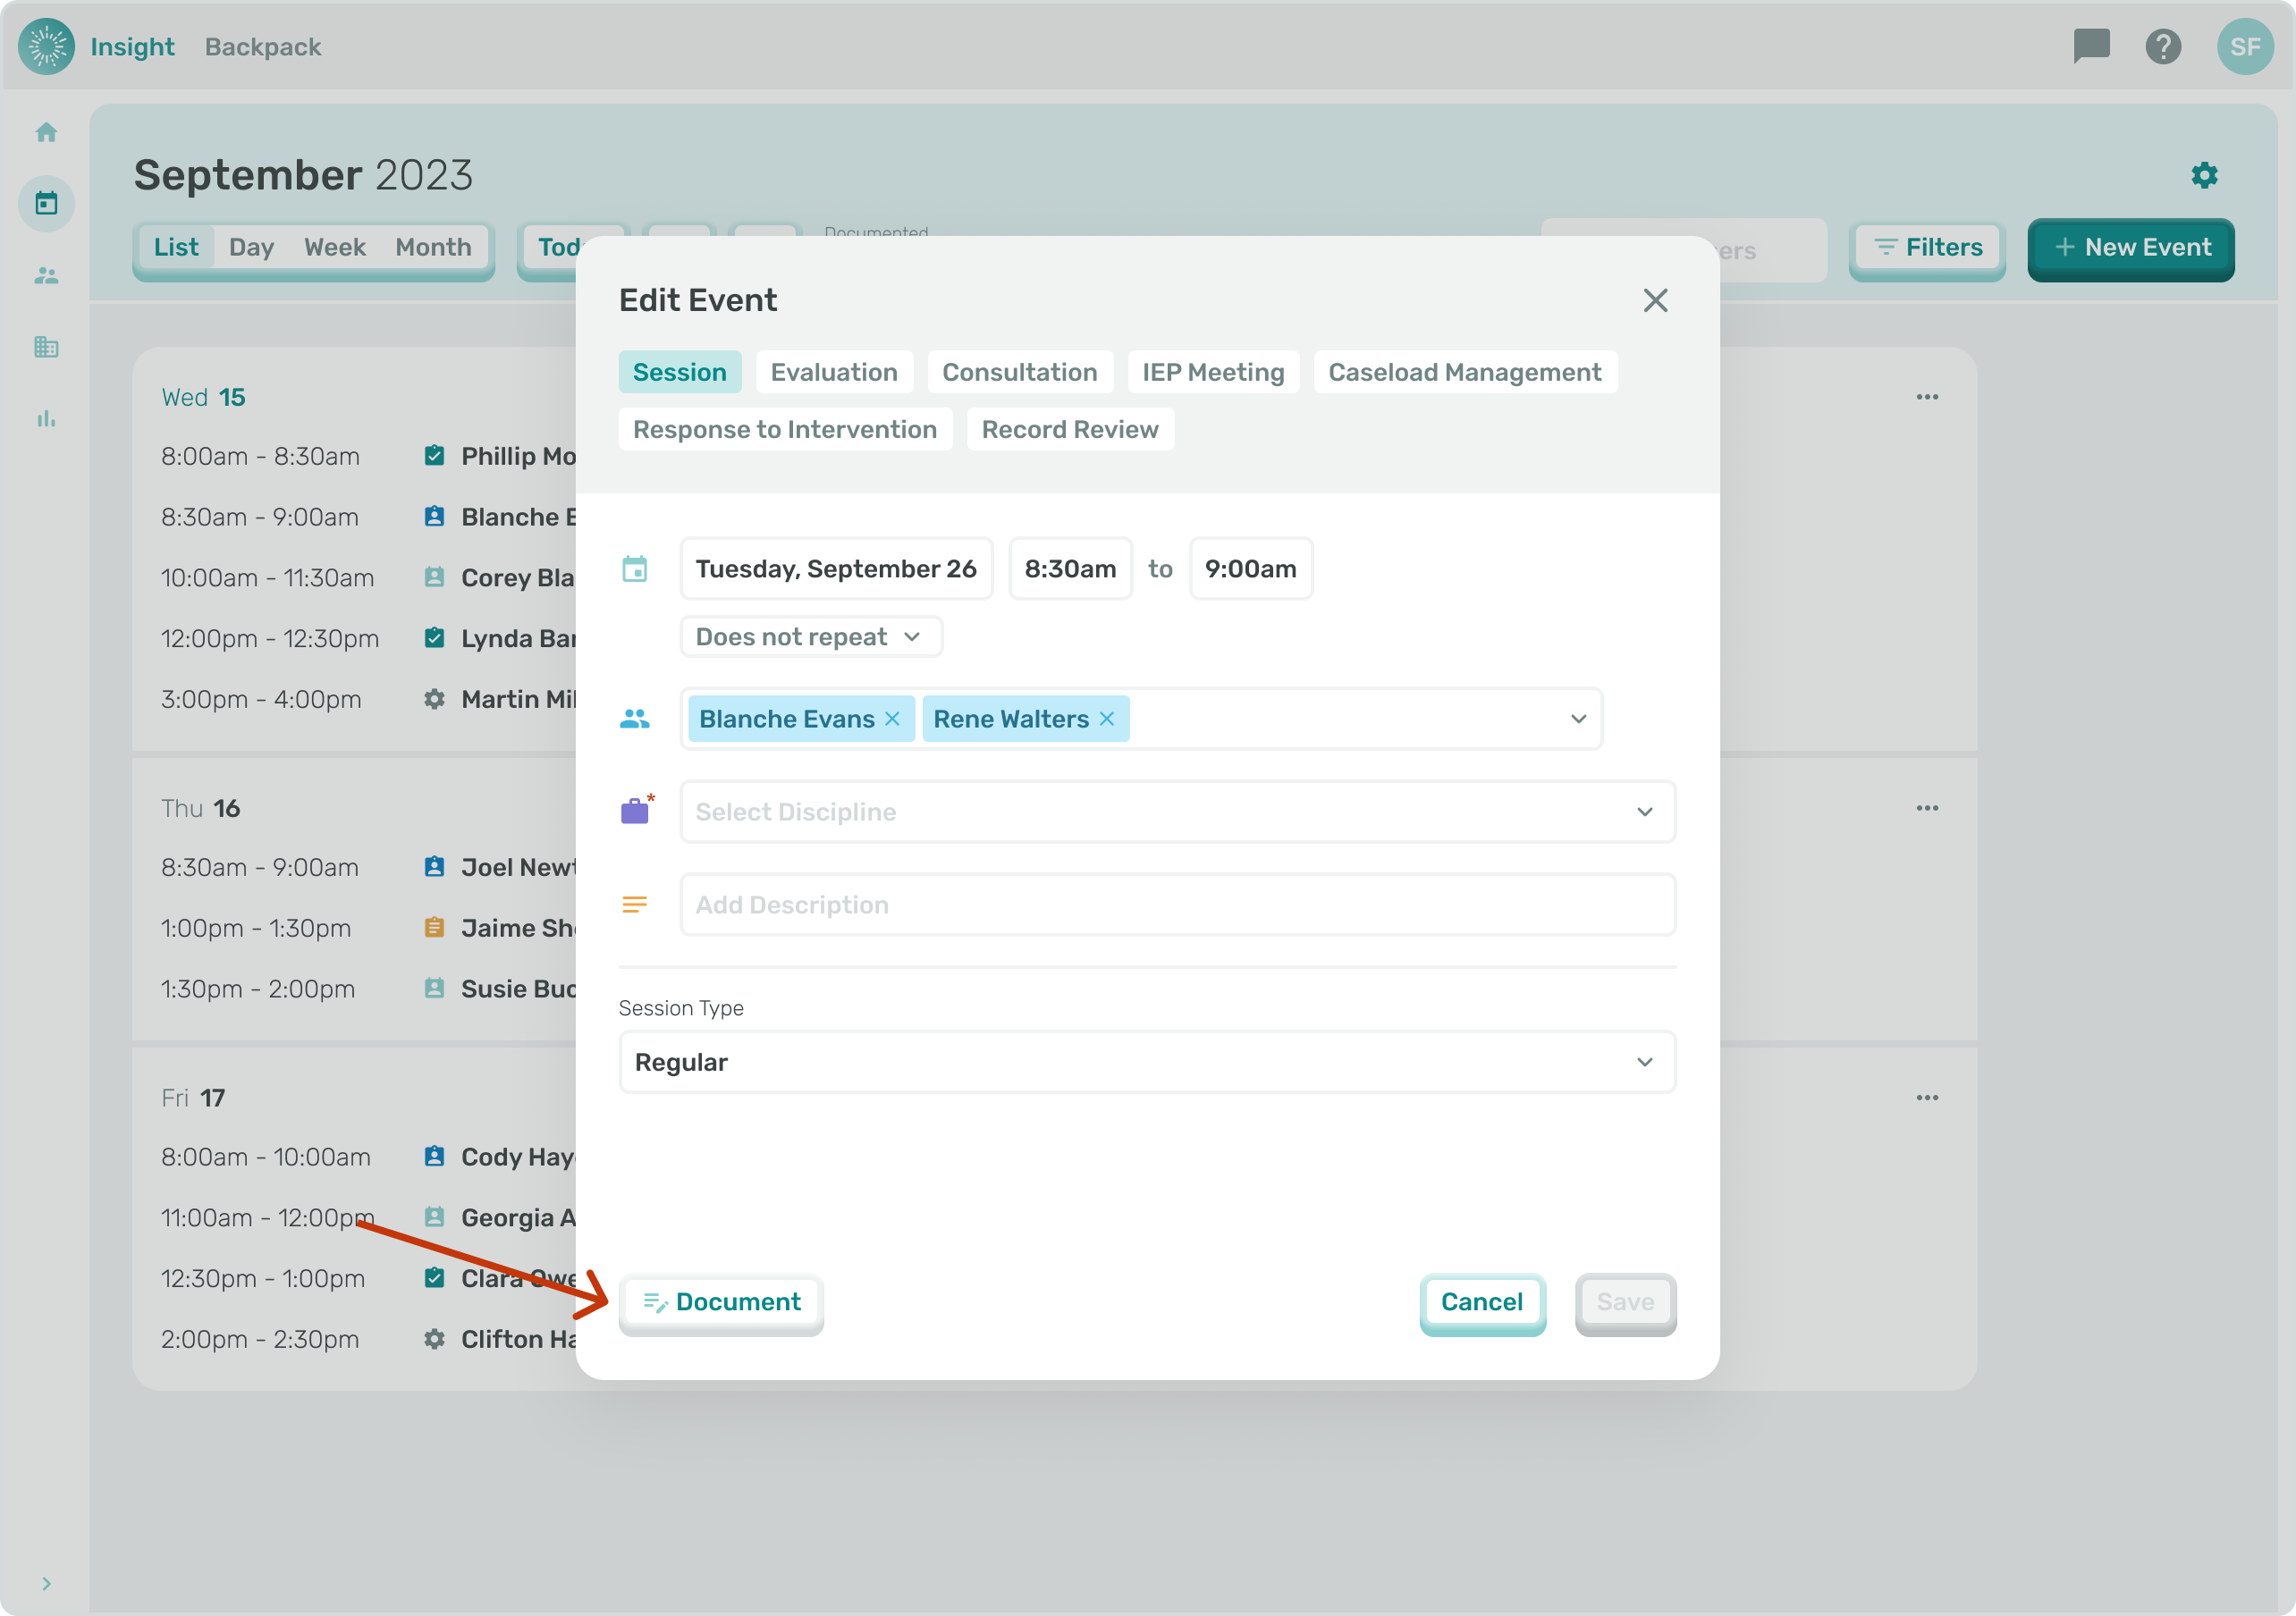
2. When clicking on an Event with no circle, indicating the Event is in the future, the Edit Event button will automatically appear.
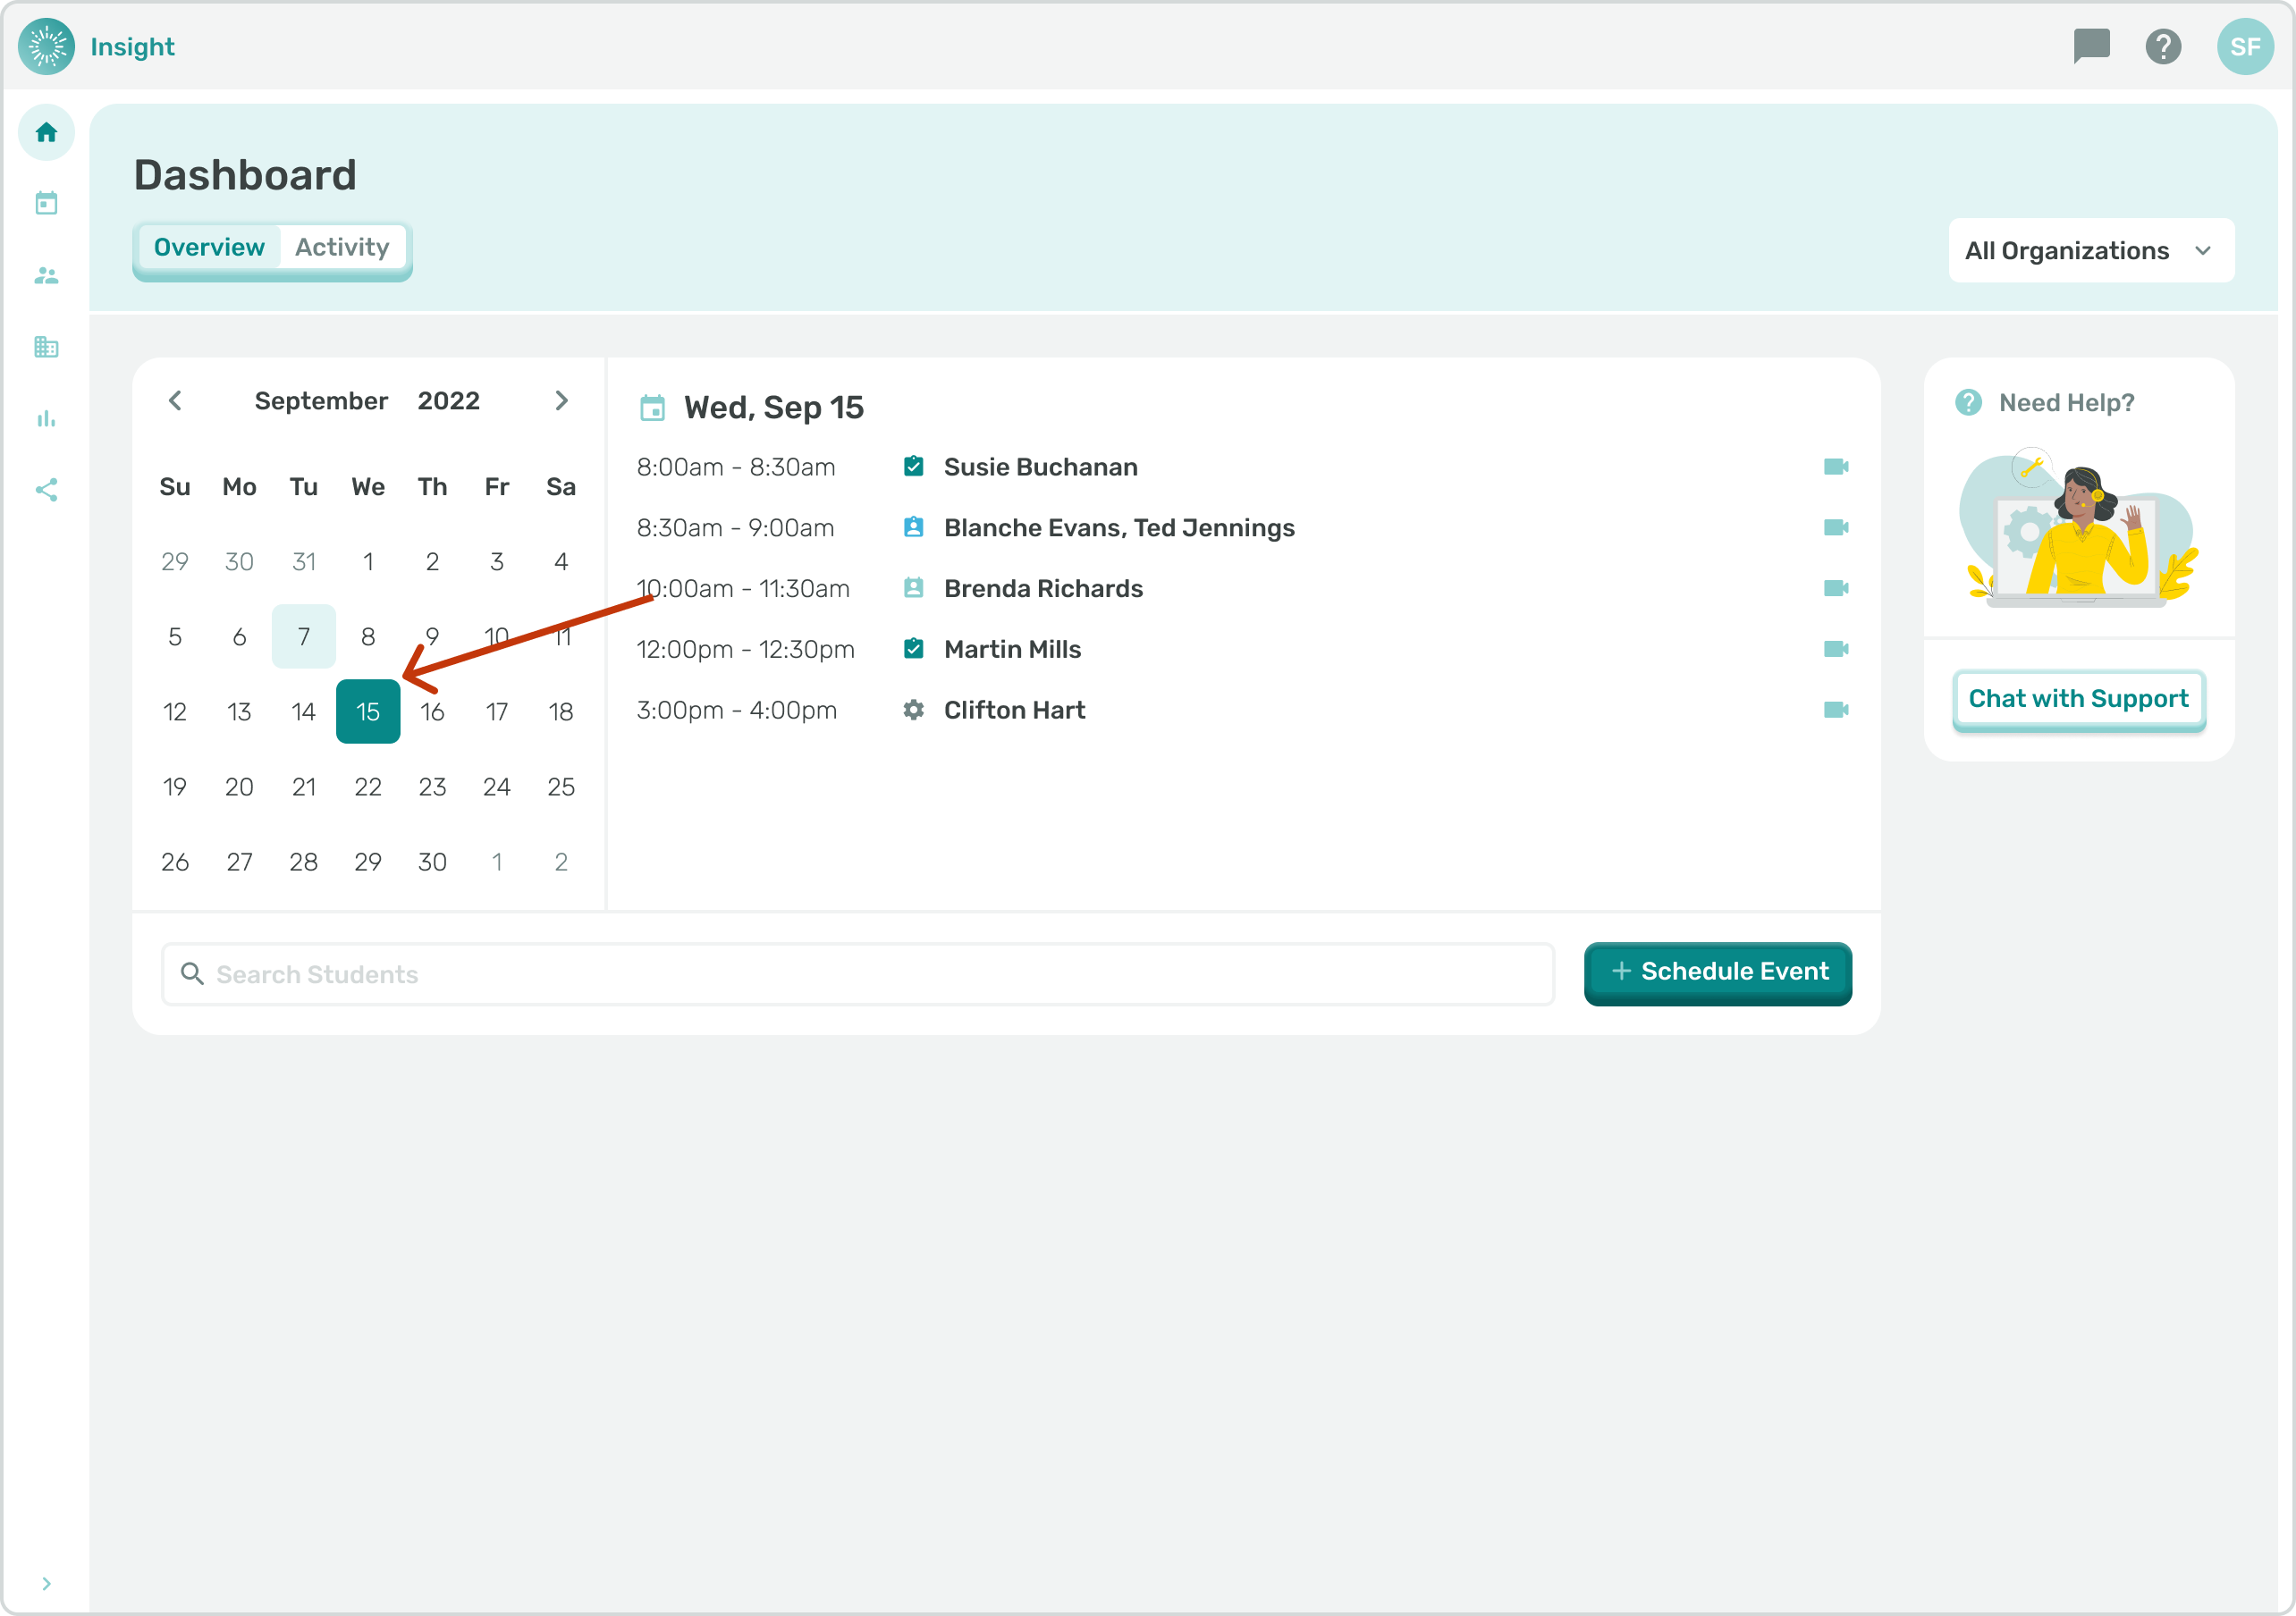
- To Edit Events on a particular Date click on that Date on the Calendar.
- The Date you click on will now be highlighted and today's Date will have a clear circle around it.
- Events that are scheduled on the highlighted Date will be listed to the right of the Calendar.
- Click on the Student's Name for the Event you would like to Edit. A modal screen will appear and on the bottom left click on the 'Edit Event' button.
- Once you have finished editing click on the ‘Save’ button on the bottom right of the modal.
- To switch between the ‘Edit Event’ and ‘Document’ Event modals click on the button in the left bottom corner.
- Go to the related article 'Documenting an Event' for additional instructions.
- You can also Edit an Event on the Calendar Page. Navigate to the Calendar Page from the sidebar menu.
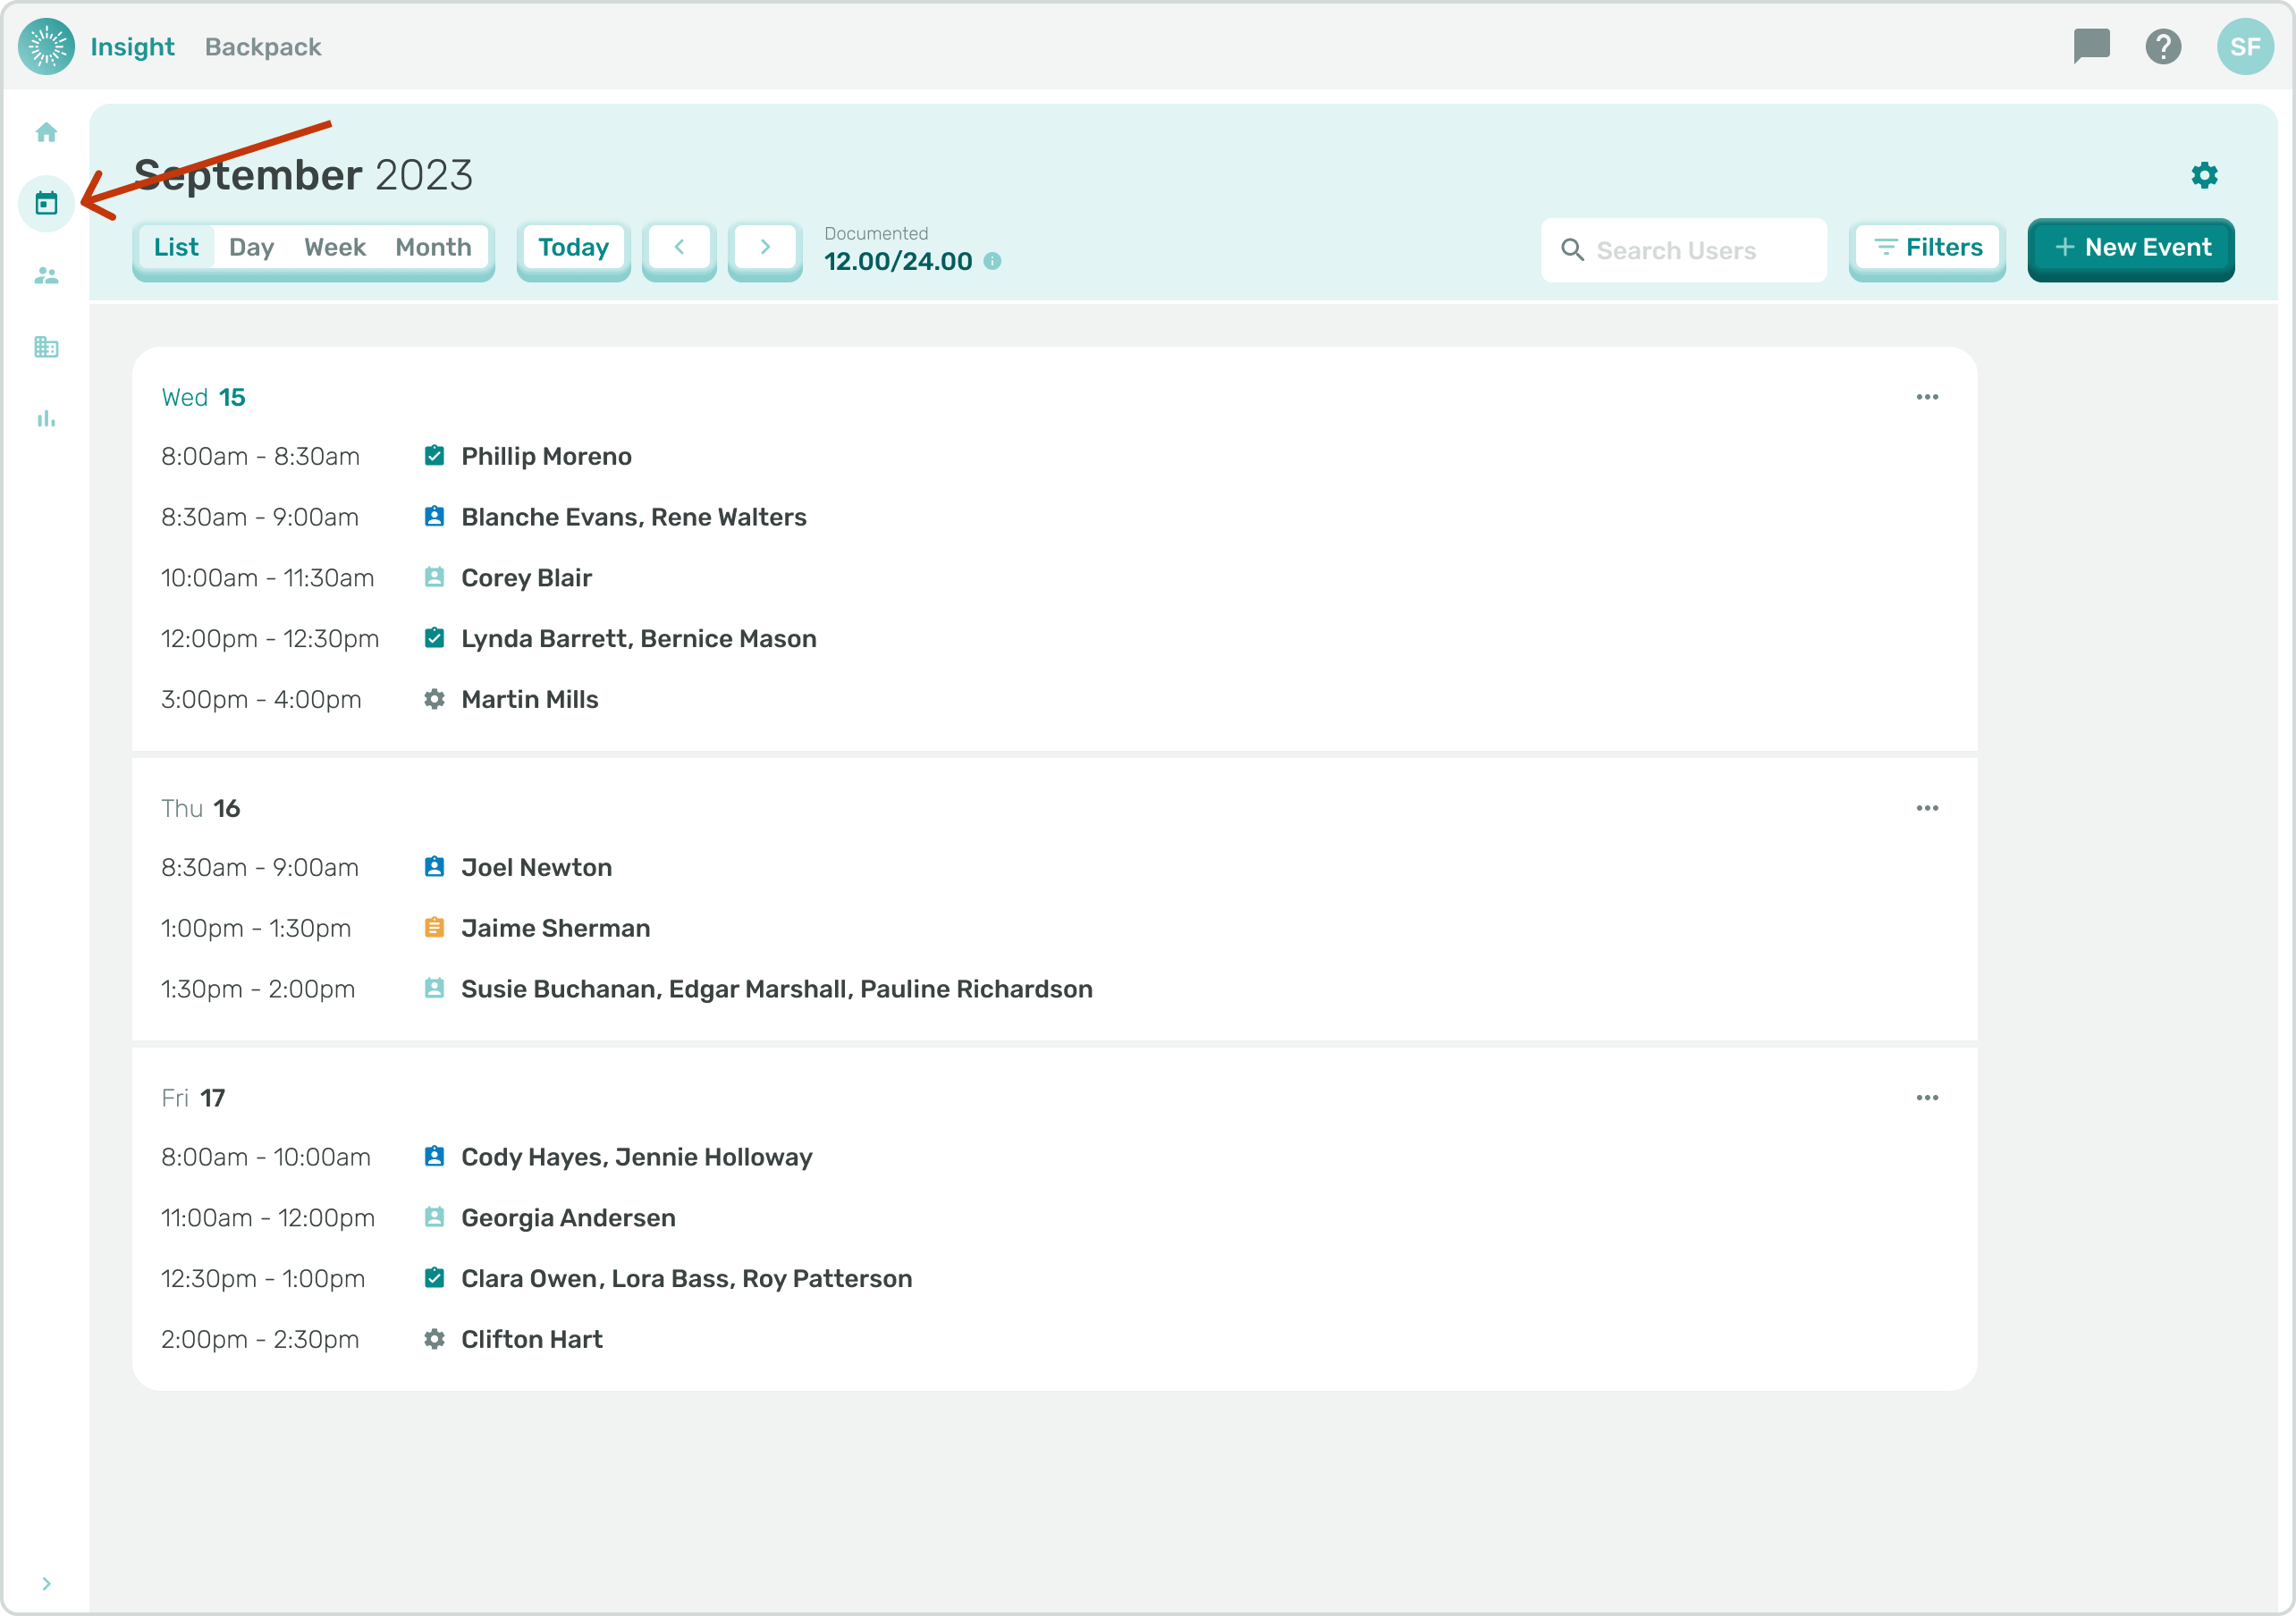
- The default for the Calendar Page is today’s Date. Under the current month on the Calendar there are options for how you would like to view the Calendar.
- You can switch between the views by clicking on their buttons.
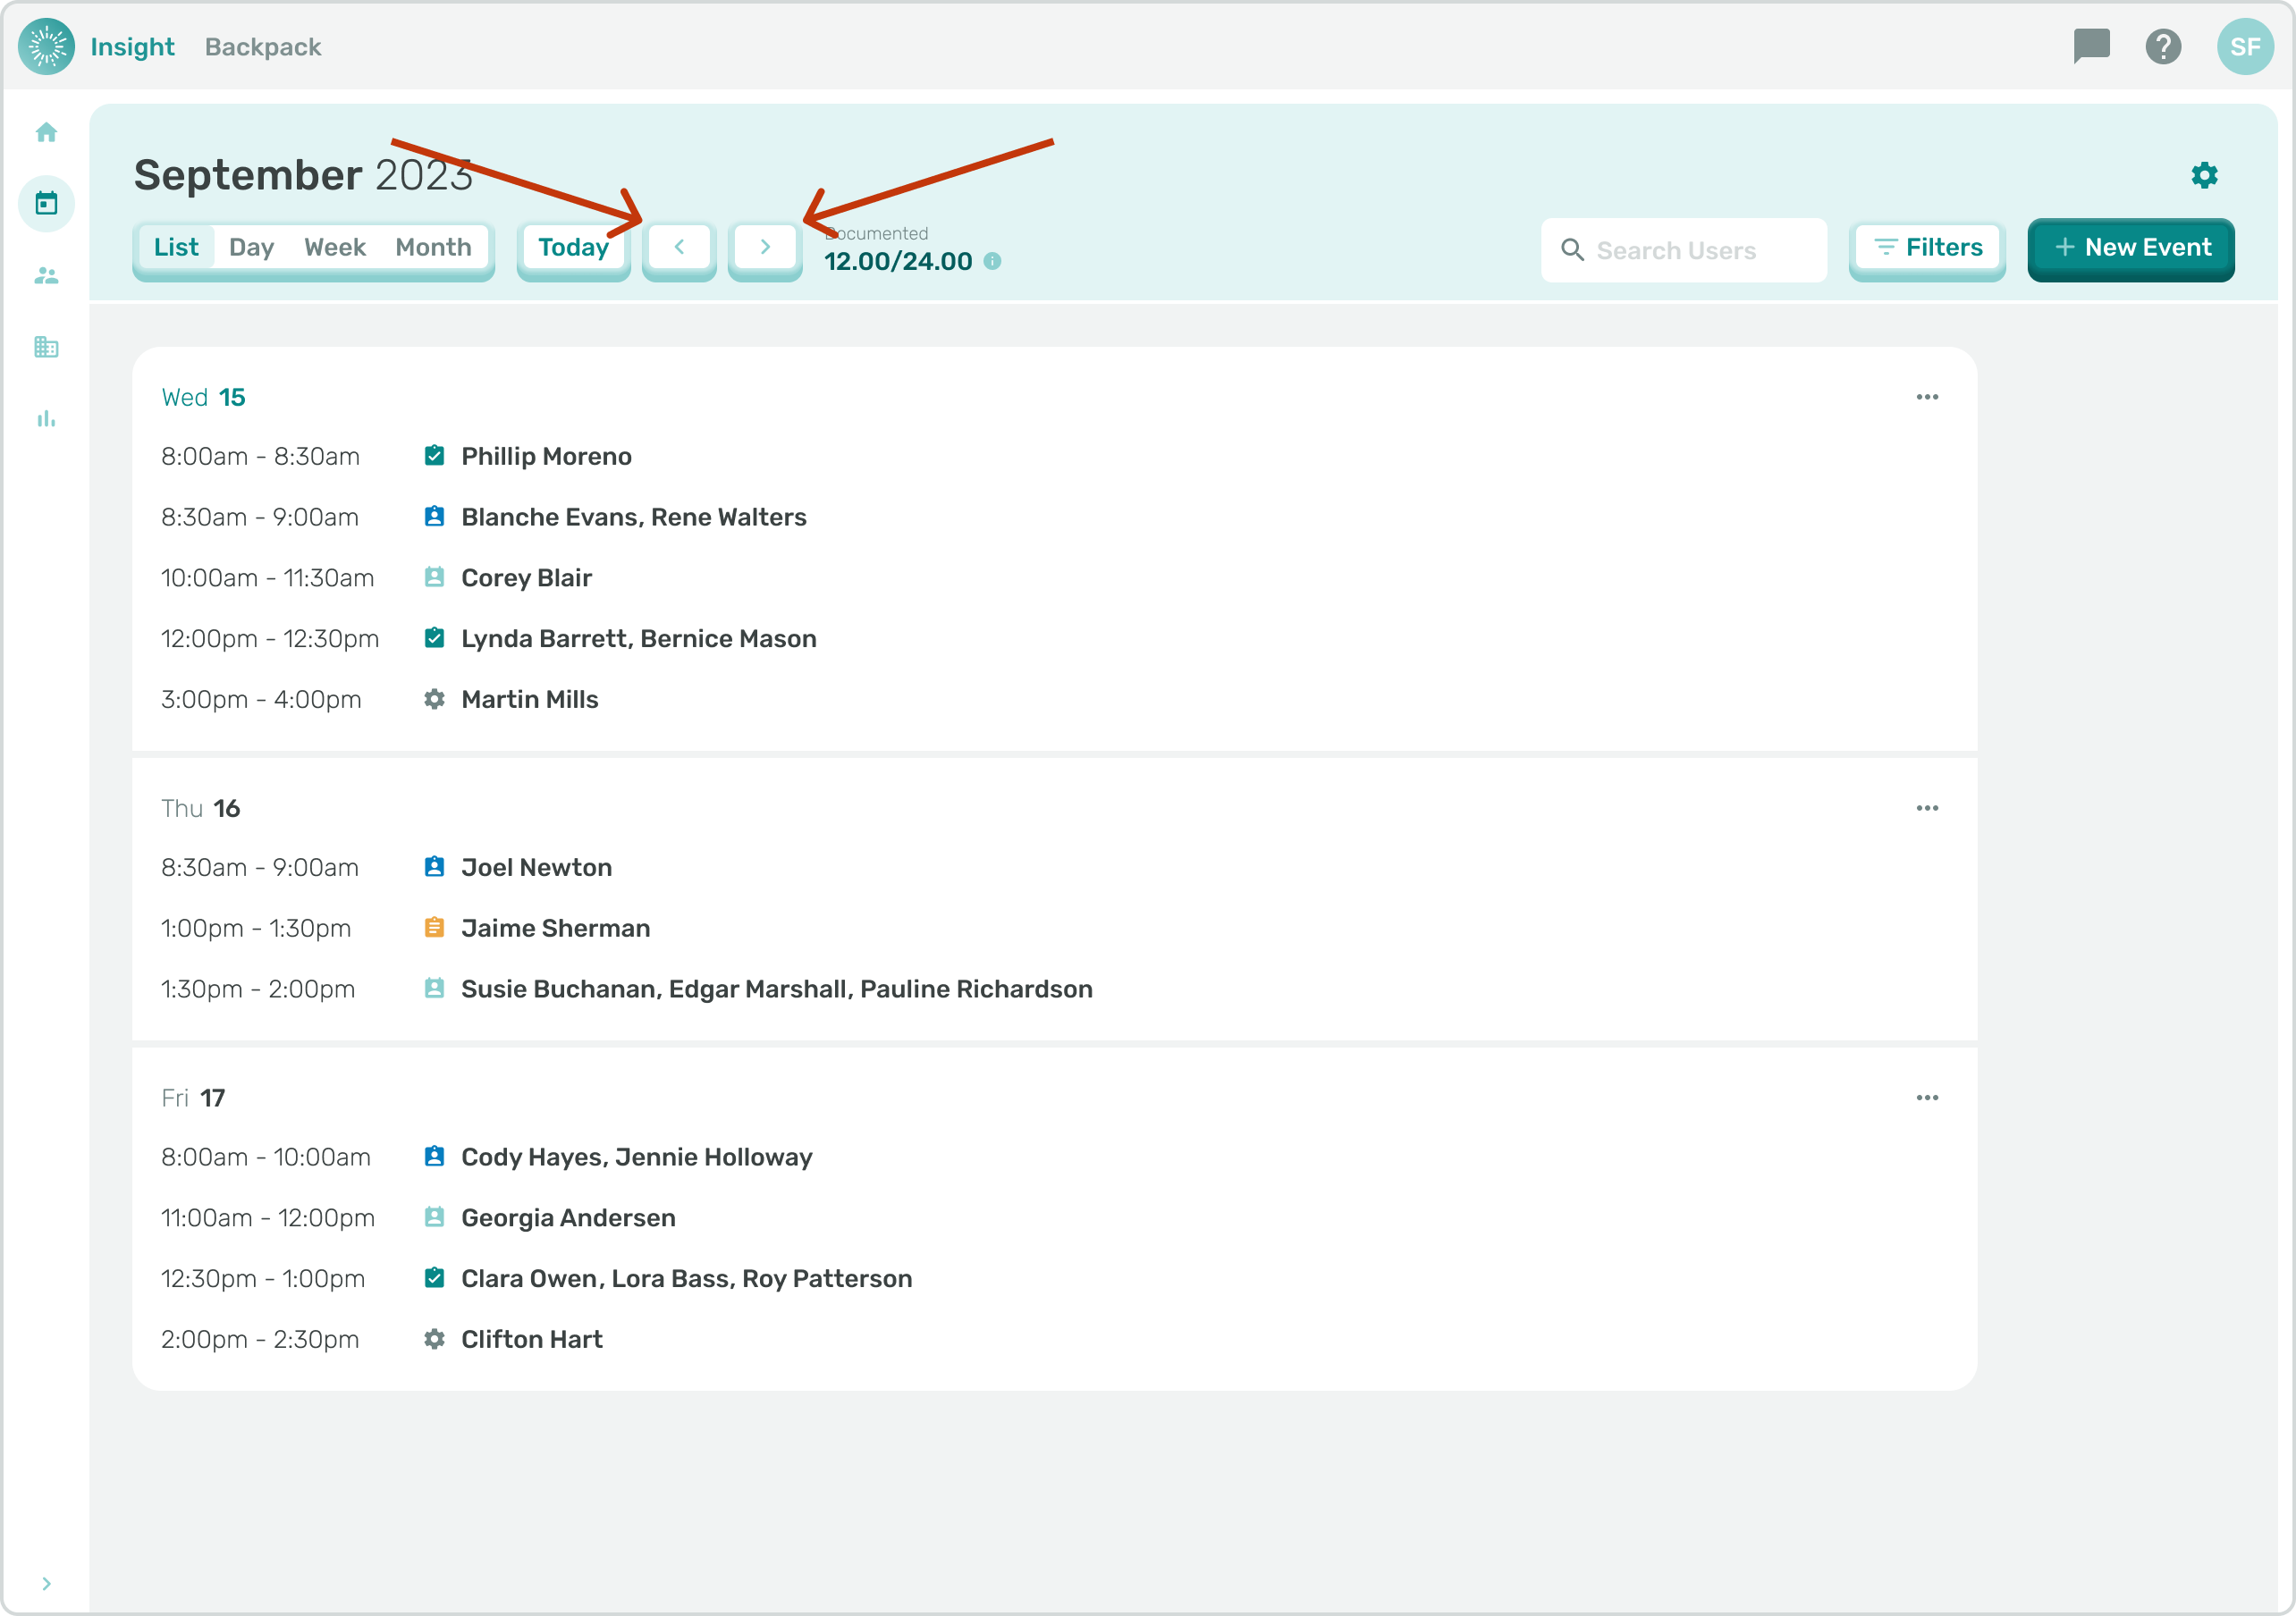
- There are also left and right Arrow buttons that can be clicked on for all the viewing options, the left arrow goes back in time and the right arrow goes forward in time.
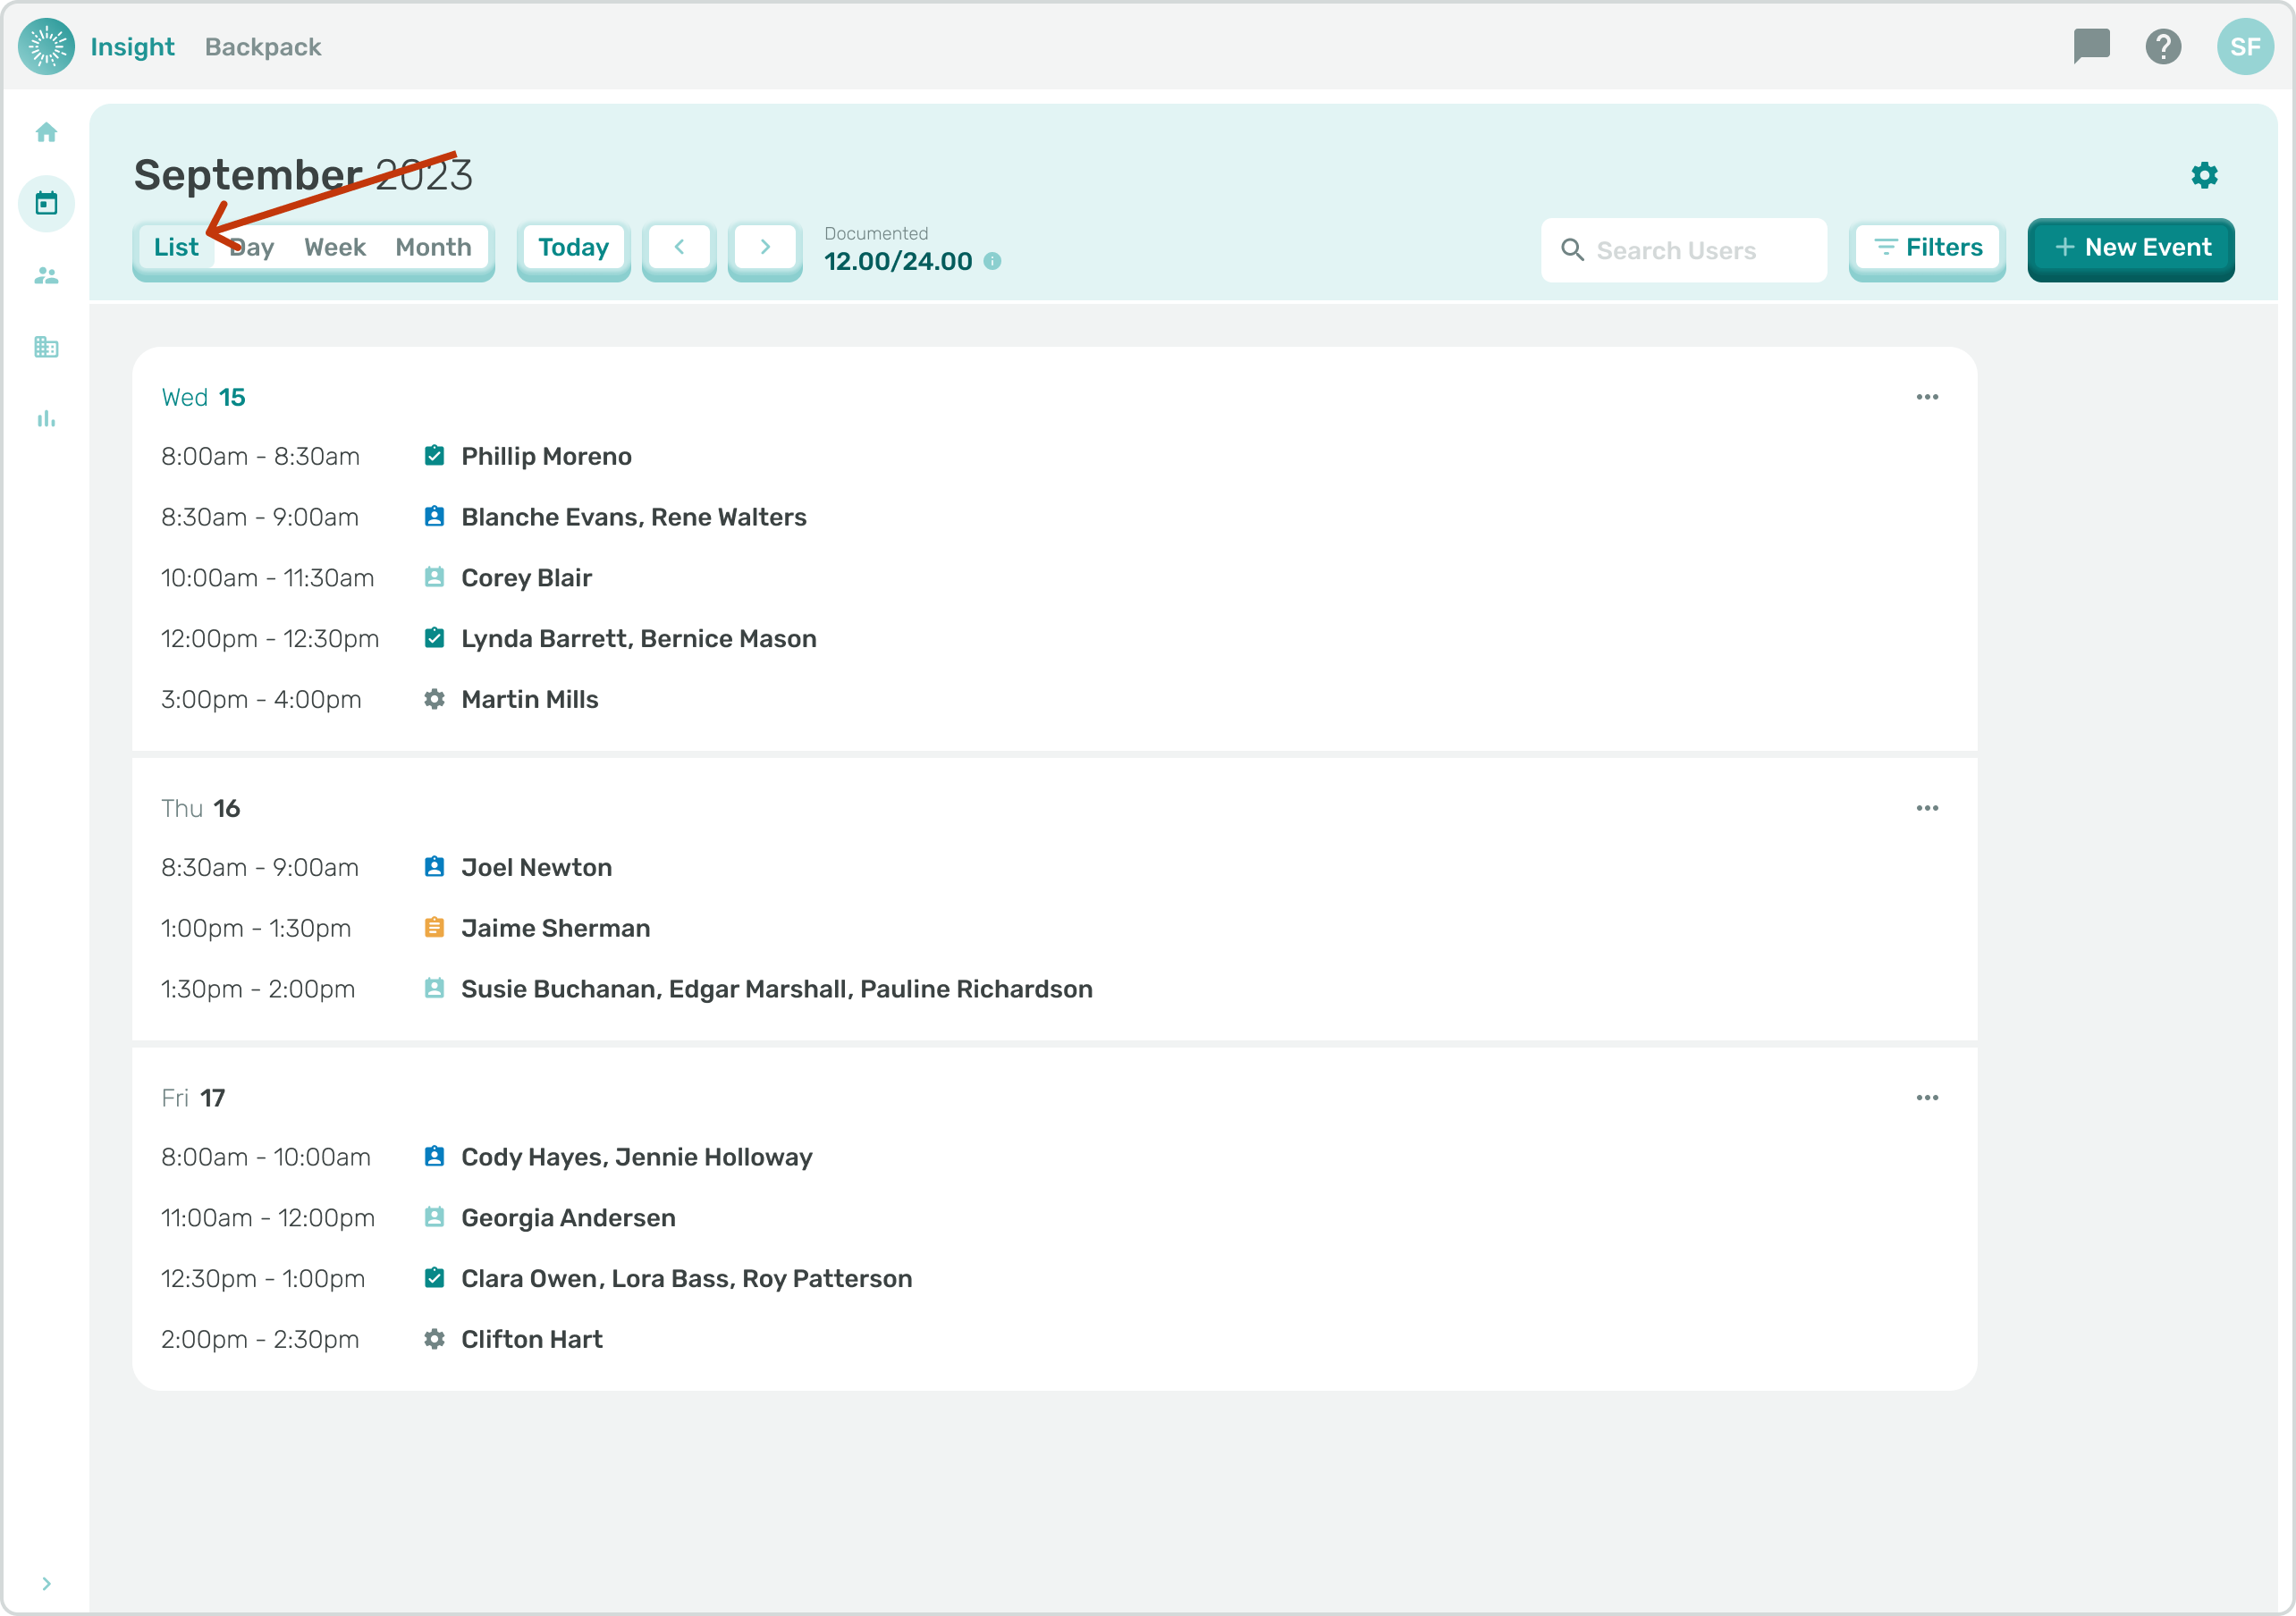
- List: This is the default view for the Calendar Page and will display a list of Events for each day for the current week.
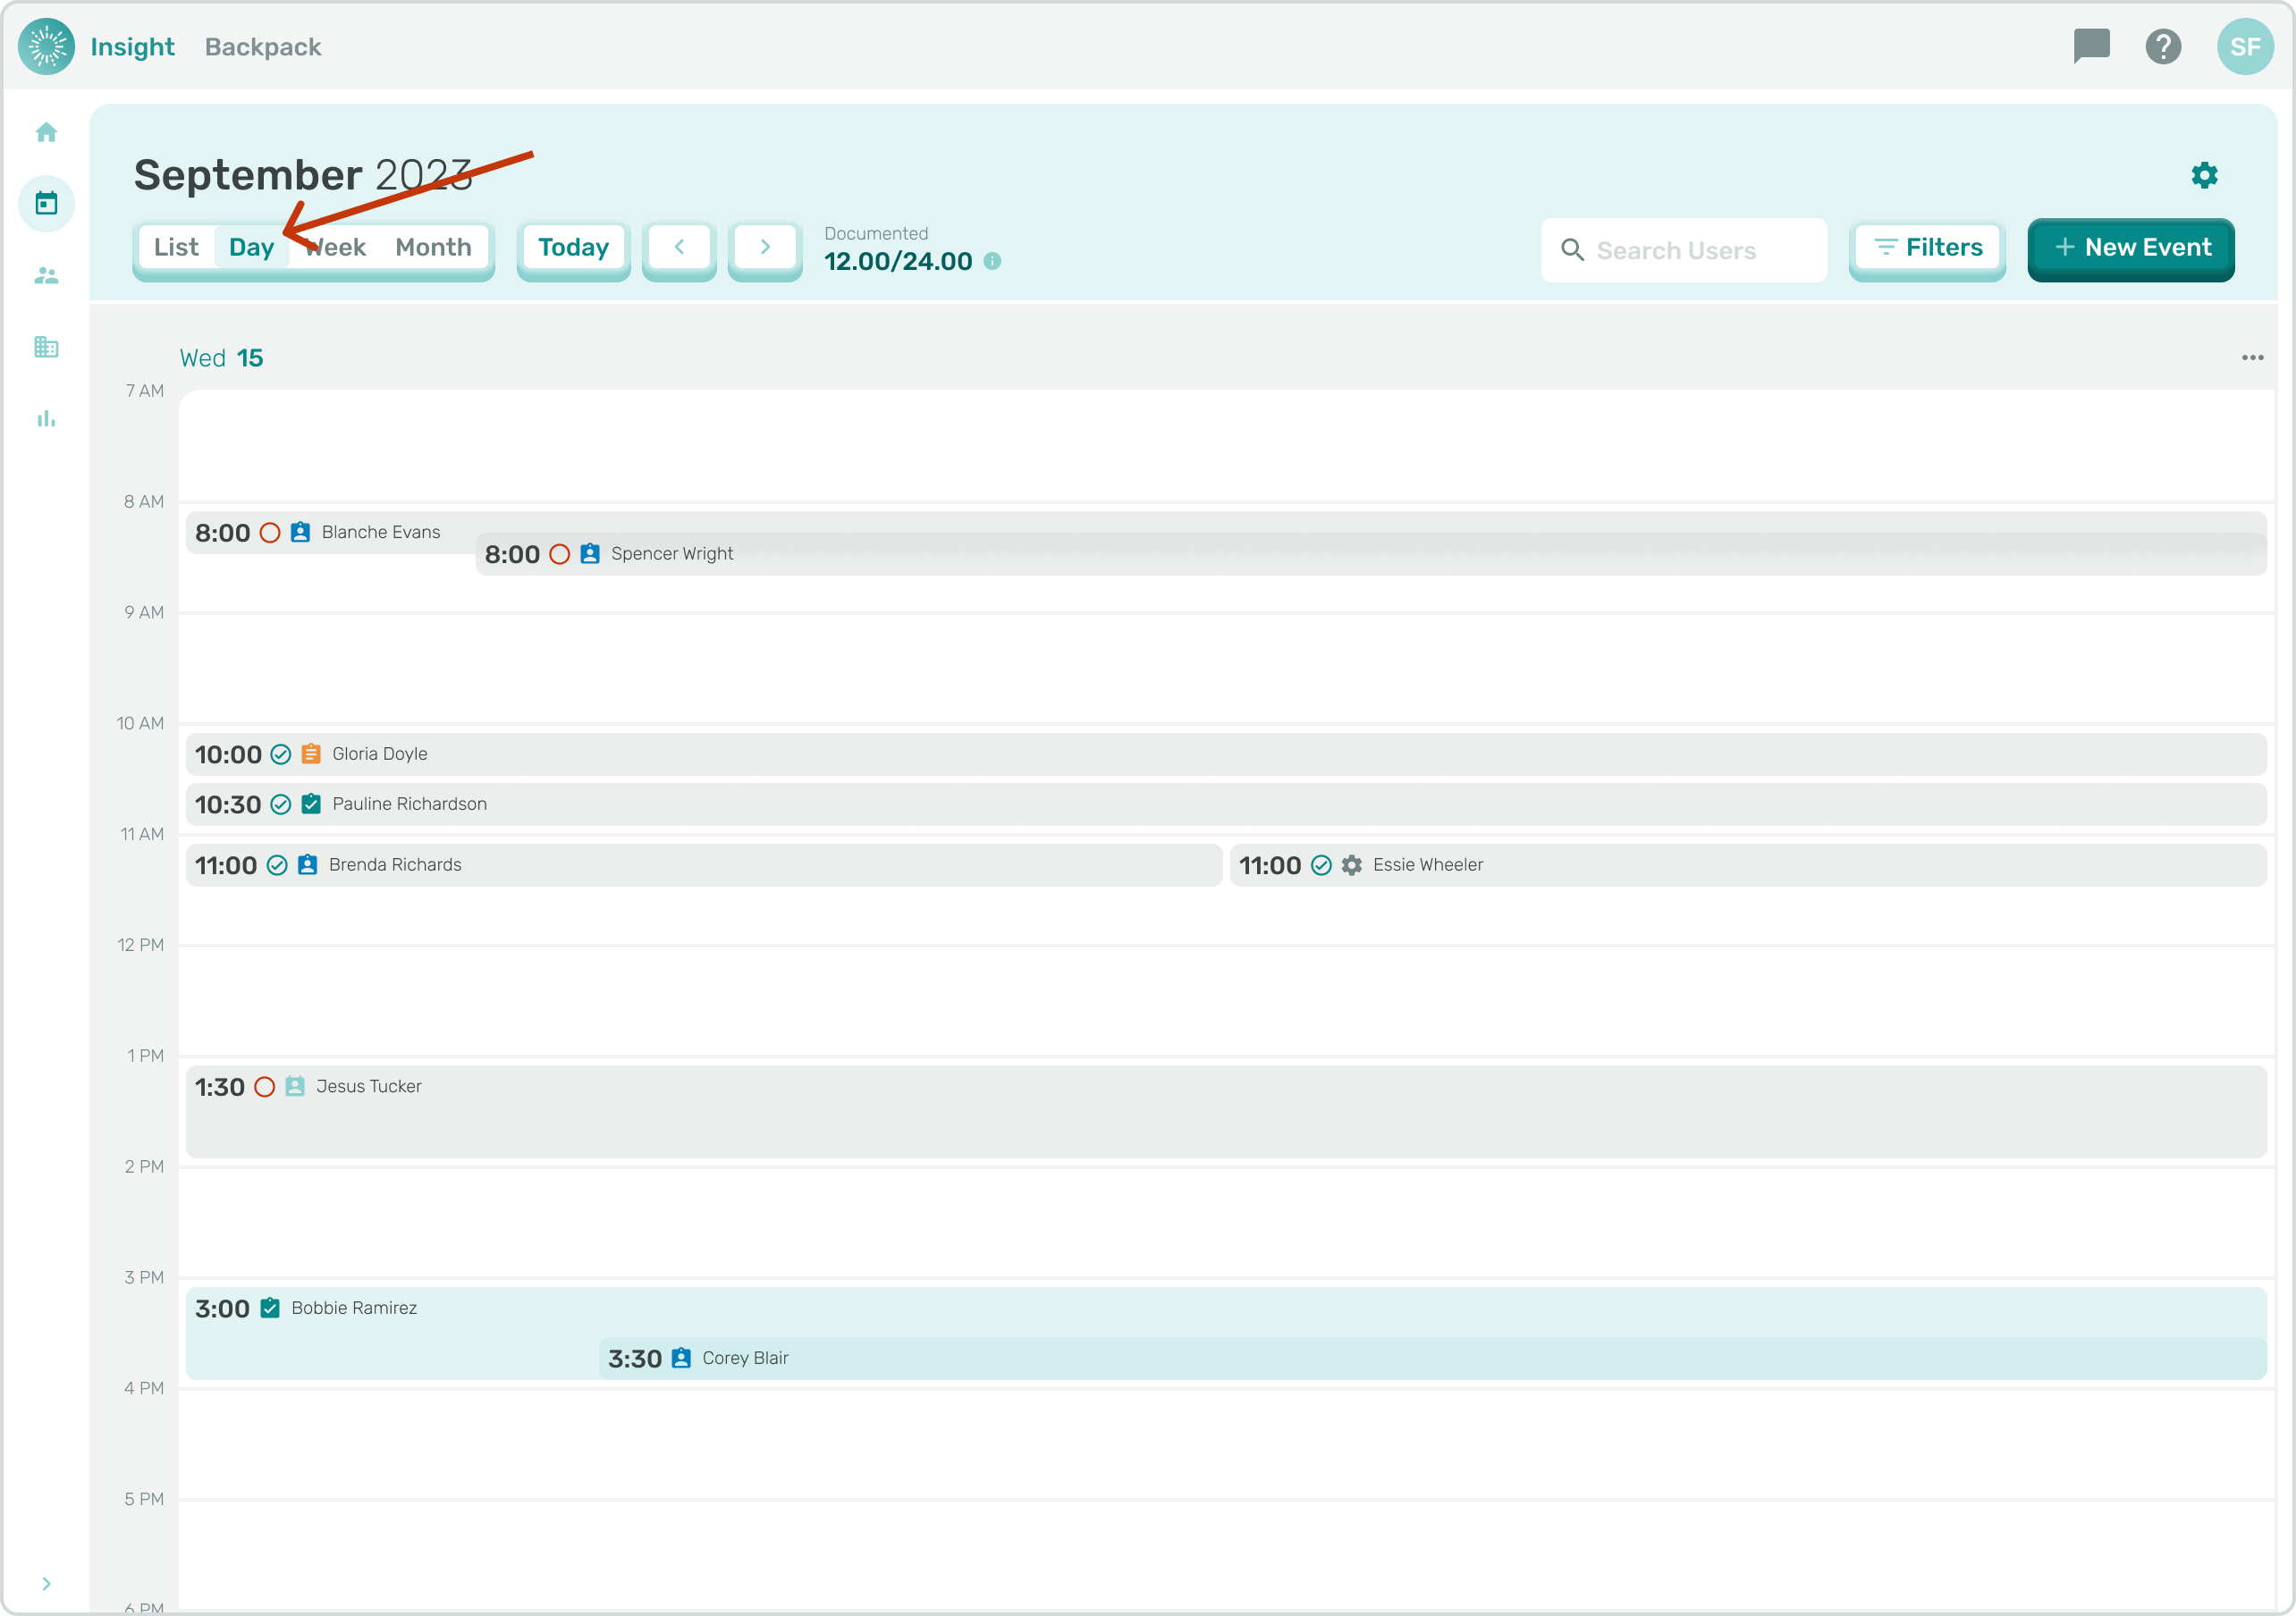
- Day: When ‘Day’ is selected the Calendar will only display the selected day’s Events.
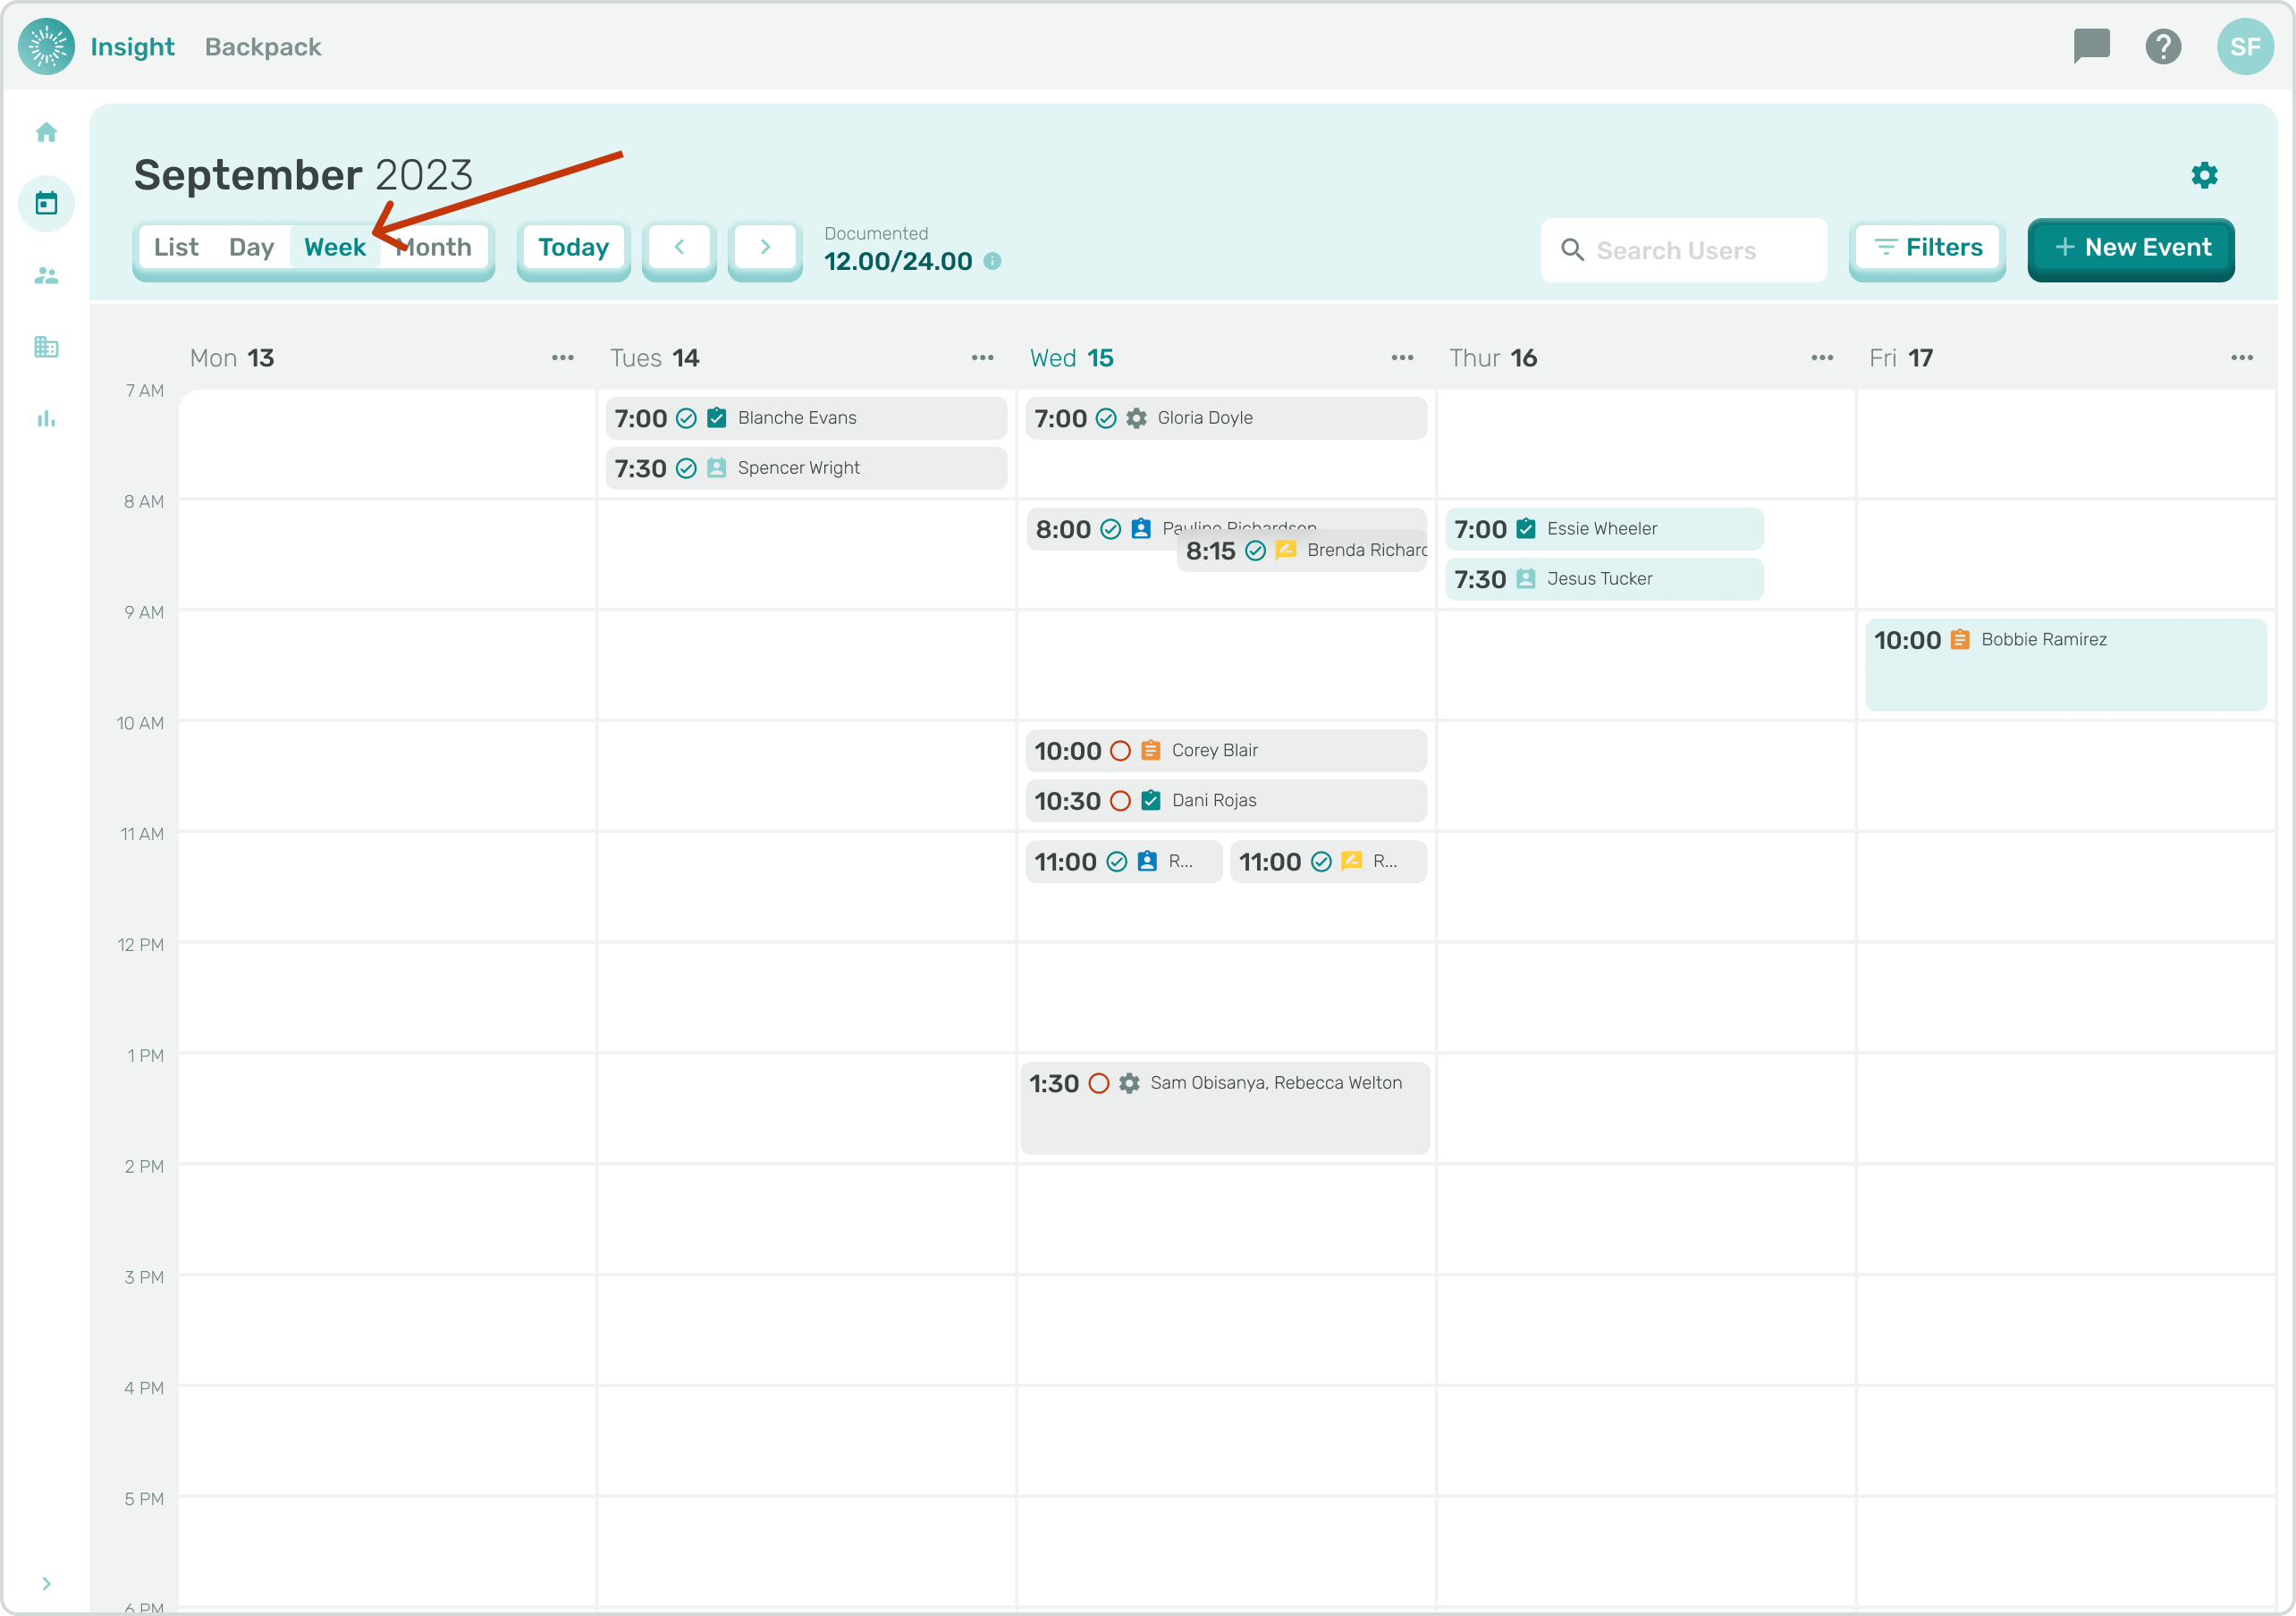
- Week: When the ‘Week’ view is selected the Events for the week are displayed in a Calendar-like format of the week.
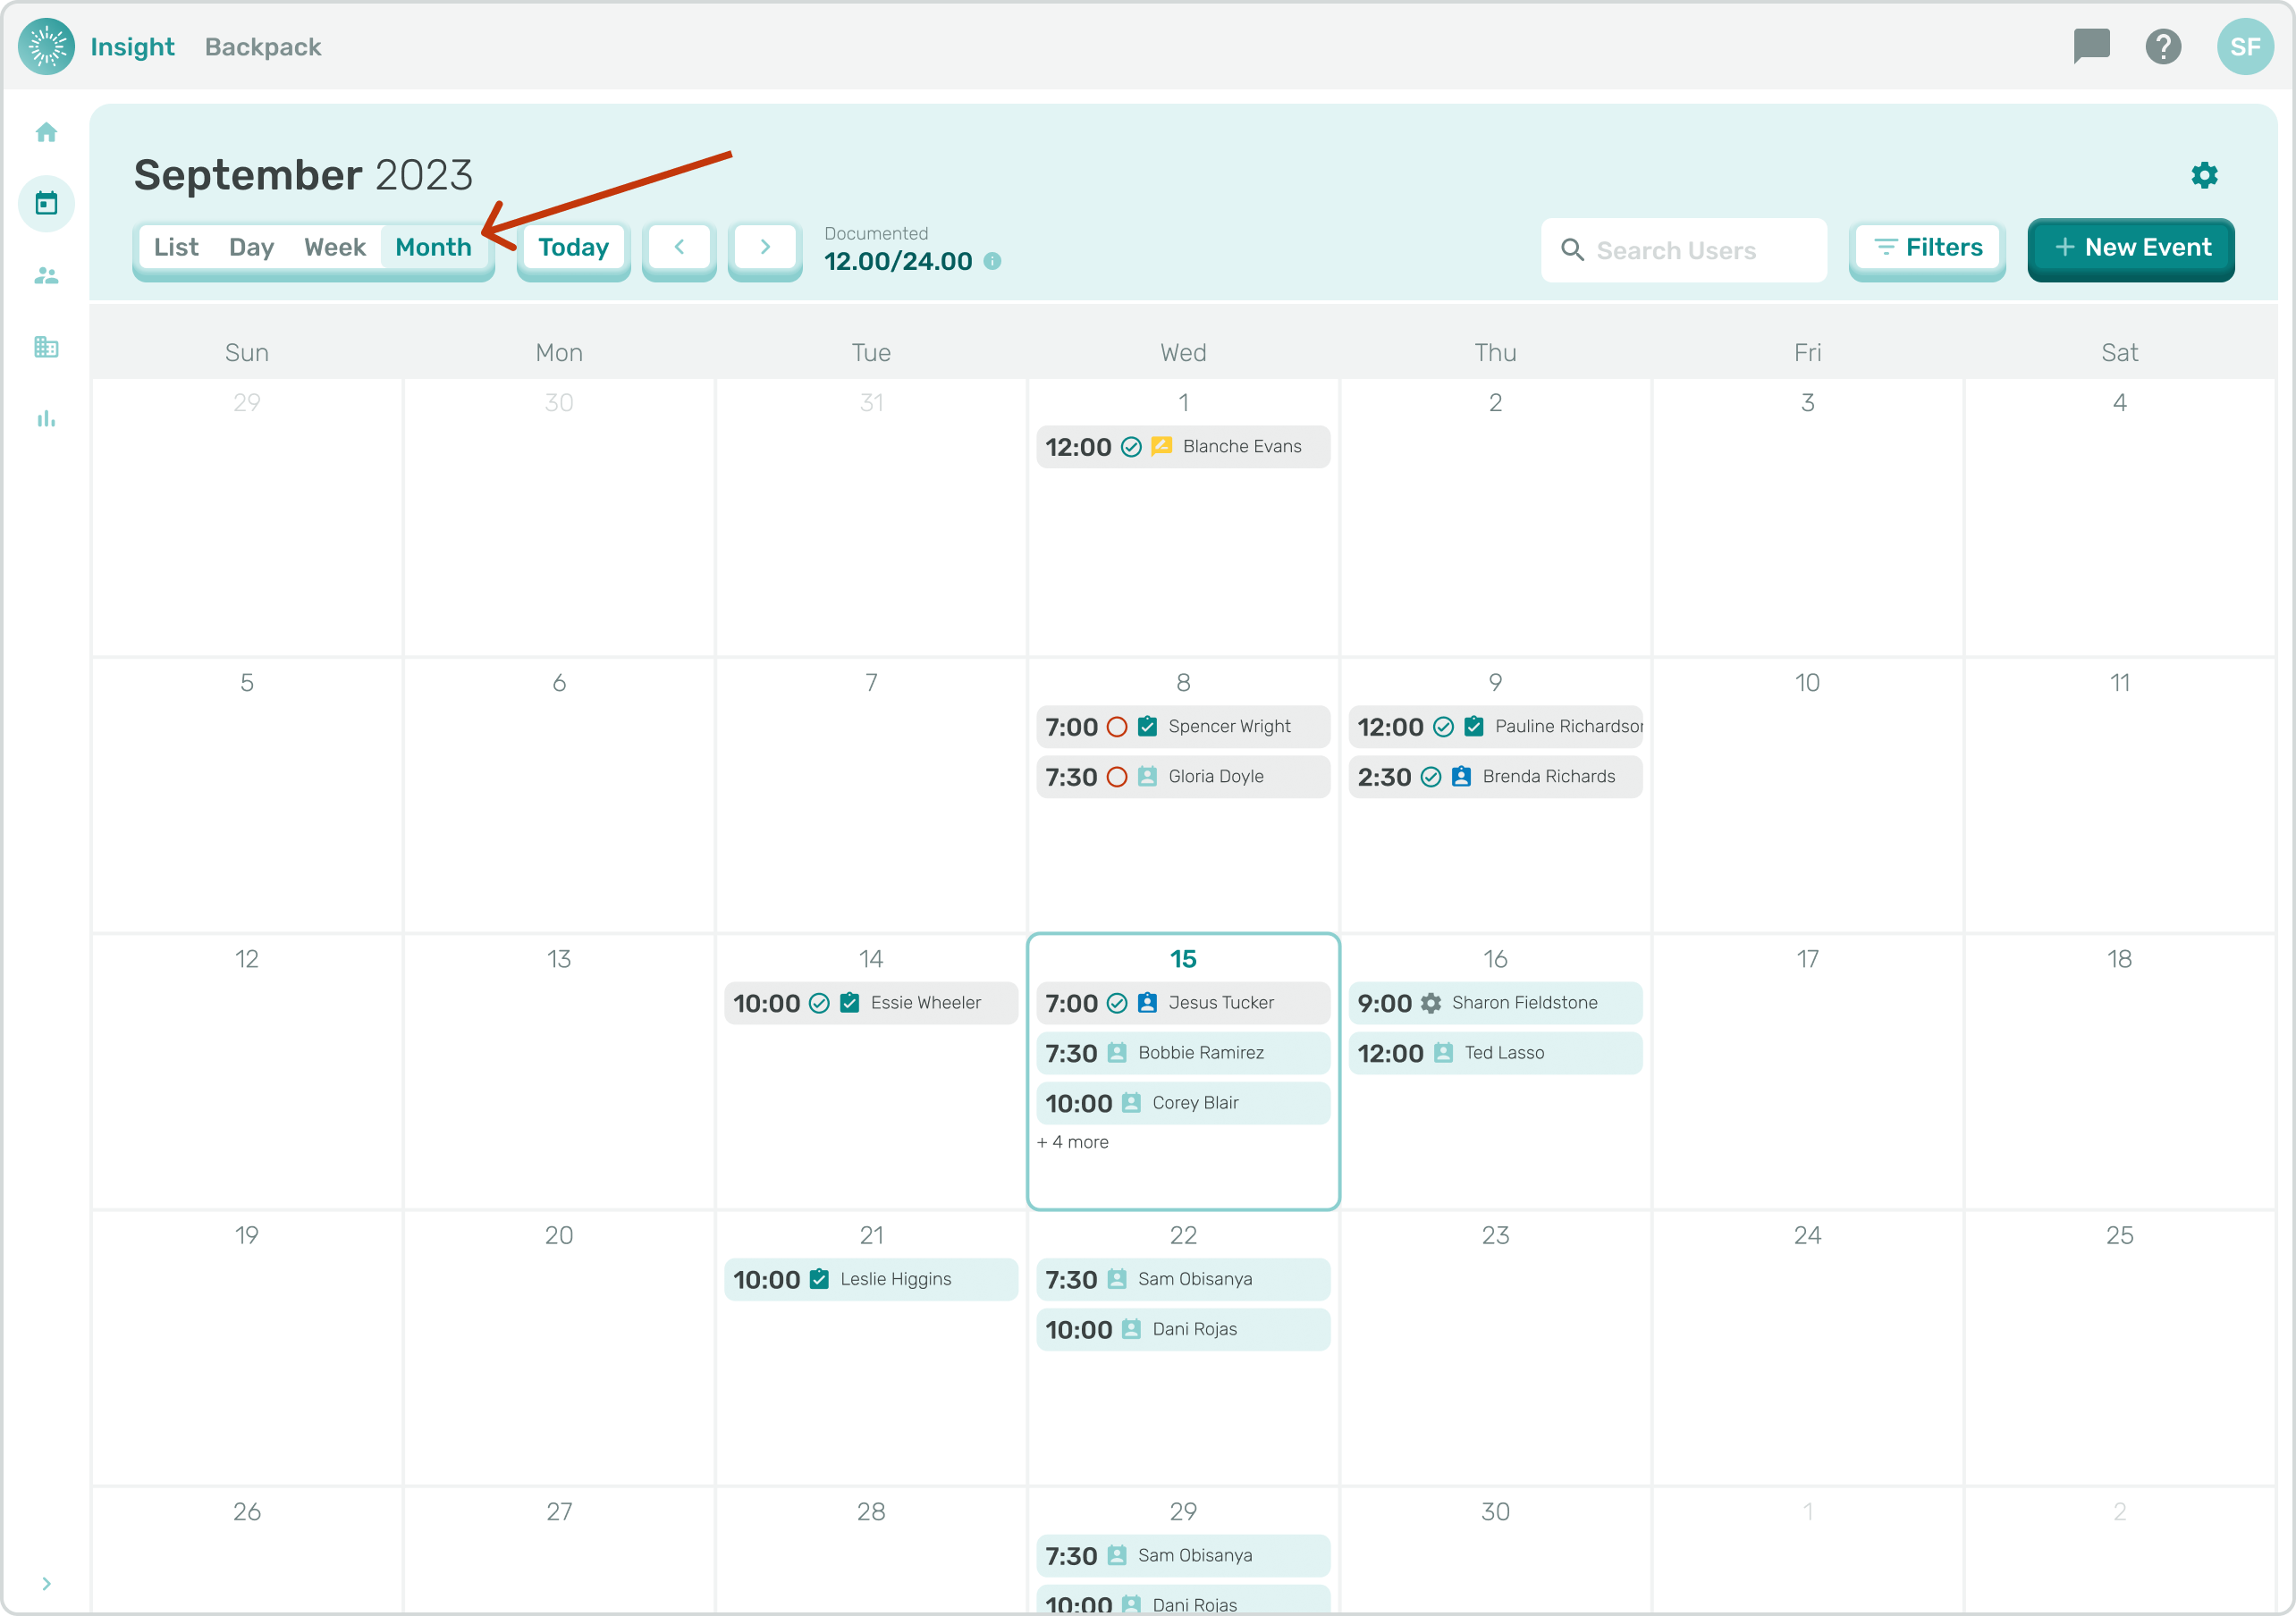
- Month: For the ‘Month’ view the Events are displayed in a Calendar-like format for the full month selected.
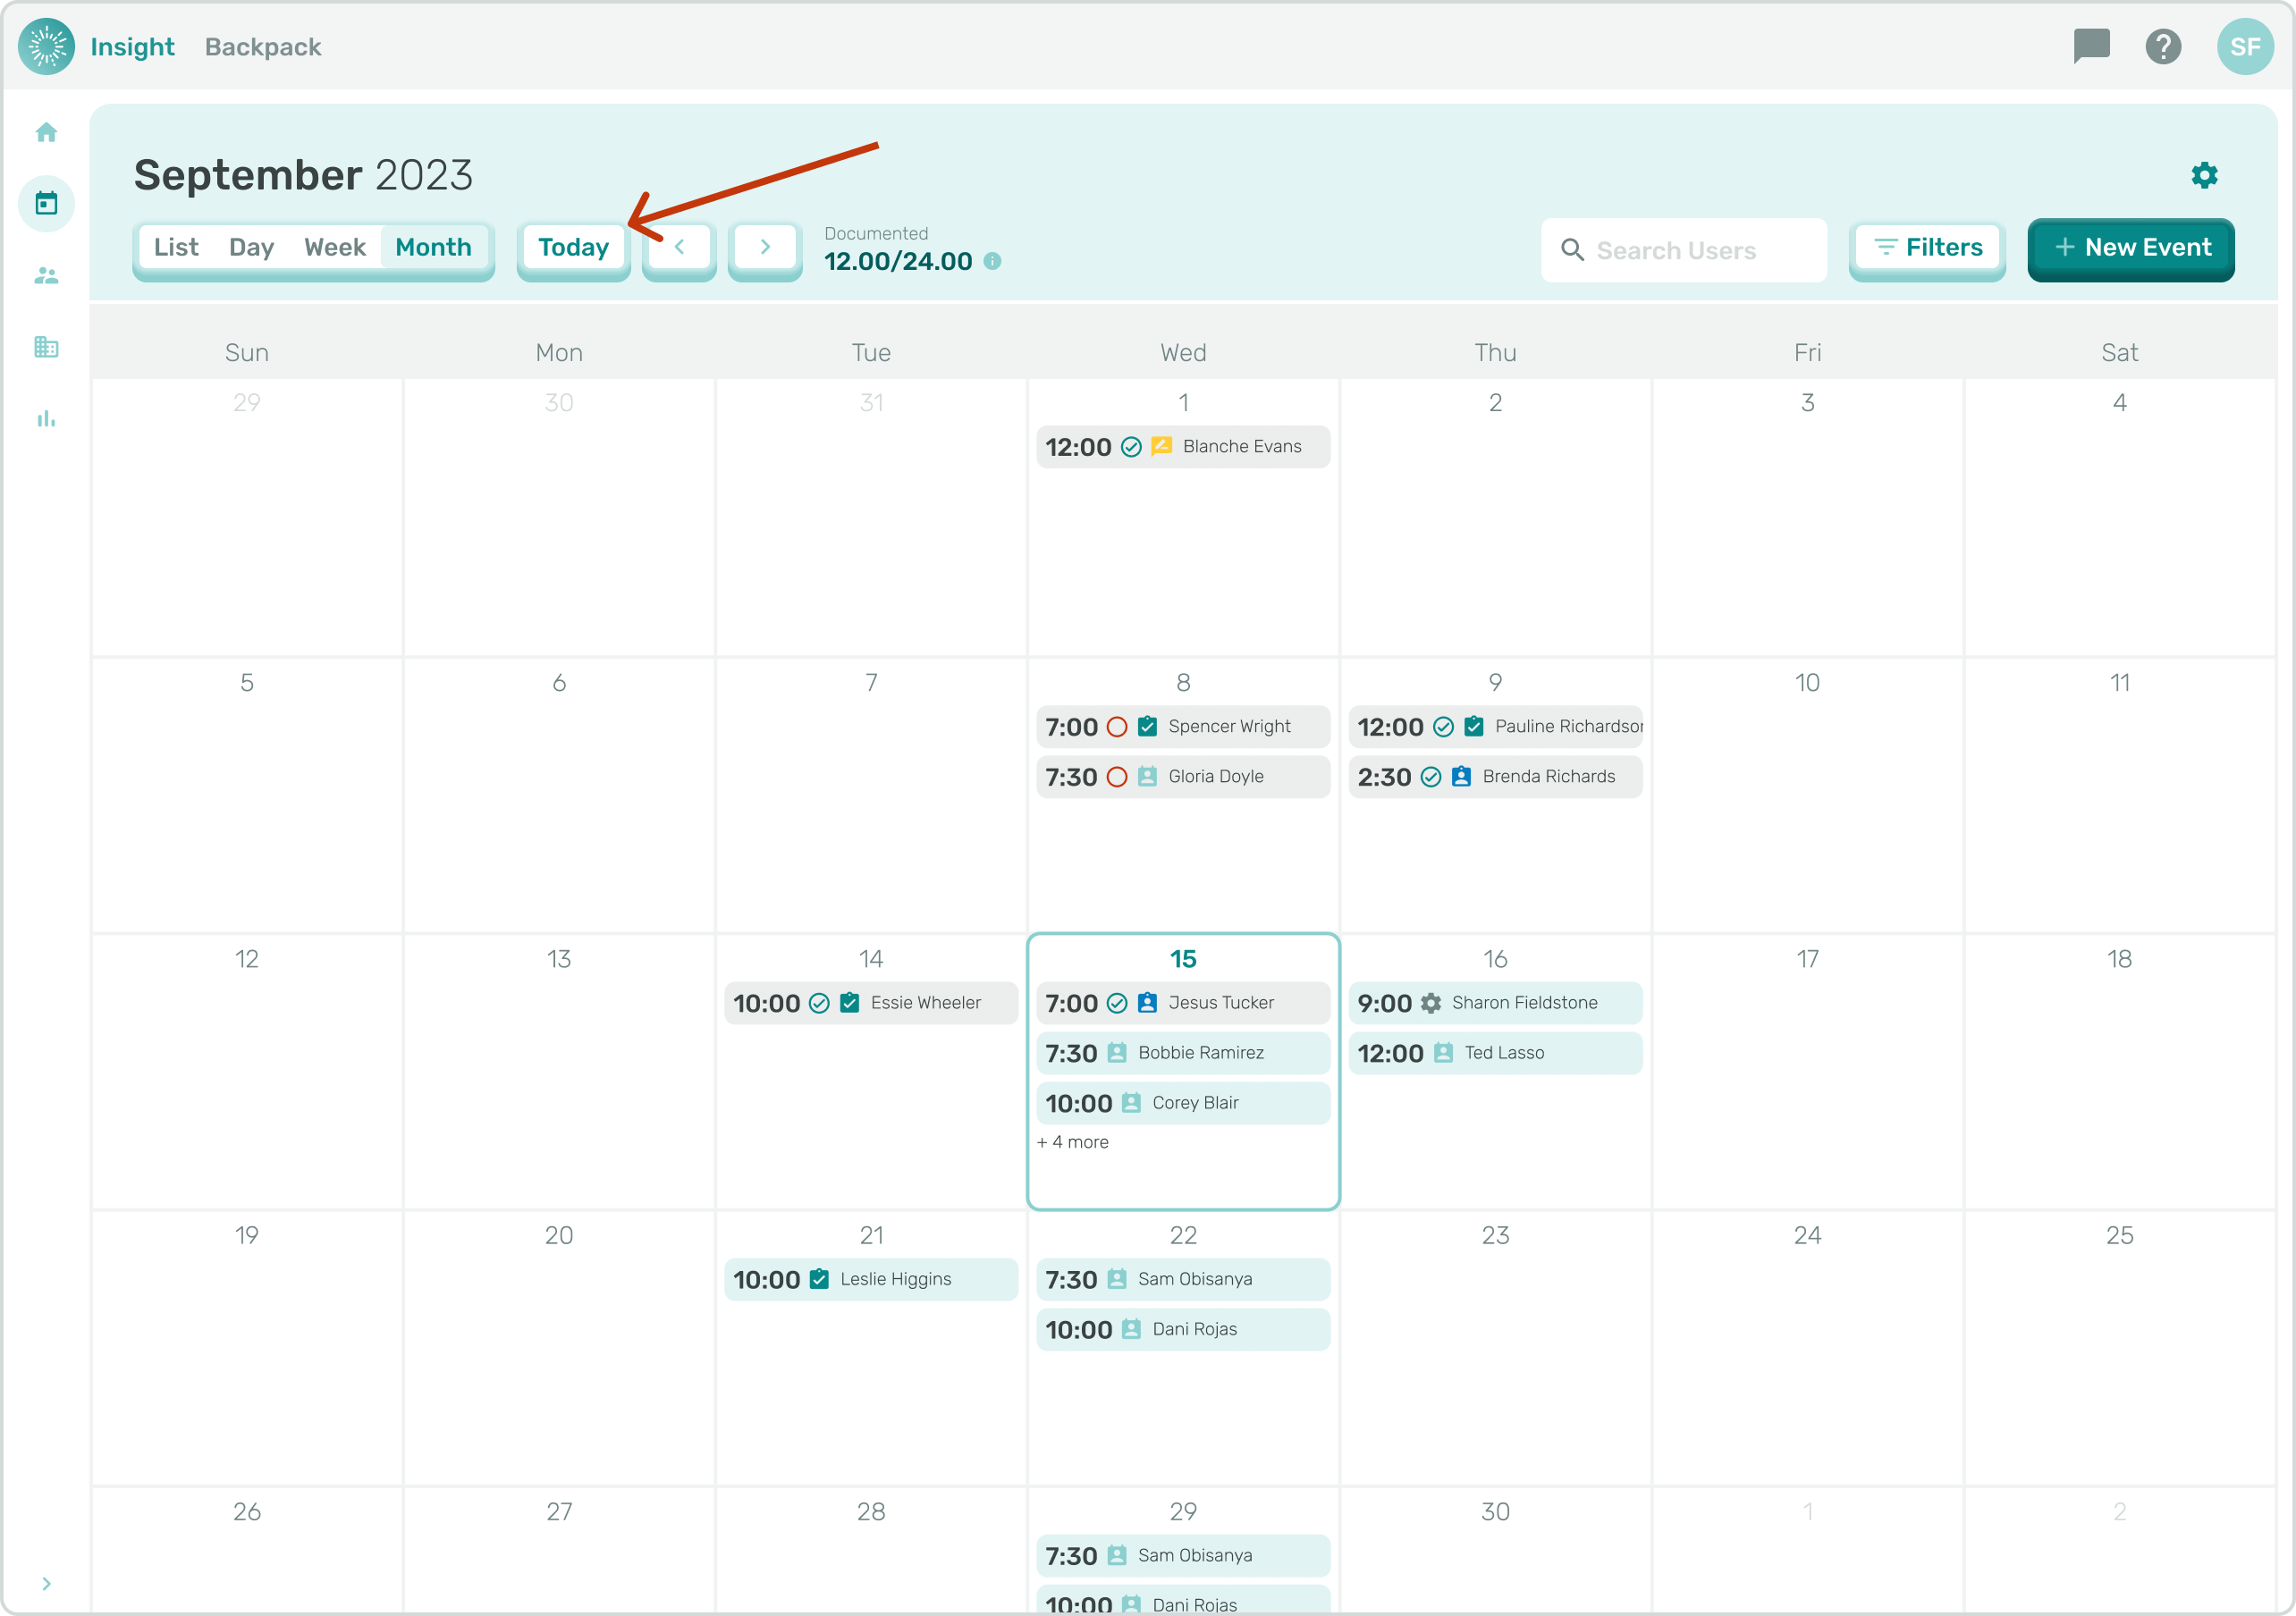
- Today: When any of the above views are selected you can click on the ‘Today’ button to highlight today’s Events.
- To Exit the Edit Attendance modal at any time and not Save your Documentation, click on the Cancel button at the bottom right corner of the modal. Once clicked you will go back to the Calendar without making any updates to your Events.
- The remainder of instructions are the same as outlined in the article Scheduling an Event.
- Go to the related article 'Searching and Filtering on the Calendar Page' for additional instructions.
- To Edit an Event on the Calendar Page follow the same instructions as listed above for the Dashboard Page.